Getting Ready
We’re starting to prepare for Ohyō’s first launch! Most model rockets don’t require a ton of prep work - people build them, shove in an engine, pack the parachute, and fire them off. since Ohyō is carrying a couple hundred dollars worth of custom programmed electronics however, we want to be extra sure that everything is is ‘just-so’ before we send it all skyward.
Essentially, our plan of attack is as follows:
- Do as many dry runs (basically do all the steps except for the actual launch) as needed until the prep, and all the steps right up to launching are pretty seamless.
- We’ve done 2 of these so far - the rest of this post will be discussing what we learned.
- Do a launch where we follow all the steps, but don’t actually put the electronics in the rocket, and launch it without any payload.
- Finally, do the full-blown launch with payload.
Dry Runs 1 and 2
So far we have done the first 2 dry runs. The first dry run was basically a walkthrough with minimal documentation, so that we could record the steps we needed to take, and approximately how long each step will take.
The second dry run was our first attempt at essentially following our own directions :-) We learned a couple important things from dry run #2, and we made a couple adjustments already:
- We needed to add some buffer time into our steps, to allow for little hiccups here and there.
- We did our second dry run while running a stop watch, and then essentially gave ourselves a 10 - 25% buffer on the new timings.
- We still have a lingering ‘communication bug’ where the ground station doesn’t seem to want to receive the LoRa data while out in the field.
- Like it was for Nigemono (version 1), I believe this is related to power for the ground station’s radio, so I made a pigtail that would allow the ground station to be powered off the same, large, 12v battery that runs everything else when we’re out in the field, vs. relying on the little LiPo batteries in the ground station. It’s still nice having them in there as a back-up power source, but I won’t be relying on them any longer.
- Our launch pad is ‘aging out’ (It is nearly 25 years old after all :-O)
- It doesn’t look like the disaster that Elmo made of his launch pad, but some of the plastic parts on ours are starting to get brittle and break - the whole thing nearly toppled over with the rocket just sitting on it, when one of the plastic snap-connectors broke. I have a material list and hand-sketches that I drew up to just make a new one out of 1010 Series aluminum extrusions and fittings, so I’ll be doing some price checking at places like McMaster Carr, Fastenal, etc. over the next couple weeks.
- We’re not likely to have wifi at our launch site, so I needed an internet connection so that the ground-station’s status-tooter could post updates to Mastodon on launch day.
- I ordered up a data sim for the little Nitehawk Mobile router that I’ve had collecting dust for a couple years, so that should keep us ‘online’ for launch day.
- Our rail-guide is inadequate.
- Most model rockets use launch lugs (essentially a little tube glued on the side that slides over a rod), or as they get larger, buttons/rail guides. Launch buttons are essentially like little ‘wheels’ on the side of rocket that side into the channel in a piece of aluminum extrusion, and then ‘glide’ the rocket along the rail during launch. Rails are much stiffer than rods, and work better for larger rockets. For Ohyō I decided to use a fly away rail guide, which is essentially a two piece shell that wraps around the rocket - when the sliders are in the rail, that holds them together, but when the rocket leaves the rail, tension from springs or rubber bands opens the two halves, and they fall away from the rocket. I initially grabbed the inexpensive ones available from Apogee that Tim talks about in this video. It seems like they would normally work great, but Ohyō is so long, and has so much of it’s weight near the nose, that it leans pretty hard away from the rail, causing a lot of friction. I ended up ordering a more expensive, but heavier duty and much longer version from Additive Aerospace. You can see them in action in this quick clip.
And that mostly covers what we learned from our first 2 dry-runs. We’ll be doing a 3rd, and probably 4th, in the very near future, and one or both of those will likely include status updates to Mastodon, so make sure to follow the rocket’s account there if you’re interested!
Radio Rocket Ohyō Stats and Info
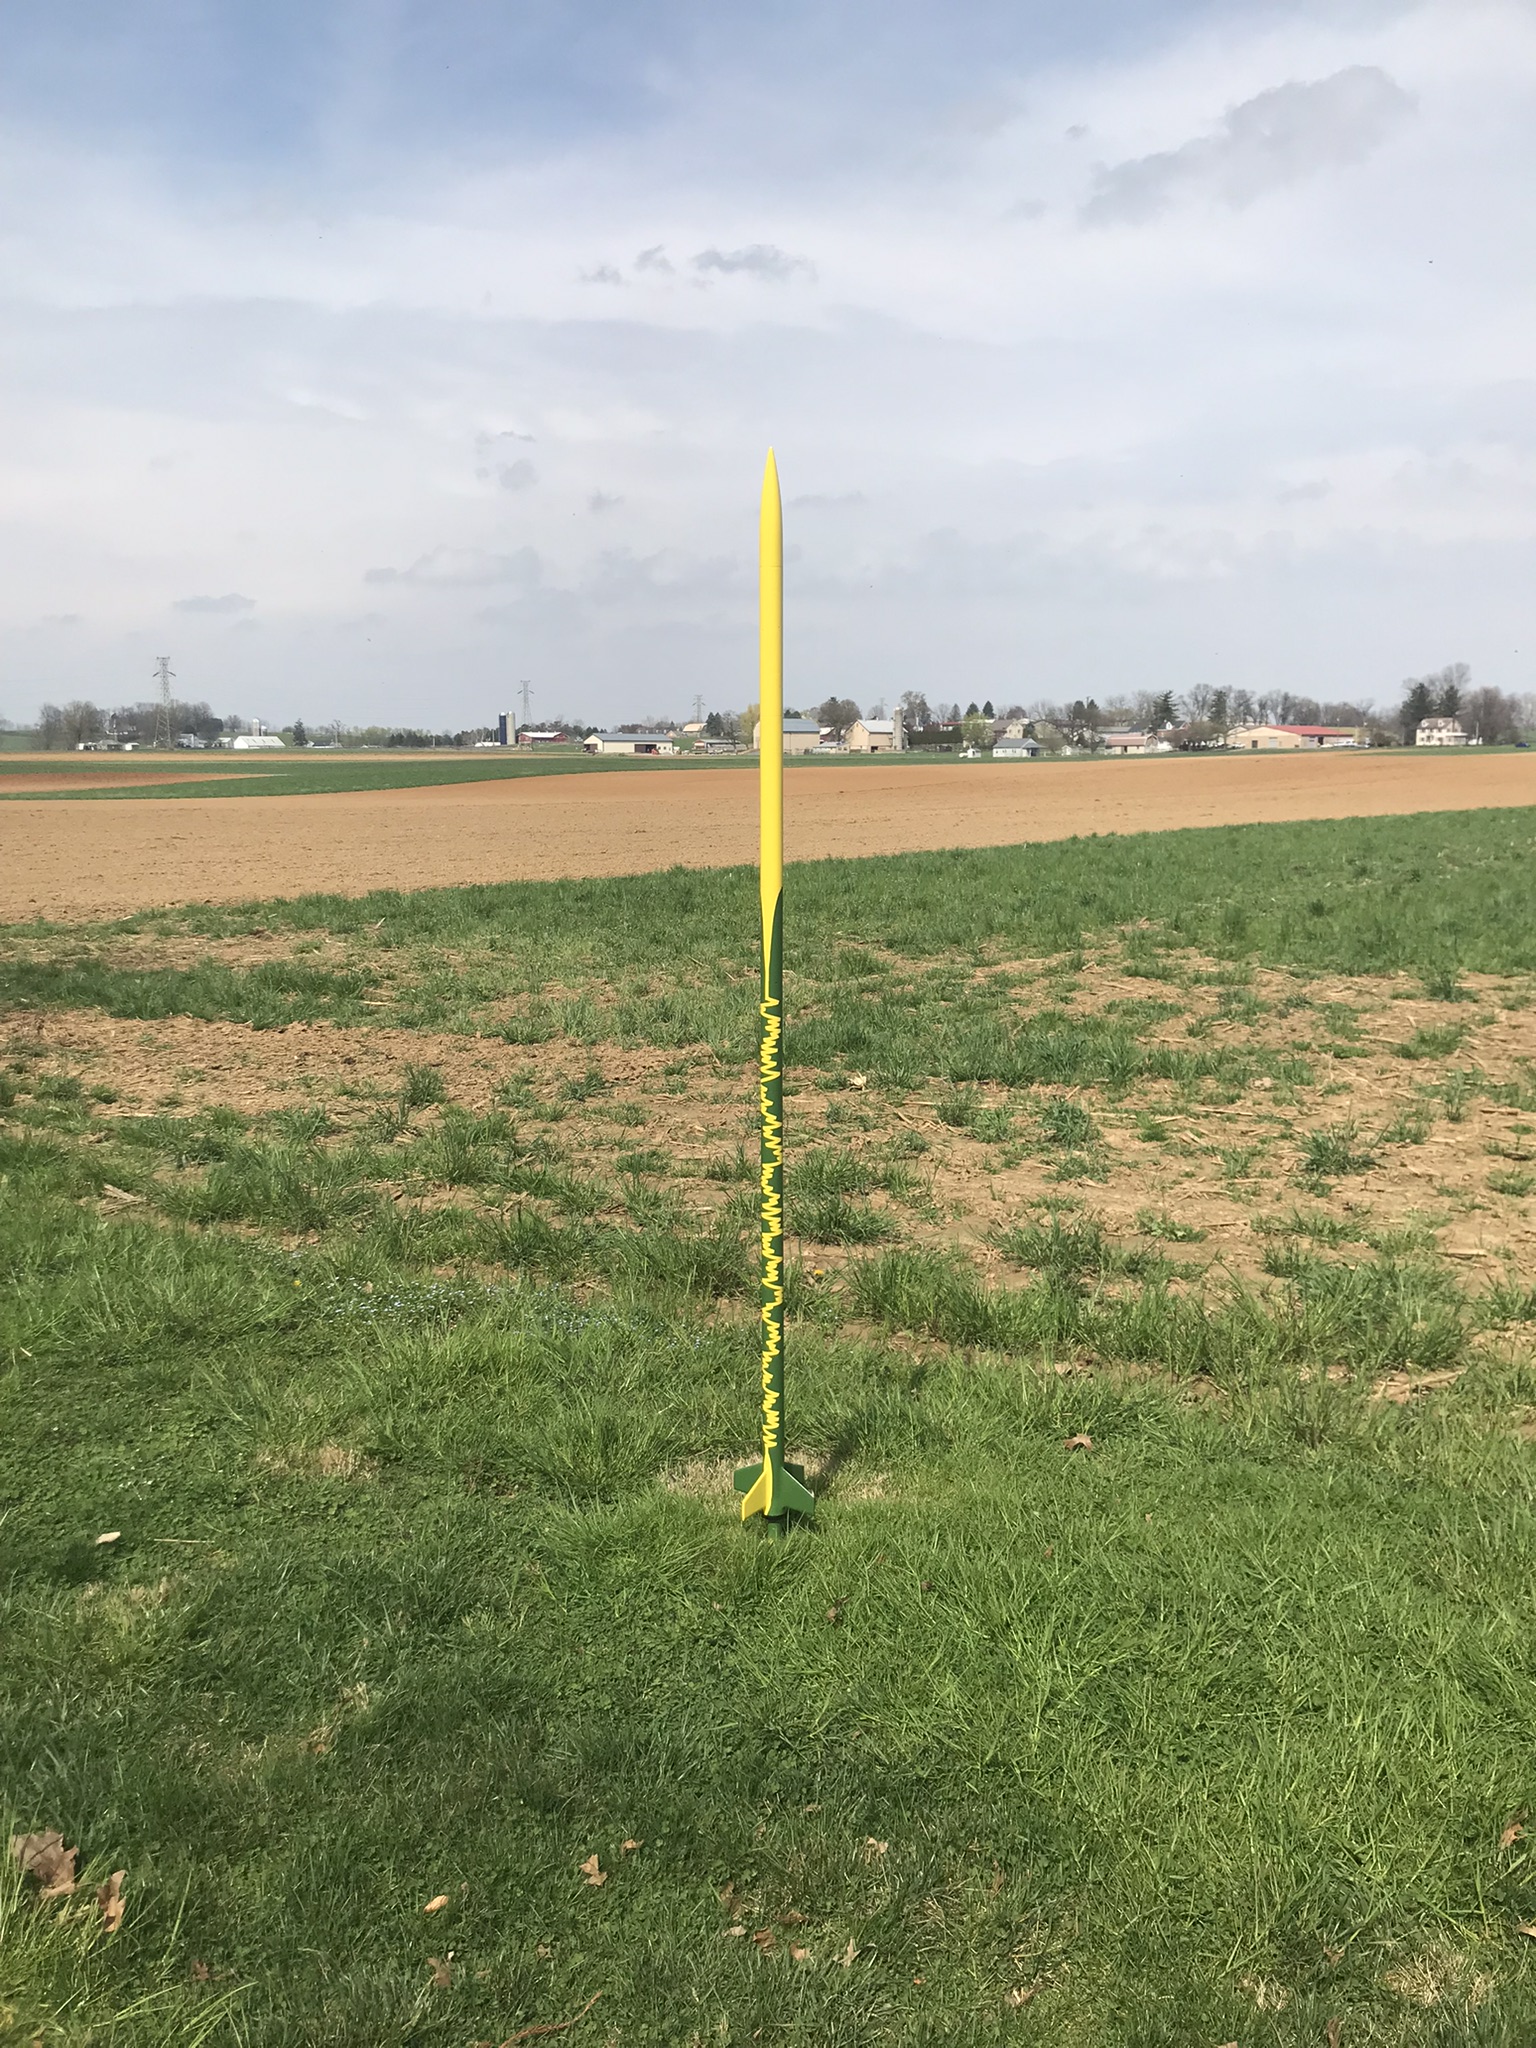
Height: 198cm ; 78”
Diameter: 38mm ; 1.5”
Launch Weight, w/o Motor: 1,261g ; 44.5oz
Recovery: dual 30” parachutes
Paint: Yellow and Green, inspired by vintage RF spectrum analyzer traces
Telemetry: GPS data via APRS packets (no digipeating) on 144.39MHz, and magnetometer, gyro, acceleration, barometric pressure, altitude, and messaging via LoRa on 433MHz. Flight data will also be posted live to Mastodon via the ground station’s ‘auto-tooter.’
Flight Predictions:
First 3 flights will be on Aerotek G76G motors, with an ejection delay of ~7 seconds. The first flight will not house any electronics, and will be strictly to test the integrity/durability of the rocket itself. Assuming a successful first test flight, the next 2 flights will carry the APRS and LoRa payloads.
For these first 3 flights, modeling predicts:
- Apogee (max altitude): 266m ; 872’
- Max Velocity: 65.5 m/s (235kph) ; 215 ft/s (147mph)
- Max Acceleration: 99 m/s^2 ; 325 ft/s^2 (about 10g)
- Time to Apogee: 7.77 s
- Total Flight Time: 56.4 s