Here’s another post with some details on the process of building a model rocket with an electronics package to do some telemetry and messaging via APRS, and LoRa, during a short rocket flight. Make sure to check out the Radio-Rocket Tag to find more posts, or check out the summary static pages on the project posted here. Some of the code is also finding it’s way to a github repo. I wrote a fairly detailed summary post as an intro to all of this, that you might want to check out as well.
Version 2
Wait what? That’s right - I haven’t even yet launched the Radio Rocket, and I’ve already started building Version 2. In my last post I had promised to write up some details on the LoRa component of the rocket, but since I started building Version 2, I figured I ought to fill folx in on that little detail.
The origional radio rocket is basically at a point where it is ready for its ‘POC/Minimally Viable Product’ launch. Unforuntetly, before I can launch it though, I ned to wait for the corn in the field to be harvested. As I pondered things while waiting, and considered what I had lerned from the initial build, a couple things jumped out at me that made me decide to just go ahead and start building version 2, instead expanding on version 1.
- Because I want to be able to launch on motors that don’t require a high power certification, I needed to try to do better on the physcial design to get more heigth and more hang time (to maximize the amount of ‘radio time’).
- While designing for low power, it would be nice to have the ability to go to high power in the same rocket at some point.
- The magnetometer was physically close to the lightAPRS, so transmissions for APRS were effecting the magnetometer readings.
- Some of the parts I was using (i.e. the batteries) are very heavy.
The most obvious solution, was to start designing around a new rocket. At a high level, most of these learning can be addressed with a fairly ‘simple’ redesign.
Firstly, build for minimum diameter. In rocketry this basically means the smallest diameter airframe that a motor can fit in. To meet my goal of being able to do both low power and high power, it made the most sense to design around a 38mm diameter motor (a standard size for G through J size engines) and then also have an adapter to be able to stick 29mm diameter motor’s in it as well (the standard size for E thorugh G engines).
At that dimater, I basically was going to build skinny and long, so I picked controllers and breakouts that could be laid out ‘lengthwise’. With the sled being long, this also lets me put the magnetometer at one end, and transmitters/antenna’s at the other, to maximize the distance between the two.
I also went to a smaller 3.3v LiPo battery, and designed around 3v logic to eliminate weight and extra components needed for voltage buck/boosting.
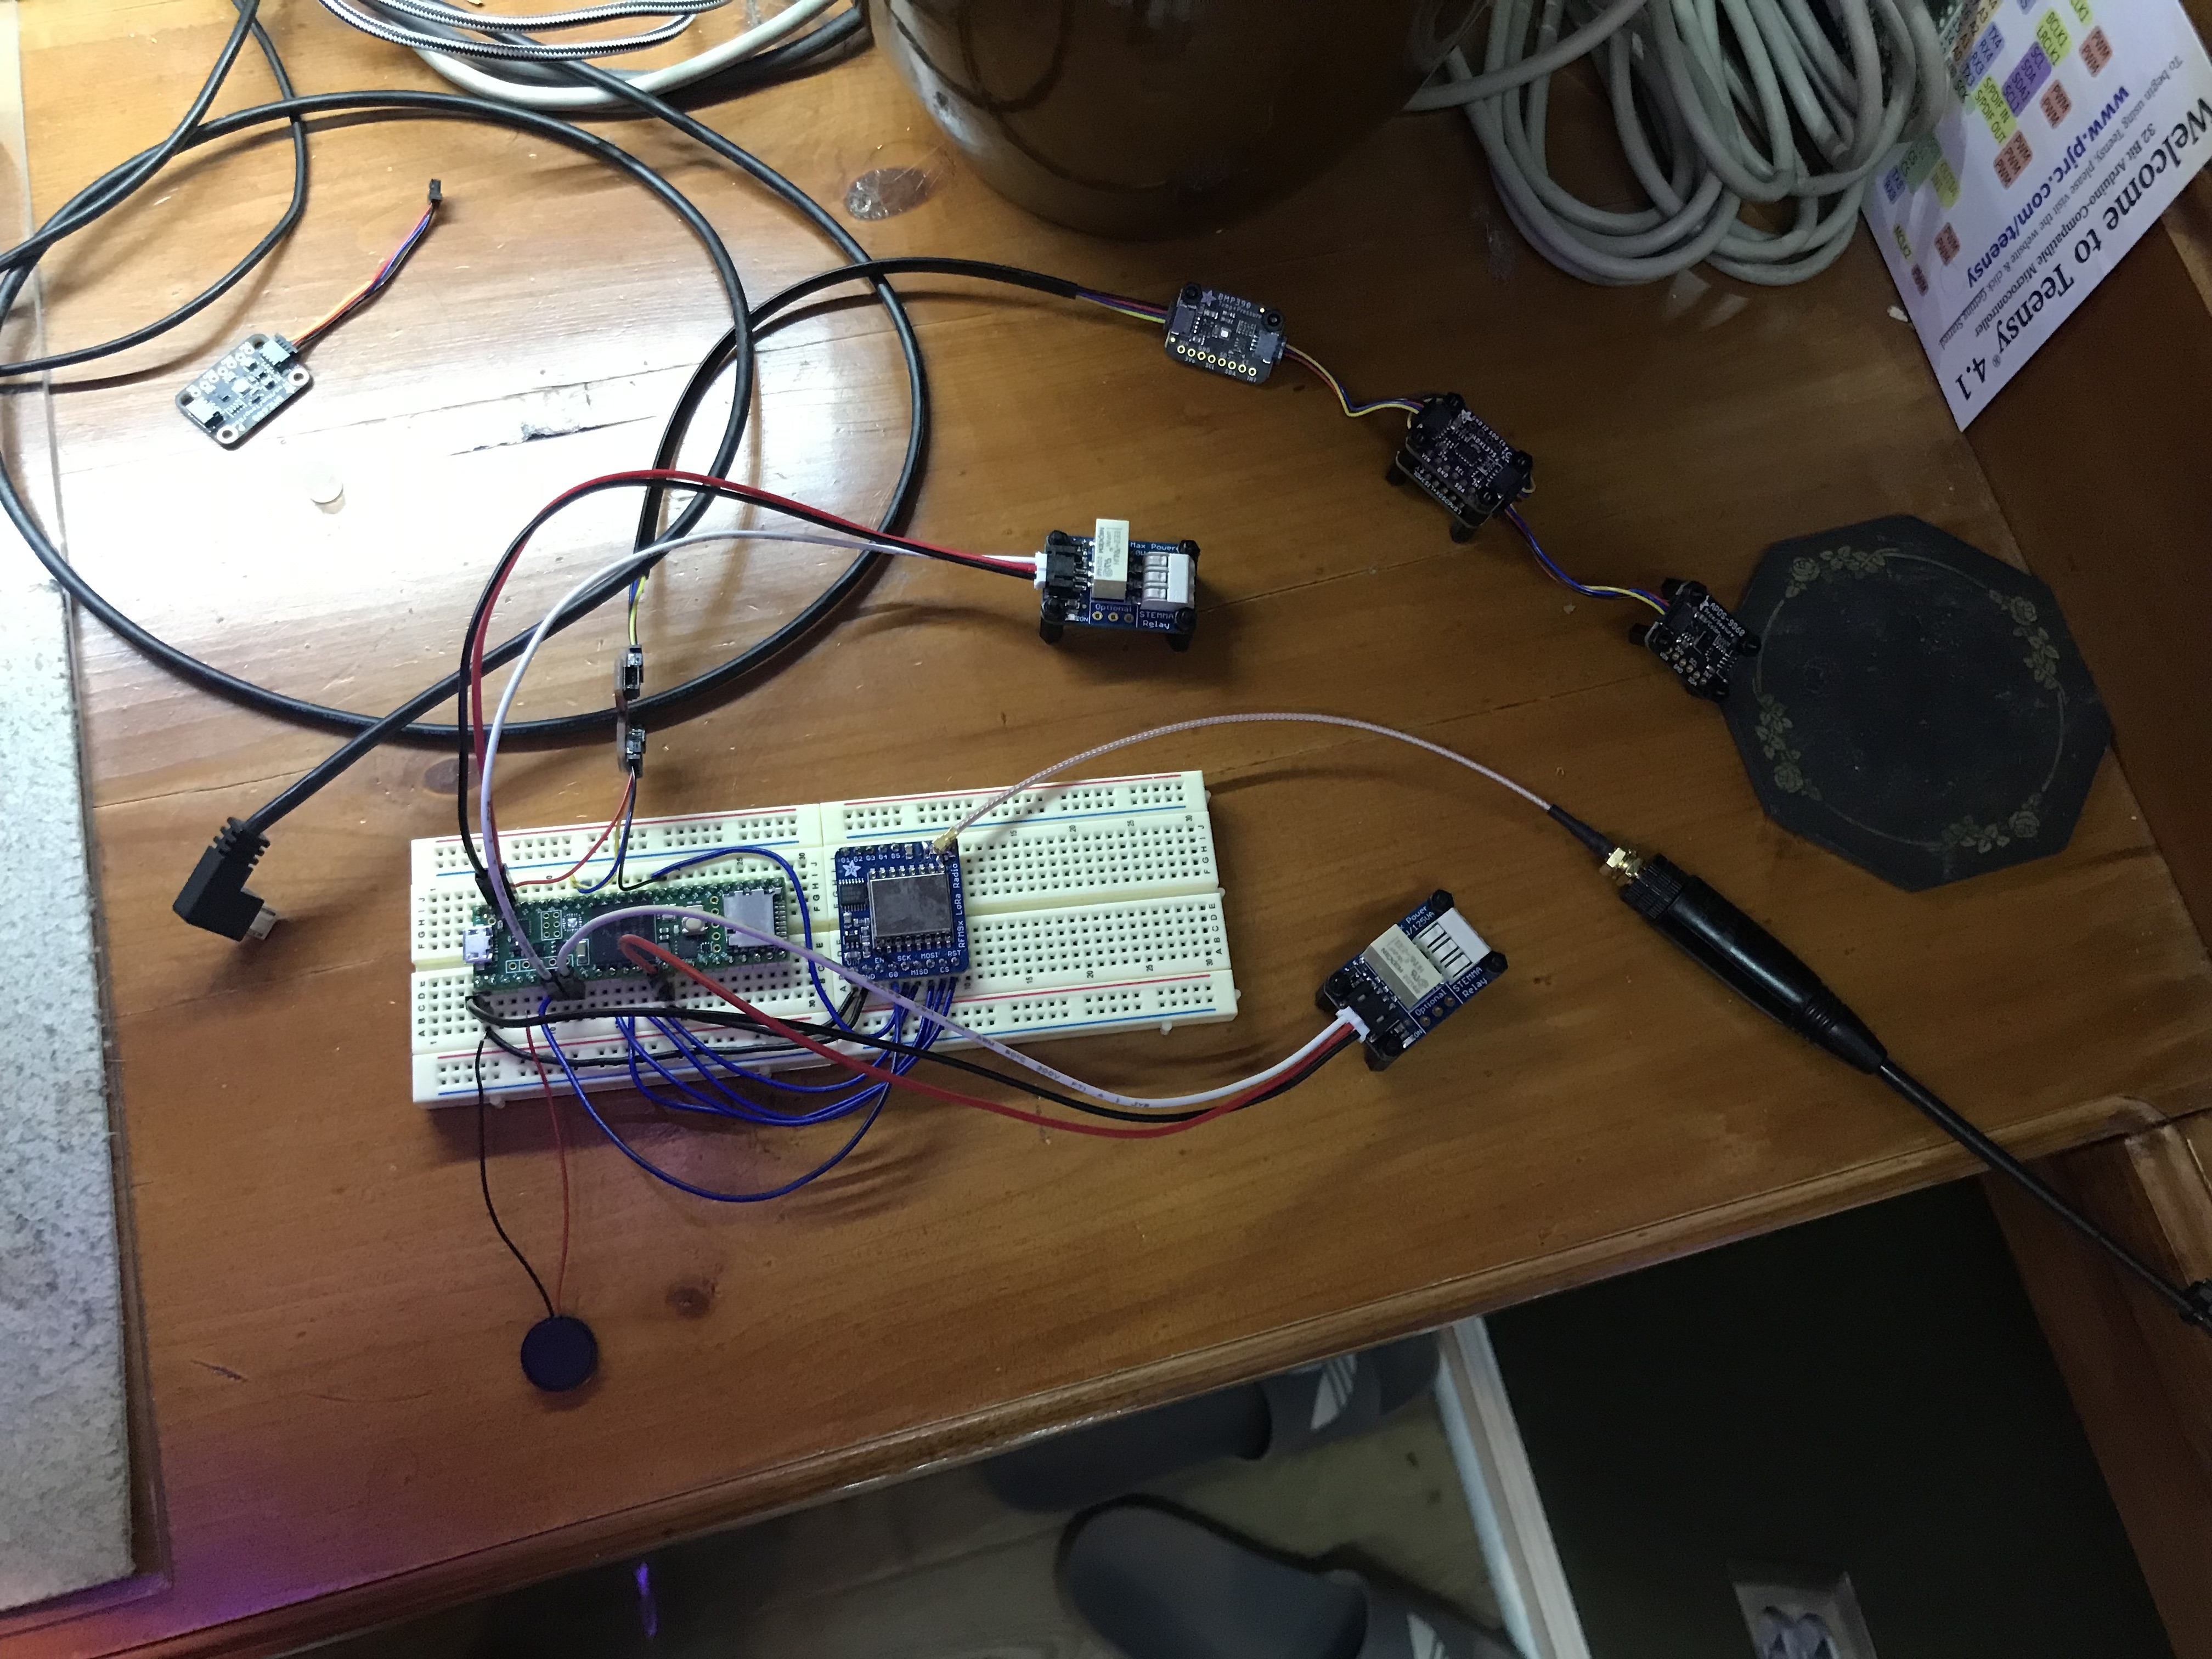
The first chunk of work was on the breadboard, to get the new hardware working:
Next I mounted everythign up on the hardboard that makes up the base of the ‘sled’:
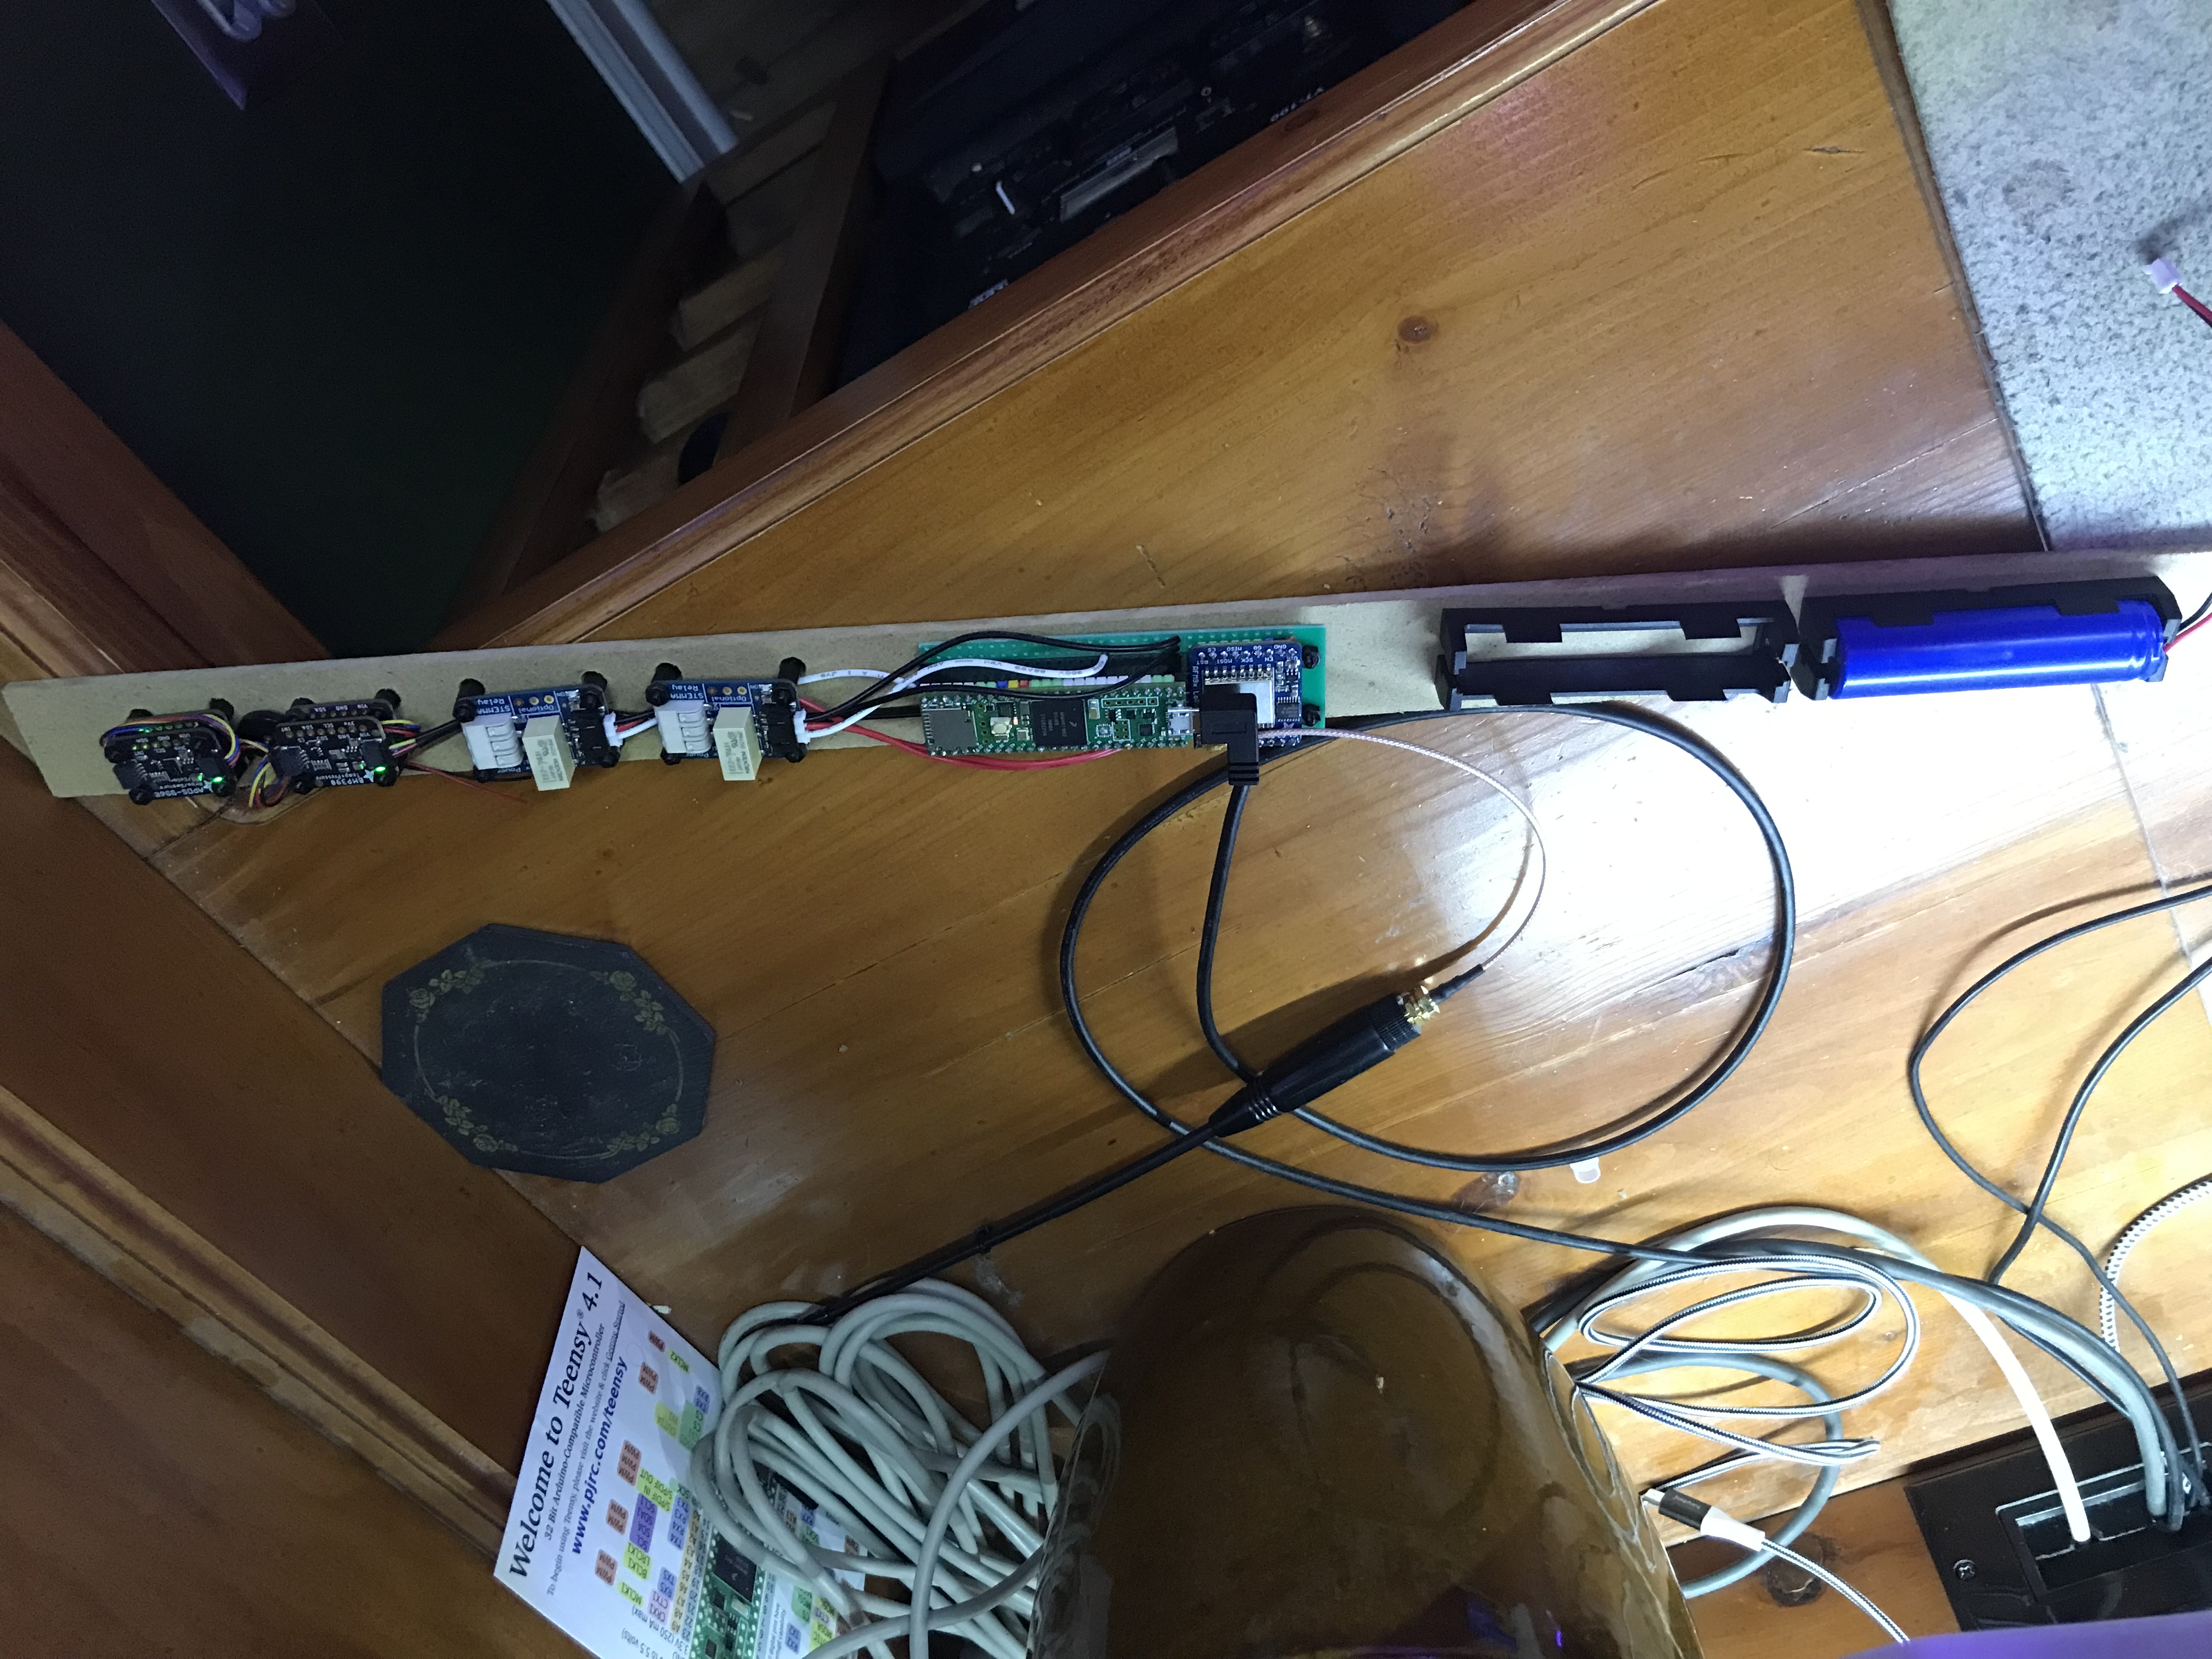
Lastly, it was time for a test fit inside the tube that will house this new, narrower, electronics package: