NOVEMBER 3 VICTOR ECHO MIKE
  • Blog
  • Events and Activations
  • Diversions
  • About
  • Gallery
  • Contact
  • Links
  • Subscribe
  • Search
  • Blog
  • Events and Activations
  • Diversions
  • About
  • Gallery
  • Contact
  • Links
  • Subscribe
  • Search
NOVEMBER 3 VICTOR ECHO MIKE

ham radio Projects and musings from a (Relatively) new operator

More over-the-Shoulder Updates

9/18/2020

0 Comments

 
     Hello!

​    I'm not generally a video person, but here's the second post in a row with a video to provide the update on the progress in my shack!  Aren't we so lucky? 
     
​     Last time I was sharing some info on the VU meters/Relays/Arduino arrangement that I came up with to give me an indication of which thing in the shack was generating audio.  This time, the update is more about progress towards getting some additional shack automation, and eventual remote operation ability.  We start off with the shack "powered down" (mostly) so that you can see everything "come-to-life."  My very amateur code is available on Github (search for user N3VEM on github and you'll find it) and the boards and relays I'm using are listed below as Amazon Affiliate links. (P.S. I switched from an Arduino Uno to an Arduino Mega for the control functions between the last video and this one as well. ) 
0 Comments

Where Did That Noise Come From?

9/4/2020

0 Comments

 
Post Contains Affiliate Links
Like many shacks, mine has a number of different audio sources.  When you're trying to pick a signal out of the noise, or even just trying to sort out which computer made the "ding" sometimes it can be challenging.  My solution to this problem involved some VU meters, an Arduino Uno, and a relay board.  This one is easiest to describe by just showing you, so check it out:
The code that runs on the Arduino to do this is still a work in progress, but if you'd like to grab a copy or dabble, you can snag it from one of my github repositories. (More on this later - but I just started a github to enable sharing all the technical details about the shack!)

The parts I used are below.  Clicking them will take you to Amazon so you can snag them for yourself:

​Enjoy!
0 Comments

Busy Beaver

1/2/2020

4 Comments

 
     I've been a very busy beaver this fall and winter!  I've had some family commitments, I started a new job, I'm still writing code for Parks on the Air, and our 3 kiddos have been keeping my partner and I hopping.  That doesn't mean I haven't been working on hamshack projects though!  I just had to prioritize my limited time, so when it came down to having time to do the projects vs. write about them, I decided to just plug away as much as I can and catch up on the written updates later :-)
     Luckily for all of you, I'll also be making an appearance on an upcoming episode of Ham Radio Workbench to talk about my shack build, so rather than write too much about it, just make sure to tune in and hear all about it!

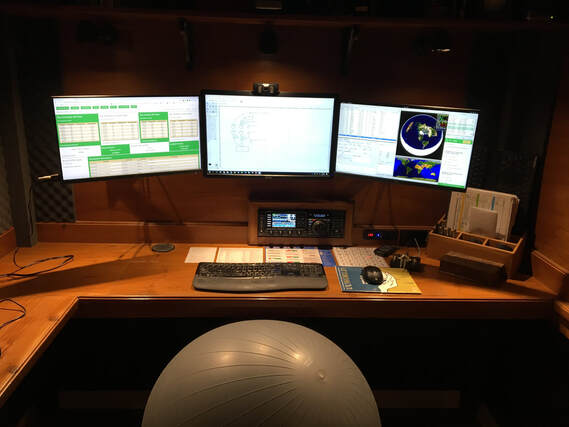
    To accompany what you'll be able to get via the audio in the podcast interview, here's a "history in pictures" to browse as a visual highlight of past and present state of the shack during the last several years.  Enjoy!
Previous Shack Build
Next: Coming Soon!
Back to Part 1
4 Comments

Framed

7/3/2019

0 Comments

 
​Post contains affiliate links     
     If you follow me on Twitter or Instagram, this might be considered old news, but I wanted to officially share so that anyone who is not on social media, that stumbles across my blog, can come up to speed:-)

A couple weeks back I shared that I finally made a decision on a rig for the shack, and I cut the hole in the wall where it would poke through (the wall of my operating position is about 4 feet from the back wall of the actual room, so that I can access the back of the equipment easily.)
Picture
Picture

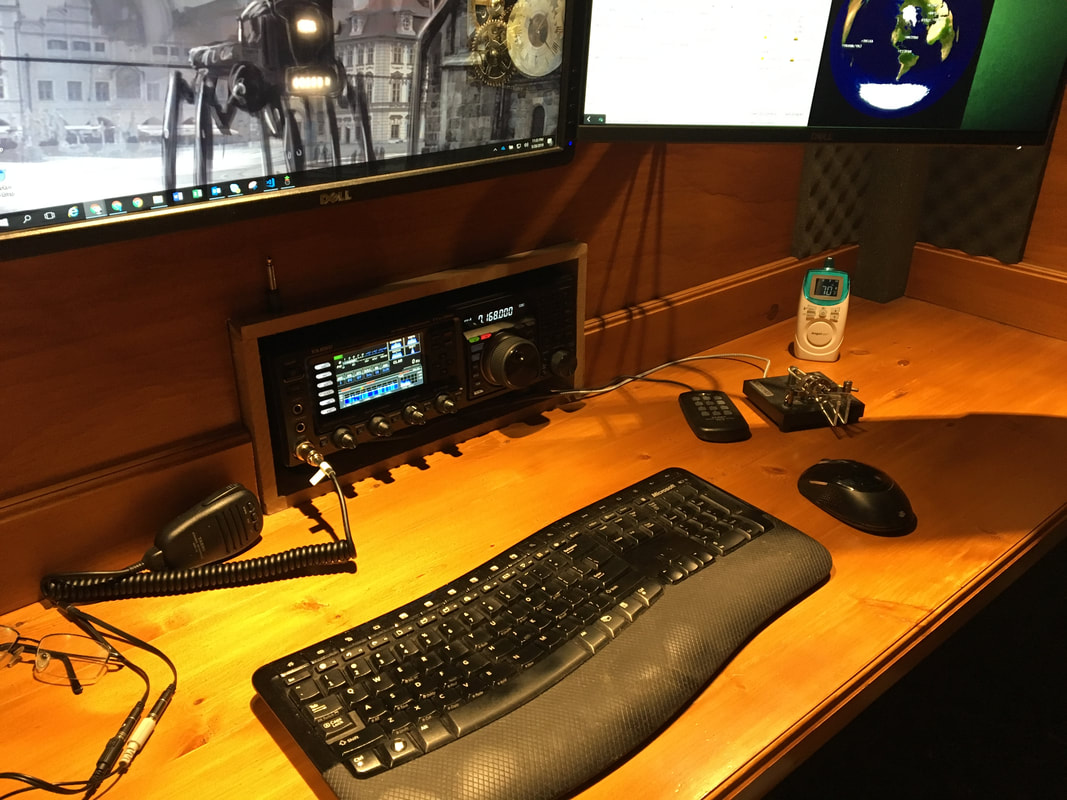
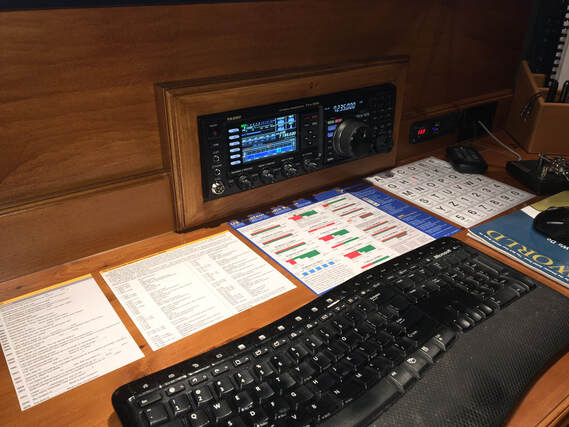
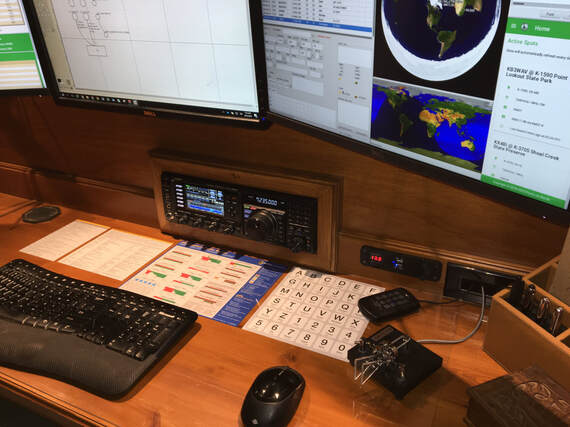
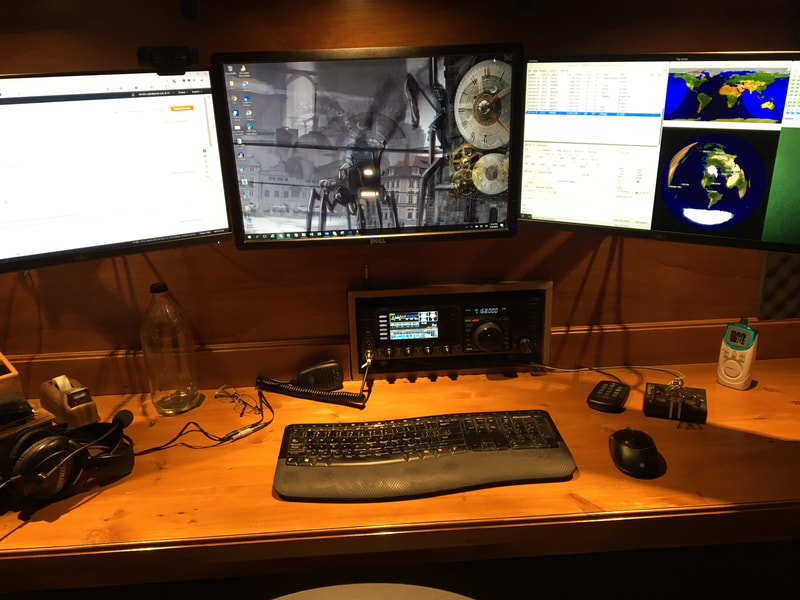
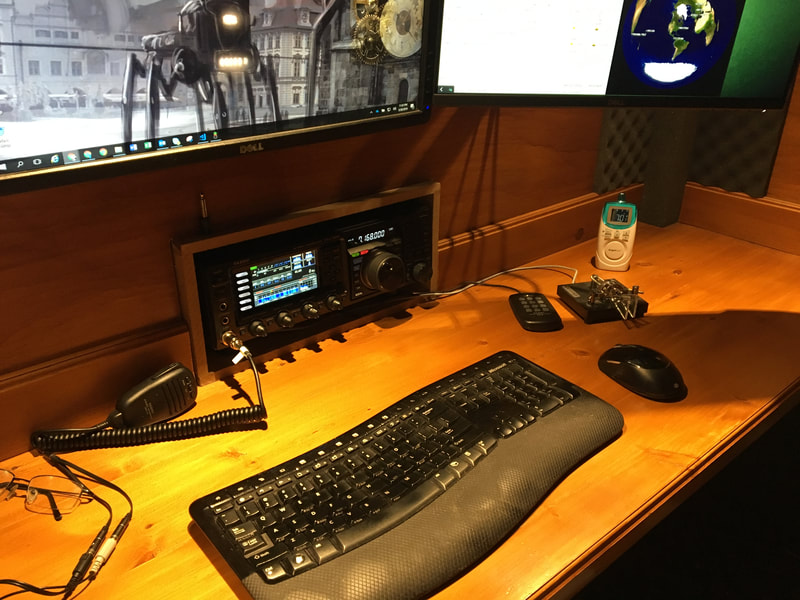
     In the last several weeks, I finally got to a couple things to "finish off" this little piece of the project.  Namely, I made a face frame, sized perfectly for the rig, to go around the opening where the radio sticks through, and I also added a couple other useful tidbits:
The first was one of these little items, so that I could have a full-time voltage display, along with some quick power-access for phone and tablet charging, right at the operating position.
The second thing I added while I was making some dust was one of these decorator pass-through plates, so that things like my paddles, the keypad for the rig, etc. could have their cables run to the back of the rig, while keeping a cleaner look than just a hole, or jamming them under the body of the rig.

    I'm pretty pleased with how it turned out!
​
Picture
Picture
Picture

​As you look at the pictures, if you're wondering why the rig slightly off-center, that is actually for 2 very purposeful reasons: 
  1. Most importantly - I wanted the big knob on the radio to land where my arm and hand naturally landed as I sat at the desk, so that I wouldn't have to be doing some kind of weird reach-around past my keyboard to get to the radio controls :-P
  2. At some point in the not to distant future I plan on adding a VHF/UHF rig, and some other accessories that will "balance" the feel of it.
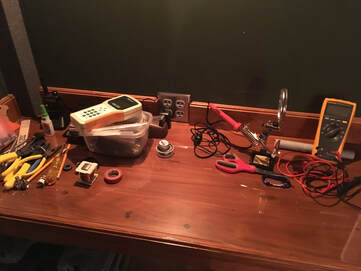
As a final note, for those who wonder where the "mess" is kept (some twitter folks pointed out that every ham is obliged to have a messy workbench) it is actually on the small workbench space that is just behind me and to my right, as I sit at the operating position.  
Picture
Previous Shack Build
Next Shack Build
Back to Part 1
0 Comments

I Didn't Buy a 7300

5/29/2019

4 Comments

 
     This isn't a knock on the Icom 7300 by any means - it is a pretty slick little radio, and it's really cool to see the newer SDR technology available from a major player, at a price-point that can't be beat.  It just isn't what I decided to get :-)
     As I've been building out my new shack, I spent a good amount of time saving my pennies and debating what rig would become the "main" box for the shack.  With contributions towards savings, retirement, private school tuition and future college for 3 kids, etc. I had to be wise with my money, so even though it was tempting to take my annual bonus and run off and grab an Icom 7610, or a Flex 6400M, my YL gently reminded me that we had other priorities, so I ended up looking in the $1,000 - $1,500 dollar range for my new rig.
     With all the talk about the 7300, Icom's  rig did seem like a no-brainer.  I had to remember however, that for me a large part of ham radio is just the fun of it, and I wanted the radio in my shack to be fun for me.  For me that means big, buttons, and lots of ways to interconnect with other equipment.  Even though the receive performance of the 7300 is awesome, it's wiz-bang touch screen stuff fell just a bit short on the fun-meter for me.  After hanging out and playing for a while at the "local" HRO in Wilmington Delaware, what pegged the fun meter for me was the Yeasu FTDX3000, which at nearly $600 off normal retail during Hamvention week, brought this radio down into my price-range.
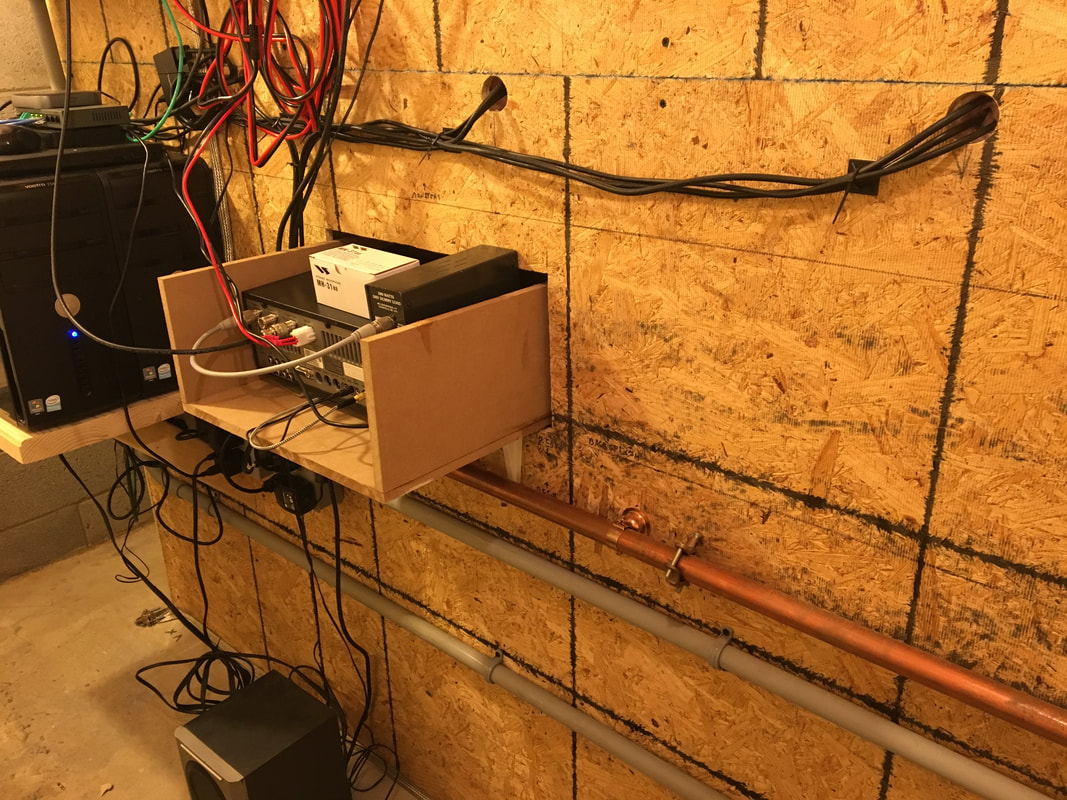
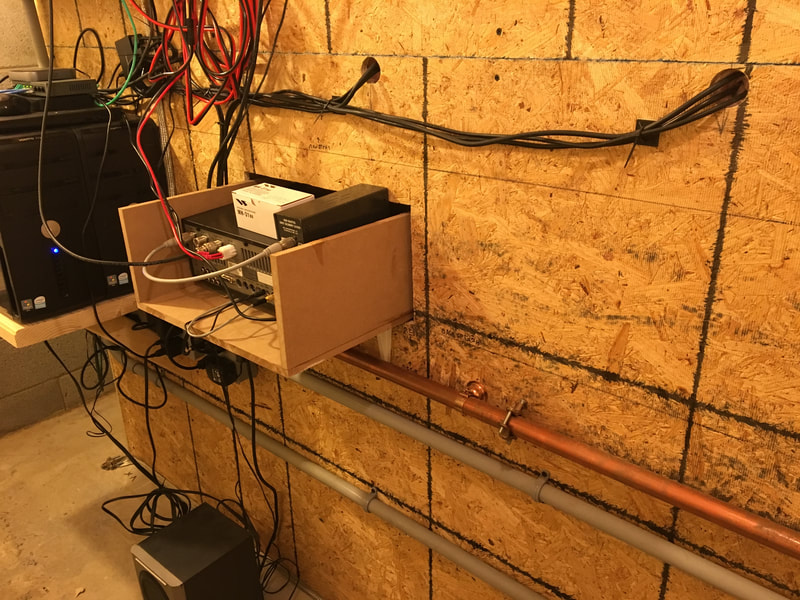
     With my new rig in hand, you can also finally see my vision of the "through the wall" equipment starting to come together.   With a combination of MDF, my table saw, my oscillating tool, a drill, and some brackets, I now have the radio mounted in it's home.  The next step is making the face frame to go around the rig to make it pretty, but you get the idea... 
Previous Shack Build
Next Shack Build
Shack Build Part 1
4 Comments
<<Previous

    Categories

    All
    Antenna
    Cw
    Digital-modes
    Flying-with-gear
    Home QTH
    Miscellaneous
    Mobile
    Operating Events
    Portable
    POTA
    Shack Build
    Technical


    - N3VEM -

         Welcome to my Ham Radio Blog!  This blog was started primarily to share my two concurrent shack builds - my mobile station and my home station.  Over time, this has grown to include sharing about my operations, and general radio-related thoughts that I have as a newer operator.  
         
    ​Enjoy!

    RSS Feed


    Picture
    POTA!

    Picture
    Proving that hams do indeed still build stuff!

    Picture
    100 Watts and Wire is an awesome community, based around an excellent podcast. 

    Archives

    September 2020
    July 2020
    January 2020
    September 2019
    August 2019
    July 2019
    June 2019
    May 2019
    March 2019
    January 2019
    December 2018
    November 2018
    October 2018
    September 2018
    August 2018
    July 2018
    June 2018
    May 2018
    April 2018
    March 2018
    February 2018
    January 2018
    December 2017
    November 2017
    October 2017
    September 2017
    August 2017
    July 2017
    June 2017
    May 2017
    April 2017
    March 2017
    February 2017
    January 2017
    December 2016
    November 2016
    October 2016
    September 2016
    August 2016
    July 2016
    June 2016
    May 2016
    April 2016
    March 2016
    February 2016
    January 2016
    December 2015
    November 2015


Picture
Copyright © 2015
 Vance Martin is a participant in the Amazon Services LLC Associates Program, an affiliate advertising program designed to provide a means for sites to earn advertising fees by advertising and linking to amazon.com.