NOVEMBER 3 VICTOR ECHO MIKE
  • Blog
  • Events and Activations
  • Diversions
  • About
  • Gallery
  • Contact
  • Links
  • Subscribe
  • Search
  • Blog
  • Events and Activations
  • Diversions
  • About
  • Gallery
  • Contact
  • Links
  • Subscribe
  • Search
NOVEMBER 3 VICTOR ECHO MIKE

ham radio Projects and musings from a (Relatively) new operator

Mind Blown

11/8/2017

1 Comment

 
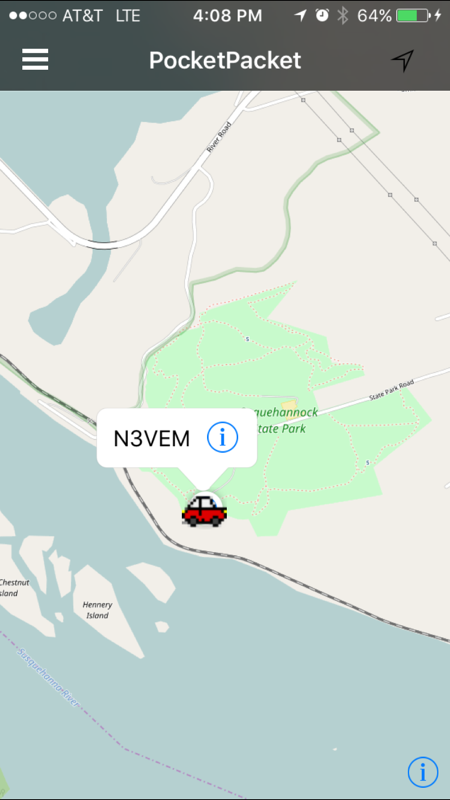
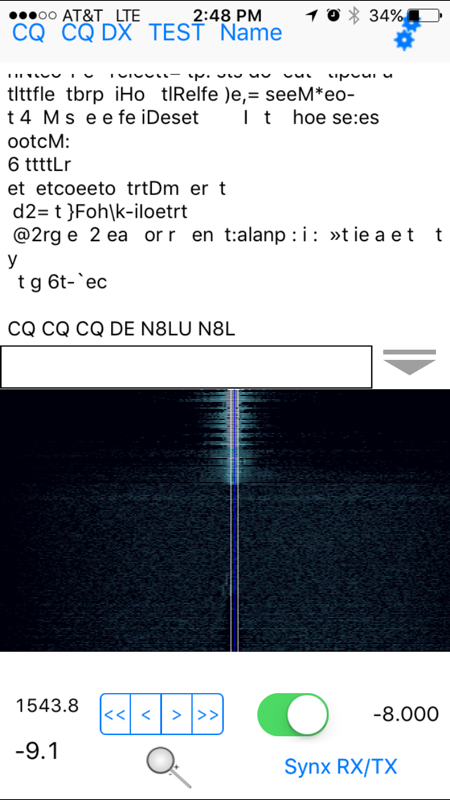
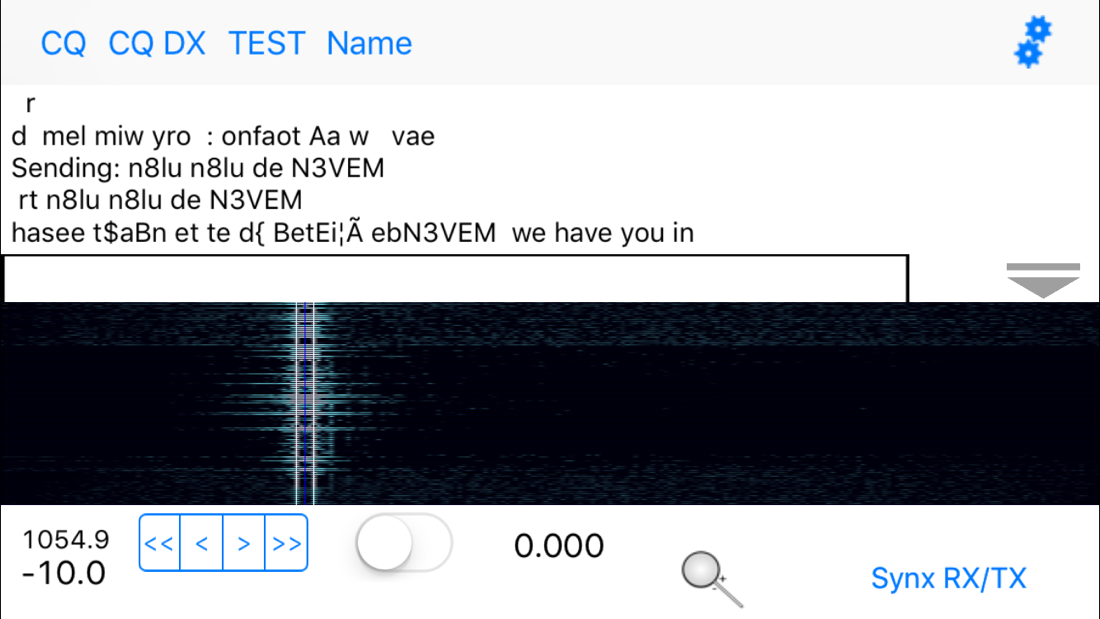
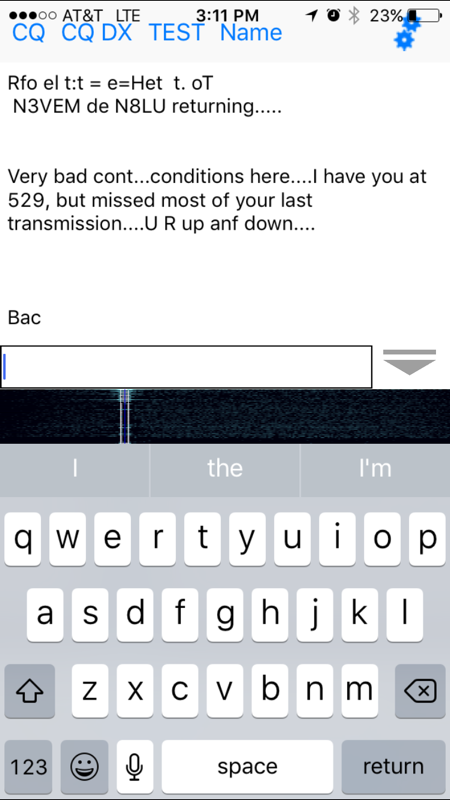
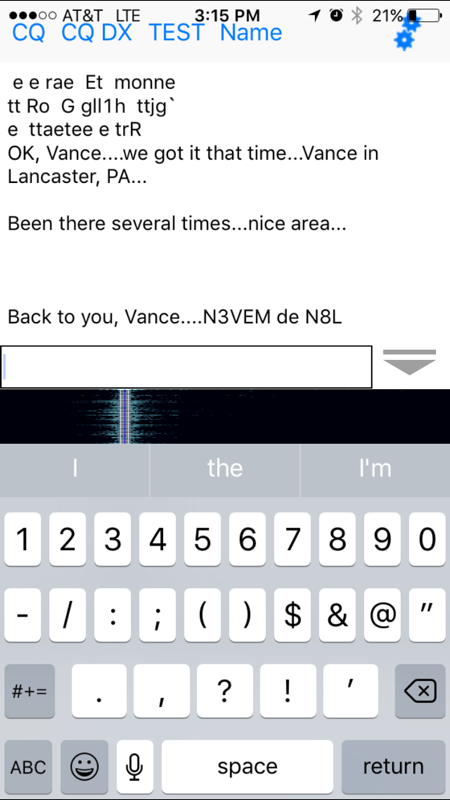
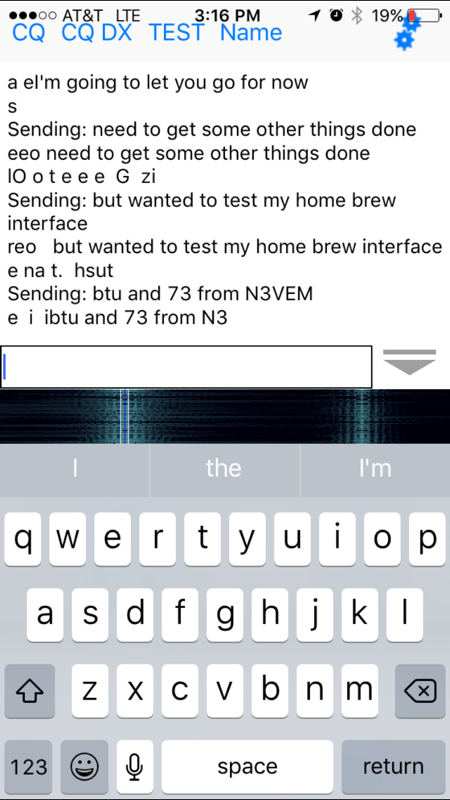
     I love ham radio, and a big reason is because of the random connections you can make!  I recently ended up having a great chat with KA5FDX via PSK31.  For non-hams who may be reading this, KA5FDX is actually a person named James.  PSK31 is a mode where you hook your computer or mobile device to your ham radio, and it allows you to do what looks very similar to instant messaging, but without the internet, cell network, or wires between the people talking.
     Of all the random things that two people can end up chatting about, James and I ended up discussing the most obvious one - relativity!
Picture
Specifically, we ended up talking about the speed of light, and how far into space you would need to travel to be able to look back at earth through a high-powered telescope and witness specific historical events as the light from the planet eventually reaches the far corners of the galaxy.
     I'm no physicist, so this isn't going to be a lesson in that, but it did make me consider something that should...

Blow your Mind!

     Let me take a step back, and slowly ease you into this, so that I don't blow your mind all at once :-)
Picture
     Take a moment to consider an every-day conversation.  You and I sit in a room and talk to each other.  Since sound travels 343 meters/second (there are a lot of variables to that, but we'll stick with it for simplicity), when we talk it takes .002 seconds for the sound to get back and forth between us (sitting a meter apart.)  That's so fast it's pretty much instant.  What if we were on opposite sides of the country?  That's 4,313,042 meters, so if we could shout loud enough it would take 3 1/2 hours for the message to travel that far!  That's actually rather slow when you think about it, considering that we have built planes that are capable of covering that same distance in just over 30 minutes (The X-15 traveling at Mach 6.7)

     What if I want to shout at someone in Australia?  At 16,767,755 meters, that is pretty much as far from me as someone can be, and still be on land.  In this case, if I could shout loud enough, it would take my voice nearly 14 hours to make the trip!
     Now, this is where the part comes in that many of us take for granted, but should BLOW YOUR MIND!

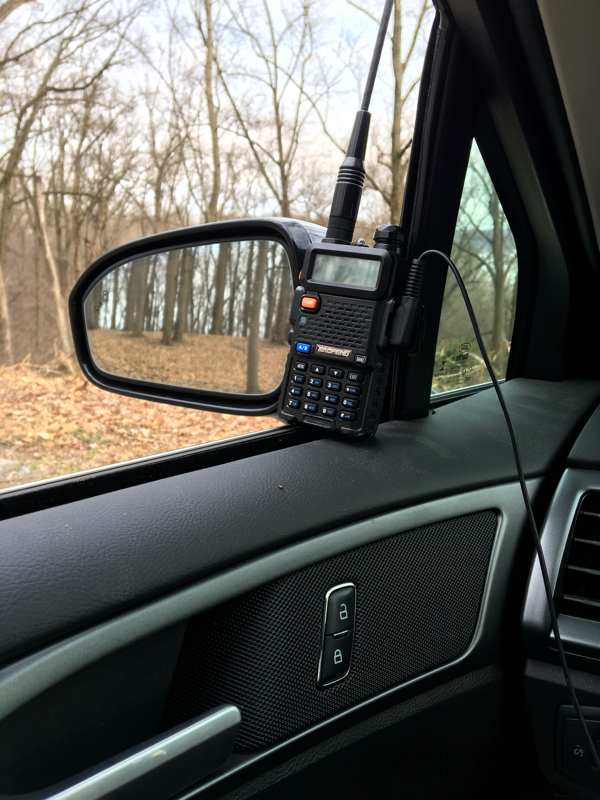
     I have, in my possession, a device that takes my slow-moving voice, translates it into a form of energy that travels at nearly the speed of light, and can re-translate the same coming back at me in the other direction, allowing me to have instant communication over that same distance, through nothing but the empty space between me and the person in Australia! 
​
     "Wow!" you say, "this device must be huge!"
     
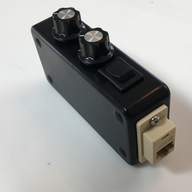
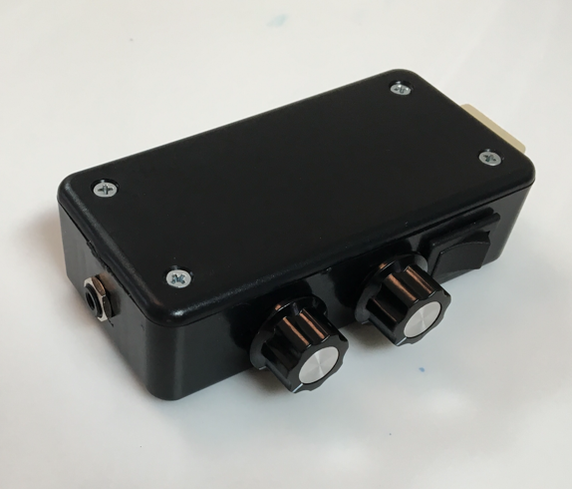
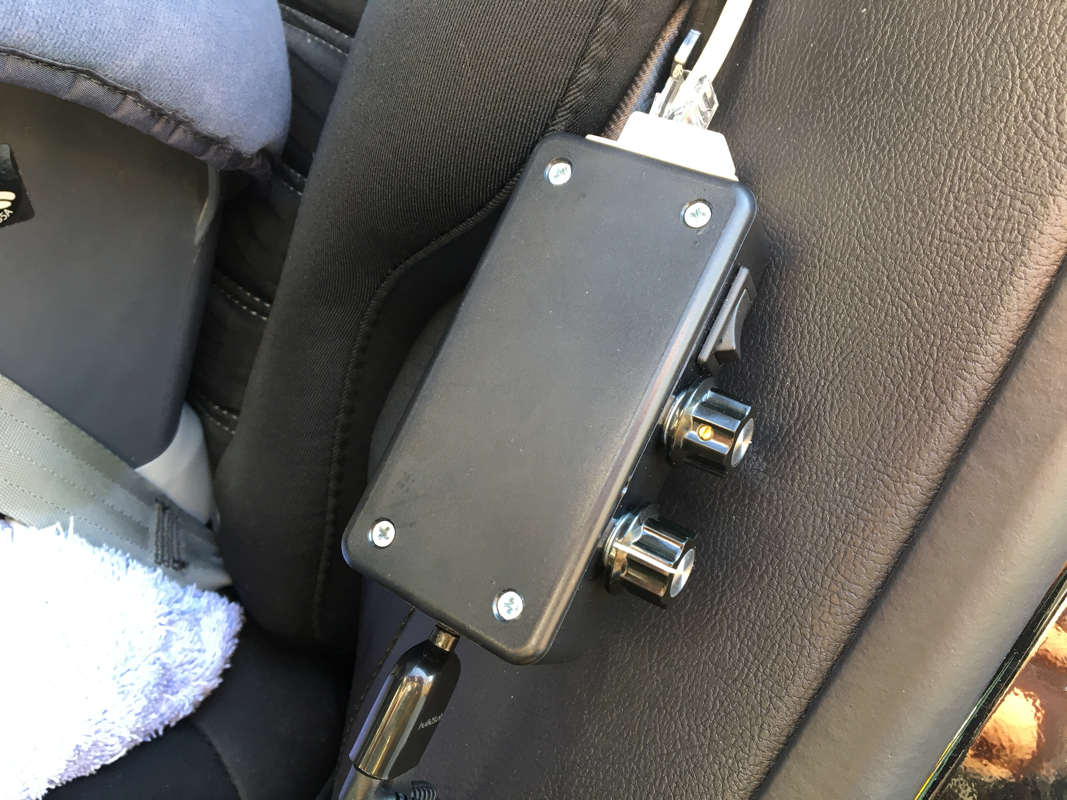
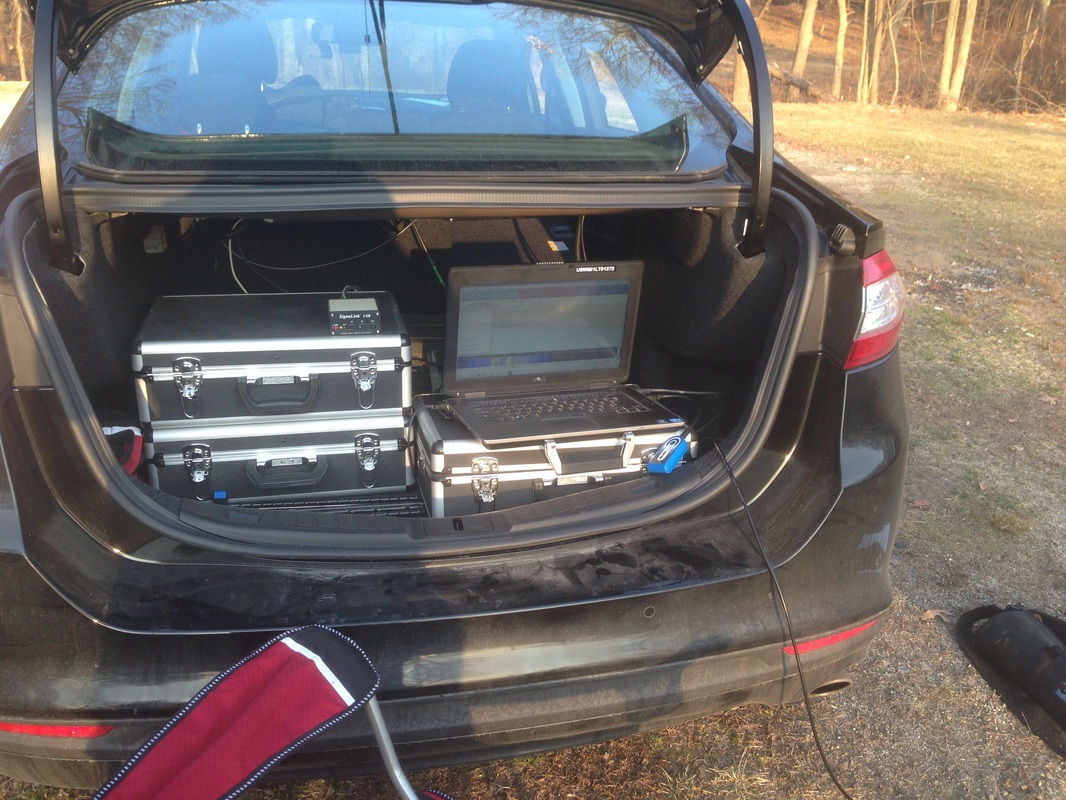
     To which I respond, "Nope, it sits on the corner of my desk."  
    
     "Well, it must consume some crazy amount of power to propel things at the speed of light."

     "Not at all.  In fact, it probably uses less power than some of the lamps you have in your house."

     "Certainly then, this device you talk about must be pretty expensive, and complex!"

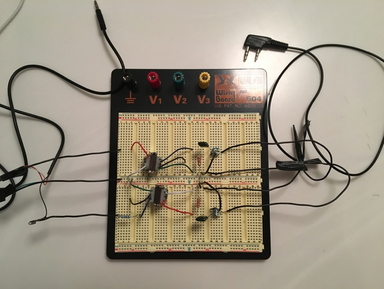
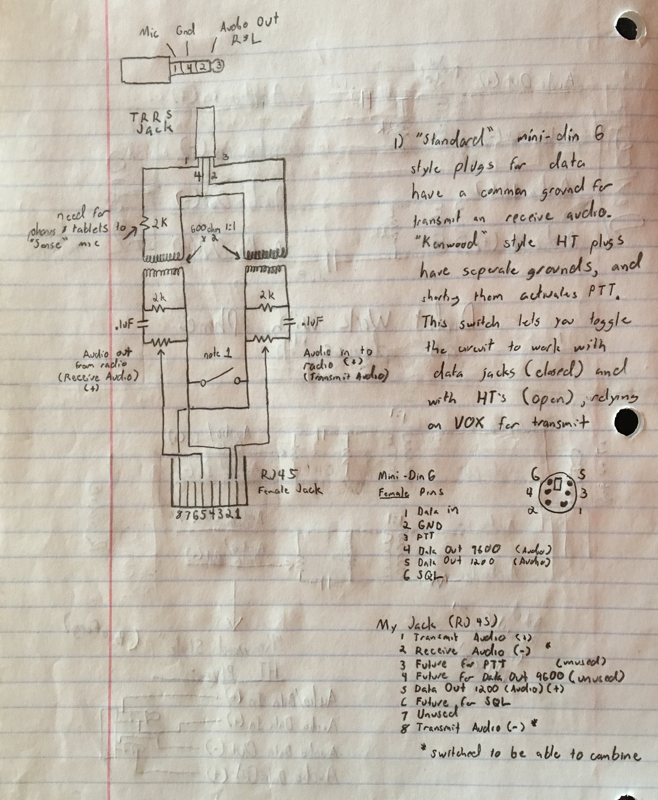
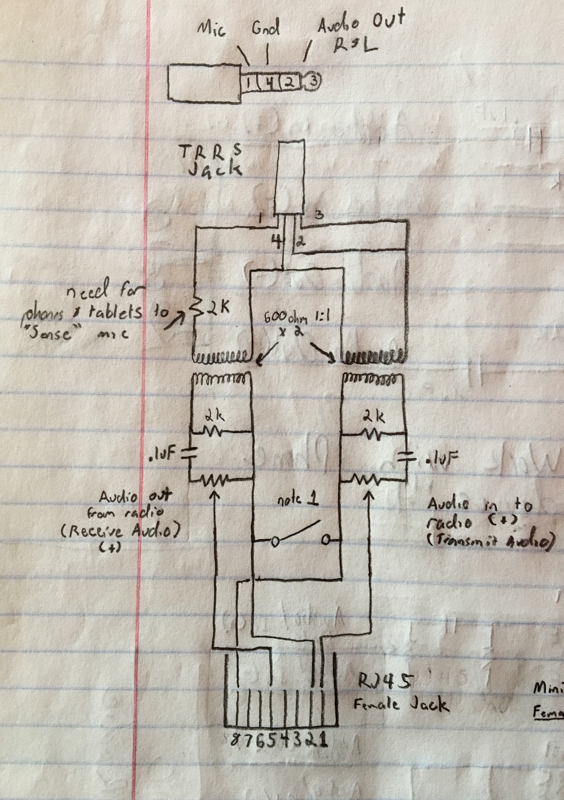
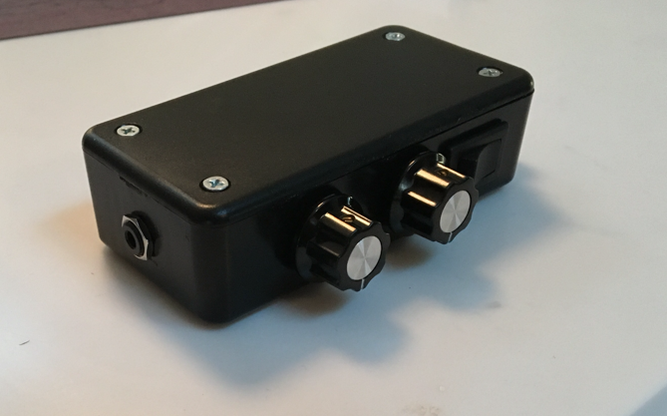
     "Not all all!  You can build one yourself for about $60!"

That my friends, is the pure magic of ham radio.  Mind Blown.


P.S.  
​I did a bunch of my sound-distance math with this fun calculator.  Also, don't forget to check out part 10 of my on-going build project to give your input.  Finally, make sure you subscribe so that you can get updates right in your e-mail!
​
1 Comment

Back in the Saddle

10/30/2017

3 Comments

 
Post Contains Affiliate Links     
     It dawned on me that it has been quite a while since I've done any digital modes work from home.  I think the last time I did, I was still using my GutterTenna as my primary home antenna.  That simply had to change!
     Tonight I dug my SignaLink out of the pile, brought it up to my temporary shack in the master bedroom closet, hooked every thing up, set the levels, and made a contact.  Awesome!
     This might seem like a small victory, but usually by the time I can get on the radio at night, there is a sleeping baby on the other side of the wall.  This eliminates any mode that makes noise after about 23:00 UTC.  I've been slowly working on my CW, but even that is challenging at night.  The side tones and static are enough to stir him, but if I wear headphones so I don't disturb him, I also can't hear him if he needs me.
     Digital modes to the rescue!  Using digital modes, I can make contacts without making any sound (other than they typing on my keyboard) AND I can keep my ears peeled for the sounds that mean daddy is needed.  If you're on the air in the evenings, look for me hanging around the HF digital frequencies!
    Time for a new slogan - "Digital Modes: letting babies sleep and parents play radio all night long!"
3 Comments

AnnaLink - Finished!

3/11/2017

0 Comments

 
Post contains affiliate links
     For several weeks now I've been slowly working away at a mini-project, building a sound interface to use with my iPhone and tablet for digital modes. If you're just joining me, you can go back and start with part 1, when the project looked like this:
Picture

     To find out what happened between then and now, read on, and I'll share with you how it got from what you see above, to this:
Picture
Picture

     Now, before I get too far, I have to share the fact that if you don't have the patience to "roll your own" you can buy something very similar to this, either complete or in kit form on eBay. There are a couple different versions though, so make sure you get the one that fits your application!  There are models available for iPhone connection, PC connection, different radios, PTT triggered, VOX triggered, etc.  Each one of these is the same basic circuit, but with slight tweaks for each application.
Picture
Easy Digi for iPhone - available on eBay
Picture
Easy Digi for iPhone and Baofeng
Picture
Easy Digi PC soundcard Interface Kit

     When I last left you, I had the interface working, and had already verified that the audio was working in both directions, using one of the world famous Baofeng UV5R radios. With the basic circuit working, I was ready to start thinking about a proper enclosure, and proper cables for connecting my phone and radios.
     The connection for the phone was easy - since modern smart phones and tablets use 3.5mm TRRS (4 conductor audio) cables, I ordered a TRRS jack that I planned on putting in one end of whatever enclosure I ended up getting.  This would let me connect my phone to the device with any 3.5mm TRRS male to male cable.
Clickable Amazon Links!
     The "other" end was something that I debated over. Because I wanted to use this with a couple different types of radios I knew I wanted some type of modular plug so that I could make up at least 2 different cables - one for my HT and one for my Yeasu 857d.
     My first thought was to use an RJ12 jack. These jacks are the same size as the traditional RJ11 jacks used for old-school telephones (does anyone still use house phones?). The main difference is that RJ12 jacks and plugs use all 6 connection points, instead of just the middle 4. When it came time to acquire the part however, this isn't what I ended up getting.  I was clicking around a bunch of different sites, trying to decide where to place my order, and in my late-night clicking stupor I ended up ordering an RJ45 jack instead - as it turns out I'm glad I did!
     The order with my RJ45 jack came first, so I wired it up to the "radio" side of the circuit on my breadboard. To make things tidy, and easy for me to follow I looked up the standard pin numbering for RJ45 plugs. Since I would also be making a cable to connect to the data port on my rig (which uses the standard mini-din 6 format) I also looked up the standard pin numbers for the mini-din format. This way I was able to make the connections on my circuit so that when I was ready to make cables, pin 1 for the radio would equate to pin 1 on my interface, pin 2 to pin 2, up through pin 6.
     As some of you may have noticed, I draw pictures in a notebook when I work on things - doing this helps to cement the concepts of whatever I'm working on into my head. With that thought, here are my notes from working out the pins, and a picture of the jack wired to the breadboard when I was playing around with it:
Picture
Picture

     At this point I was still waiting for a couple of parts from another vendor.  In the interest of working with what I had on hand, I next made up a cable for my Baofeng HT. The actual wires in the HT plug I was using were too small to fit directly in the RJ45 plug (remember those TINY enamel coated wires I talked about?!) Since they were too small I spliced them together with solder and heat-shrink onto a short section of Cat5e cable. I then put a large piece of heat shrink over the entire group of individually spliced wires, and then put the RJ45 plug onto the other end of that, being careful to make sure my wires lined up with the pin-out I referenced above.
     With the new cable made up, and me still waiting on some of the other little parts to arrive, I decided to do another "test" to make sure I didn't accidentally undo any of my previous work, and to make sure that my new modular jack was wired correctly. For this test I put the temporary circuit into a temporary enclosure (aka, a cardboard box) and took it along on a family drive to our closest state park (Susquehanock - I'll probably be doing a WWFF activation here soon.) I successfully sent out a couple packets via APRS so I know the cables and jack were wired up correctly!
     Now, at this point the most observant among you might be saying, "Hey, I see a switch in the circuit on your breadboard in some of those pictures...you never mentioned a switch!" To you I say, "good catch!"
     Something I realized while I was working on this is that on the "radio" side of the circuit the mini-din connectors only have 1 ground connection that is shared for all of the other connections, while the Baofeng or Kenwood style HT plugs need separate grounds for transmit and receive audio. This is because on these radios, connecting the two grounds together is what activates the PTT. The switch gives me a way to use the same devices for both radio types. With the switch wired between the 2 grounds, leaving the switch in the open position lets it work with HT radios (using VOX), and putting the switch in the closed position makes it work with standard mini-din data ports (also using VOX.) With all these little discoveries, I'm finally ready to share my "final" schematic for this circuit....
Behold! The AnnaLink schematic as it appears in my notebook:
     Shortly after this, my mini-din 6-pin cable arrived. I ordered one that was 6 feet, and male to male, so that I could cut it in half and make up 2 cables. Wiring it up when it came was pretty simple because of my care to make sure the pin numbers would match up in a 1 to 1 relationship:
Picture

     Next, it was time to finally put this in an enclosure. I made a trip to the local Radio Shack (stuff is on clearance since they're apparently closing another round of stores and filing bankruptcy-again...) and picked up the smallest project box I thought I could fit everything in. At this point I also picked up 2 different potentiometers because I wanted something I could mount in the box, and put knobs on. I ended up getting audio taper potentiometers instead of linear, because the rate at which they change the level (logarithmic) is supposed to feel more natural for audio applications.
     Once I had these in hand, I also decided at that point that I would just mount everything in the box and do point to point wiring, because the number of components is small, and I could rely on the potentiometers to be the physical strength, and simply attach the smaller components directly to them. The pictures below show my markup method for making the holes, and the final product:
Picture
Picture
Picture
Picture
Picture
Picture
Picture
Picture
Picture

     For those of you who were patient enough to hang in there through all of this, here's some proof that it all worked! A contact with N8LU using 5 watts from my 857d, and the PSKer app on my iPhone. This app has mixed reviews, and I'll share my own full review at some point, but as far as I can tell it's the only iPhone app that will both send and receive PSK31 using the phone as an audio modem, so despite its shortfalls, it's the best (only?) one out there for iPhones (there are more options if you're an Android person.)
     With that, this looong post is finally over! Thanks for sticking around, and feel free to ask me questions or leave comments - especially if you plan on building your own!
Back to Part 2
0 Comments

Minute man day 2

3/9/2016

0 Comments

 
Picture
     Good evening all!  I just wanted to give everyone a quick update on my NPOTA activation at Minute Man National Historic Park.  I finished my meetings early enough today that I was able to sneak off to the park for just a little bit to continue my activation.  Because I made the minimum number of contacts needed for an activation yesterday, my goal today was just to try something different, so I decided to set up my equipment to try and make some PSK31 contacts:
Picture
Picture
     Because I only had a short time (about an hour for setup, contacts, and teardown), I was only able to make 3 successful contacts. However, that's still 3 additional folks who get credit as chasers for this park, and one of them was France, with only 30 watts! Most importantly, I got to have some fun!

     Do you ever operate portable?  How about portable digital modes?  I'd love to hear about it - leave a comment!
0 Comments

    Categories

    All
    Antenna
    Cw
    Digital-modes
    Flying-with-gear
    Home QTH
    Miscellaneous
    Mobile
    Operating Events
    Portable
    POTA
    Shack Build
    Technical


    - N3VEM -

         Welcome to my Ham Radio Blog!  This blog was started primarily to share my two concurrent shack builds - my mobile station and my home station.  Over time, this has grown to include sharing about my operations, and general radio-related thoughts that I have as a newer operator.  
         
    ​Enjoy!

    RSS Feed


    Picture
    POTA!

    Picture
    Proving that hams do indeed still build stuff!

    Picture
    100 Watts and Wire is an awesome community, based around an excellent podcast. 

    Archives

    September 2020
    July 2020
    January 2020
    September 2019
    August 2019
    July 2019
    June 2019
    May 2019
    March 2019
    January 2019
    December 2018
    November 2018
    October 2018
    September 2018
    August 2018
    July 2018
    June 2018
    May 2018
    April 2018
    March 2018
    February 2018
    January 2018
    December 2017
    November 2017
    October 2017
    September 2017
    August 2017
    July 2017
    June 2017
    May 2017
    April 2017
    March 2017
    February 2017
    January 2017
    December 2016
    November 2016
    October 2016
    September 2016
    August 2016
    July 2016
    June 2016
    May 2016
    April 2016
    March 2016
    February 2016
    January 2016
    December 2015
    November 2015


Picture
Copyright © 2015
 Vance Martin is a participant in the Amazon Services LLC Associates Program, an affiliate advertising program designed to provide a means for sites to earn advertising fees by advertising and linking to amazon.com.