NOVEMBER 3 VICTOR ECHO MIKE
  • Blog
  • Events and Activations
  • Diversions
  • About
  • Gallery
  • Contact
  • Links
  • Subscribe
  • Search
  • Blog
  • Events and Activations
  • Diversions
  • About
  • Gallery
  • Contact
  • Links
  • Subscribe
  • Search
NOVEMBER 3 VICTOR ECHO MIKE

ham radio Projects and musings from a (Relatively) new operator

More over-the-Shoulder Updates

9/18/2020

0 Comments

 
     Hello!

​    I'm not generally a video person, but here's the second post in a row with a video to provide the update on the progress in my shack!  Aren't we so lucky? 
     
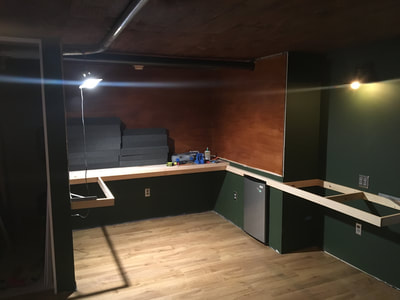
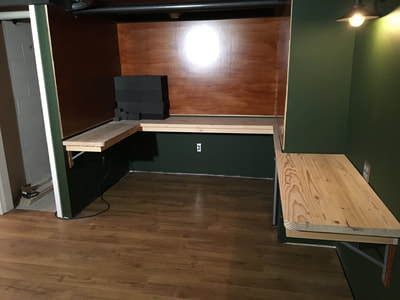
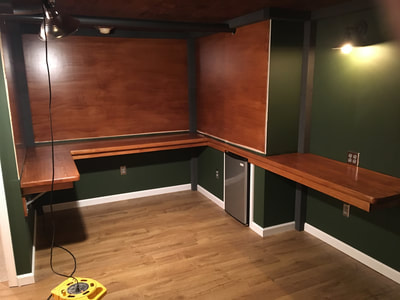
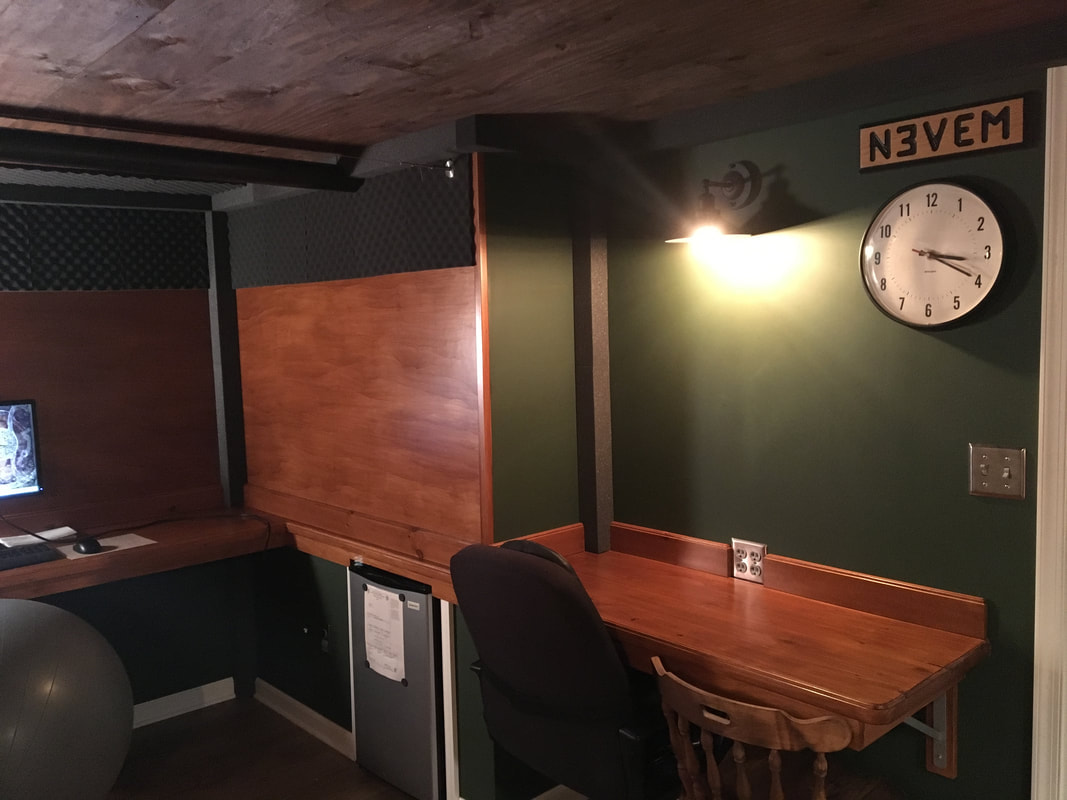
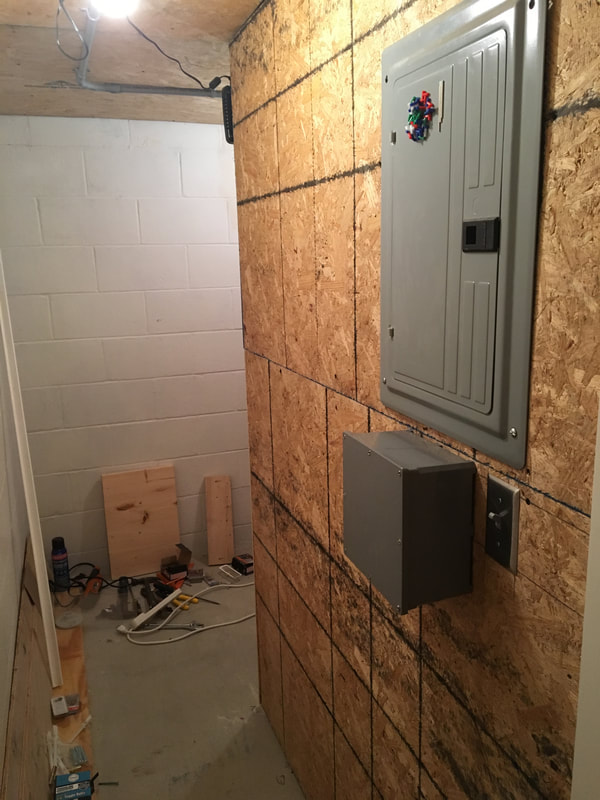
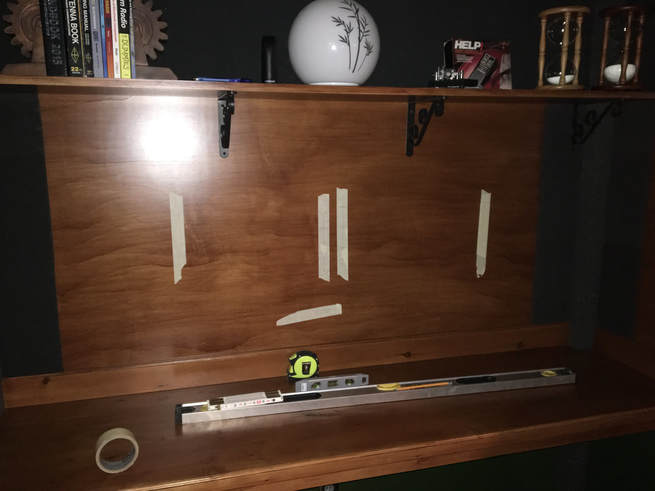
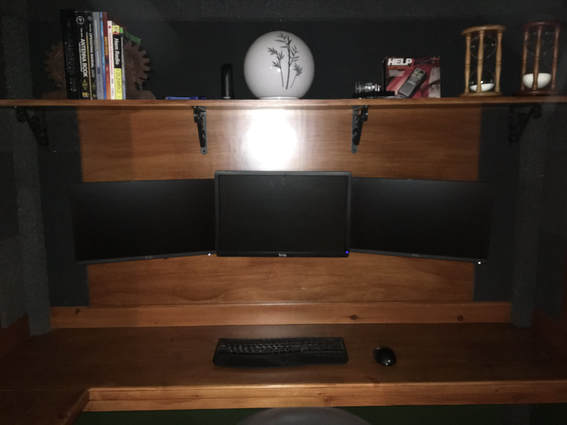
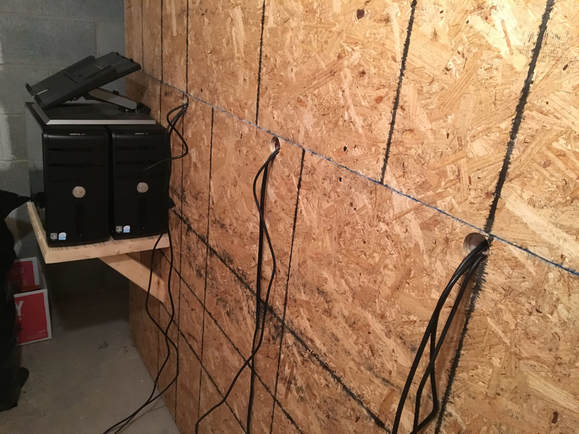
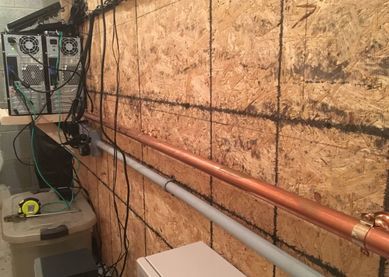
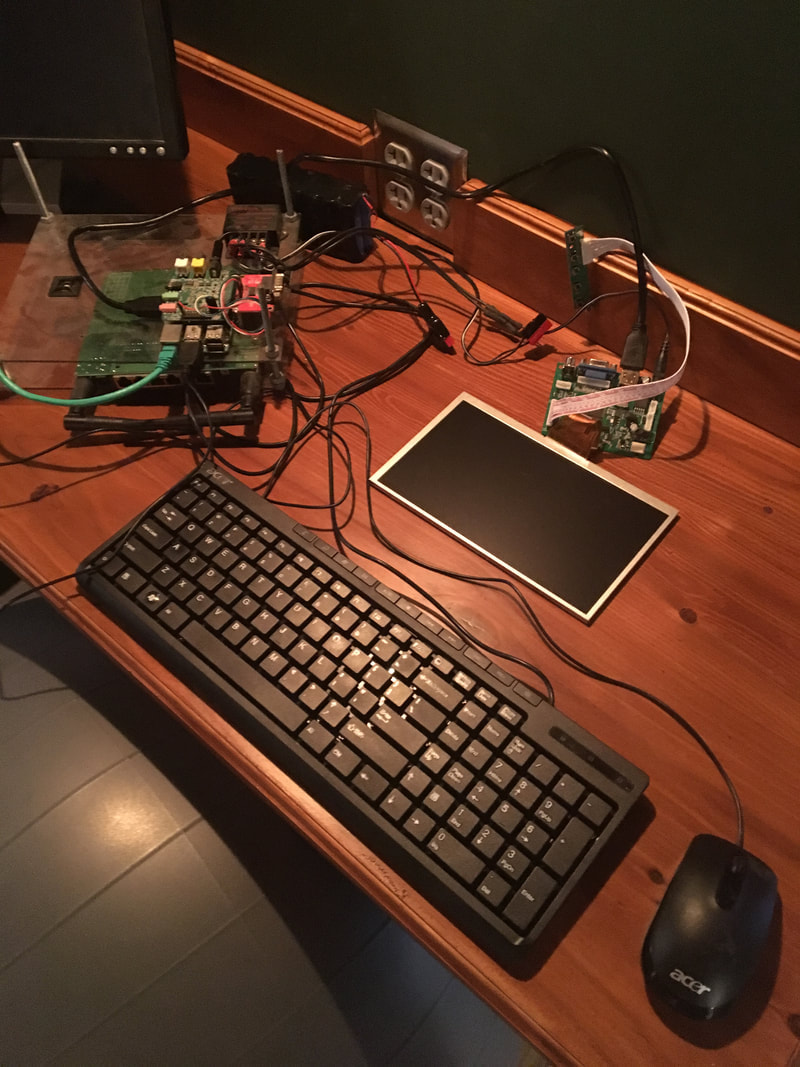
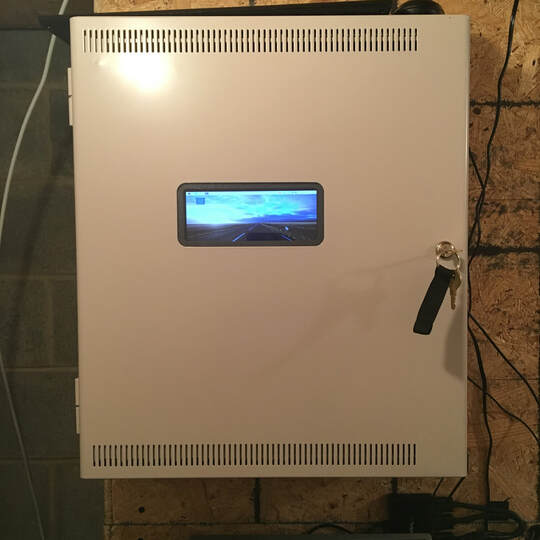
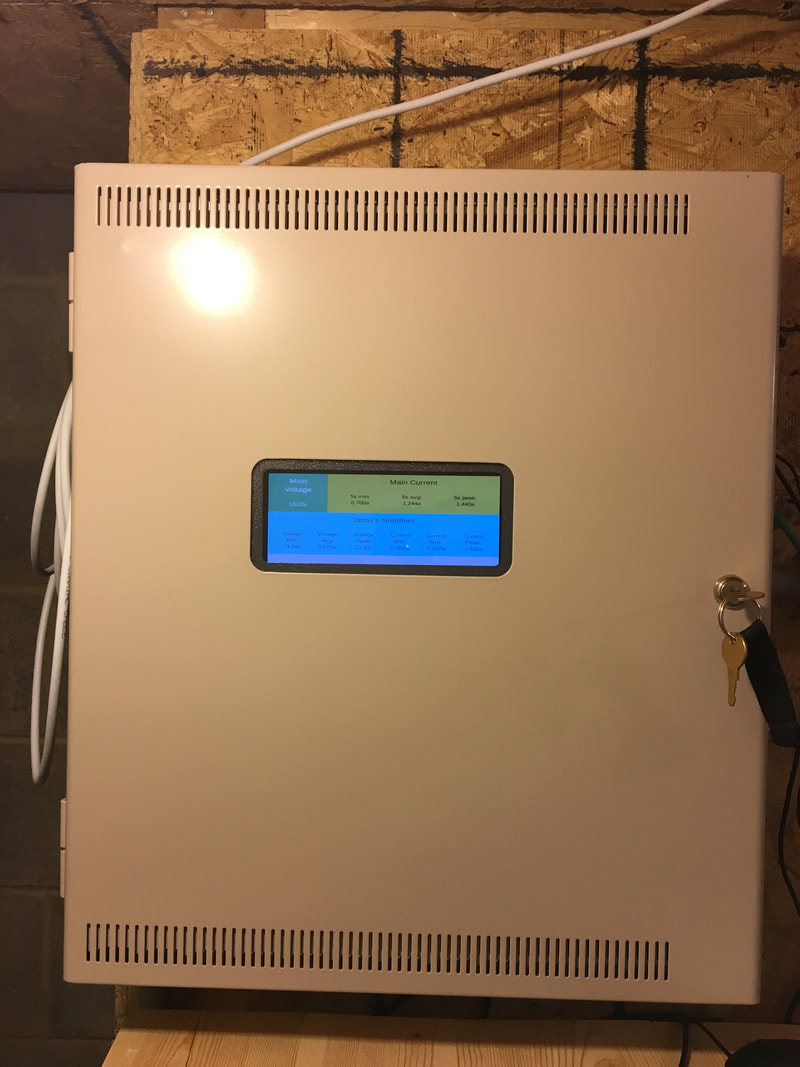
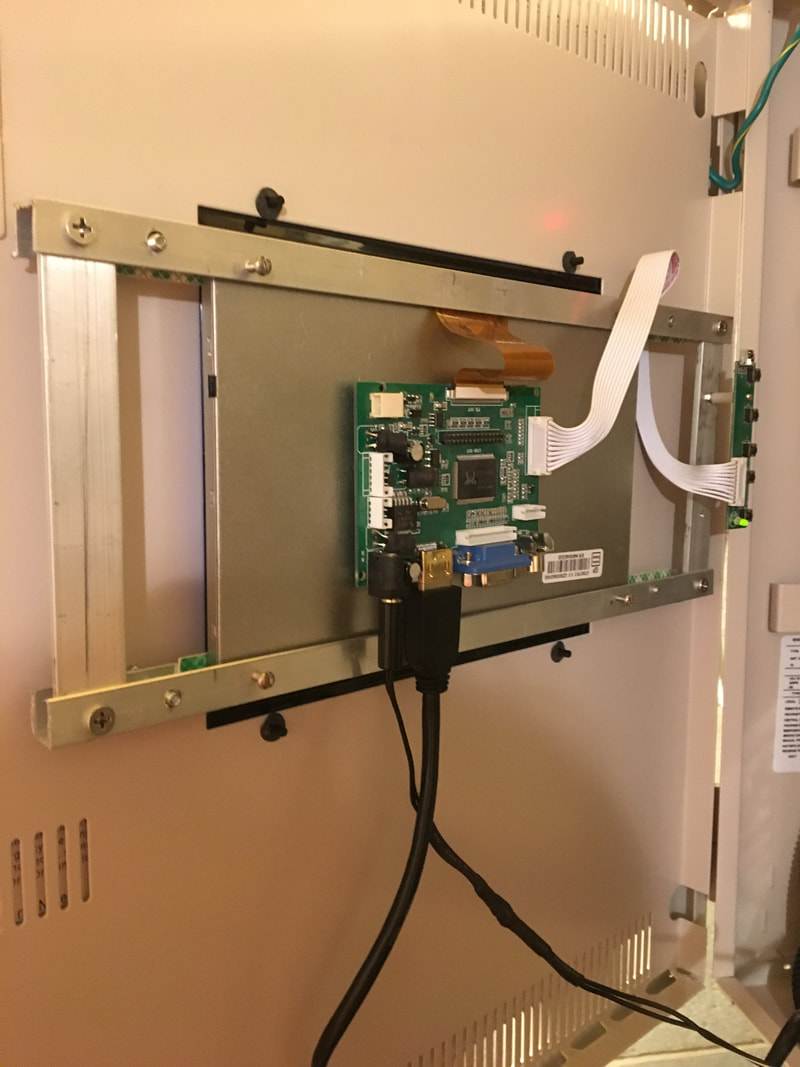
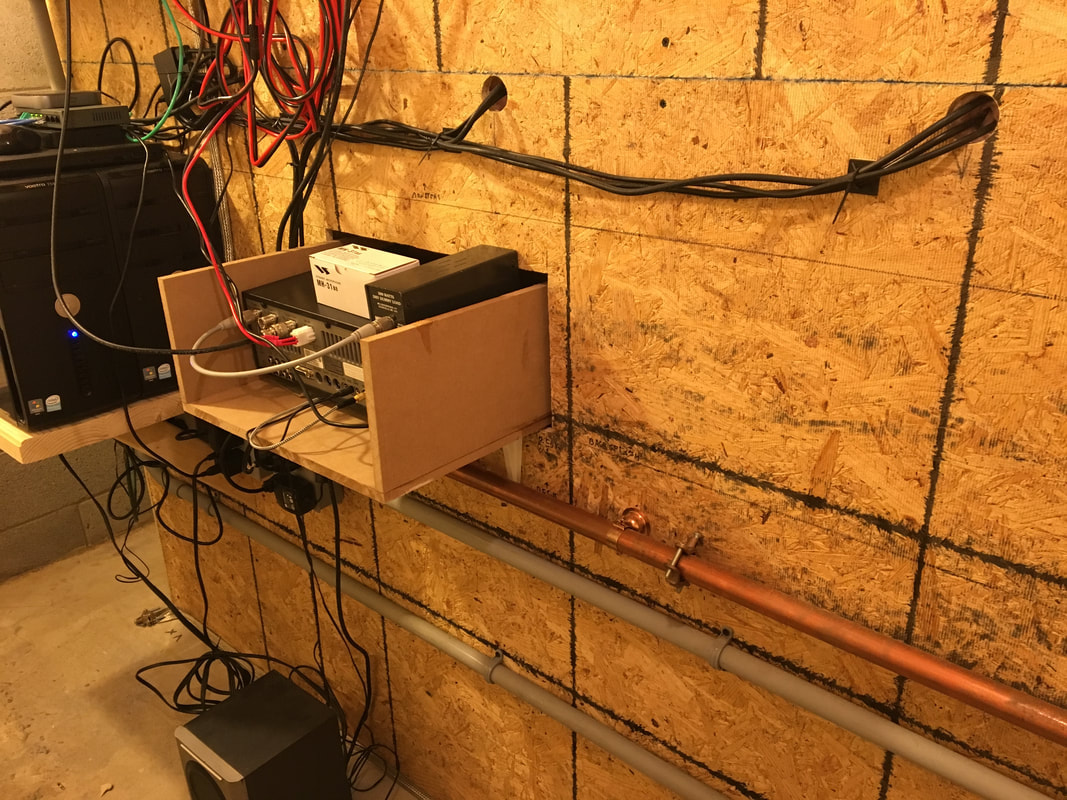
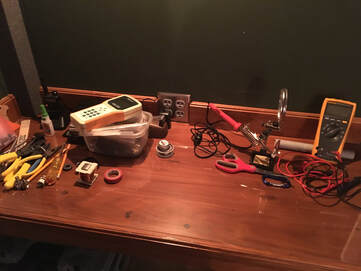
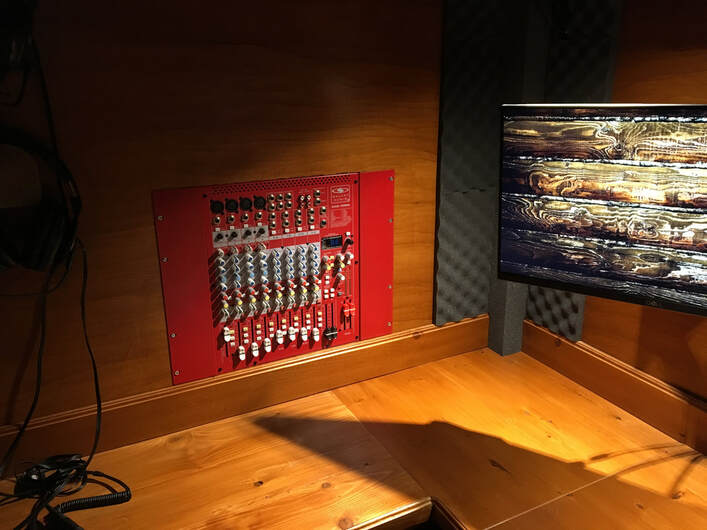
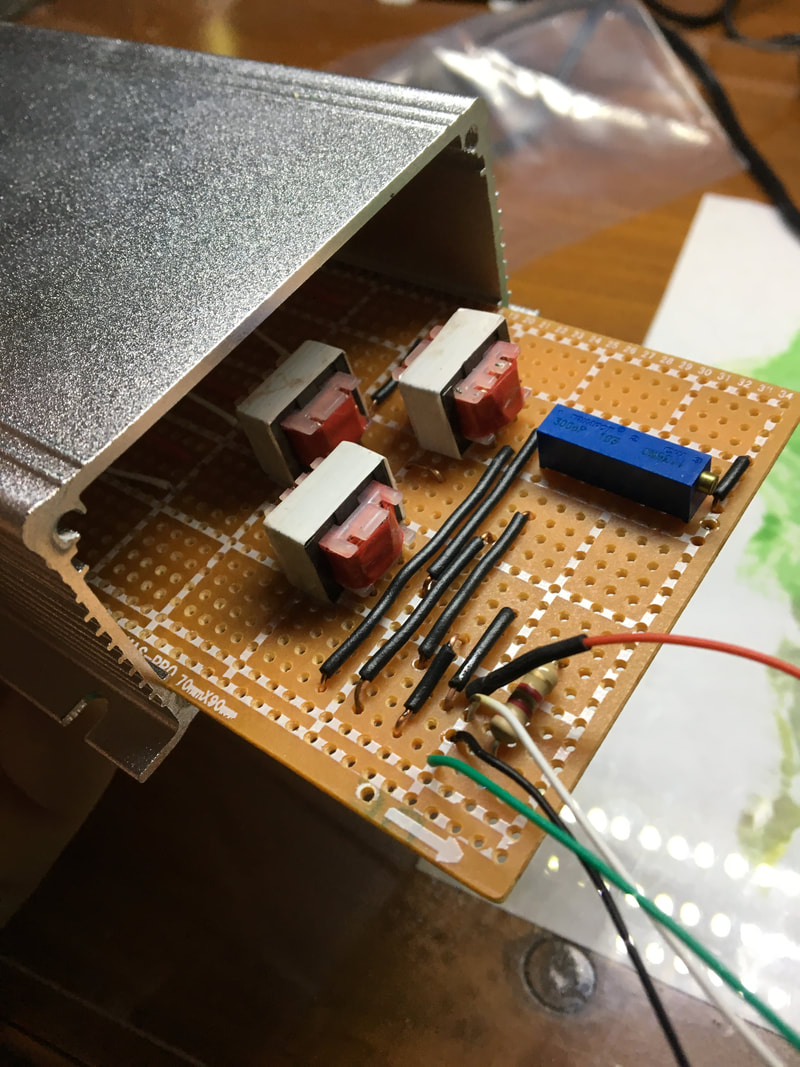
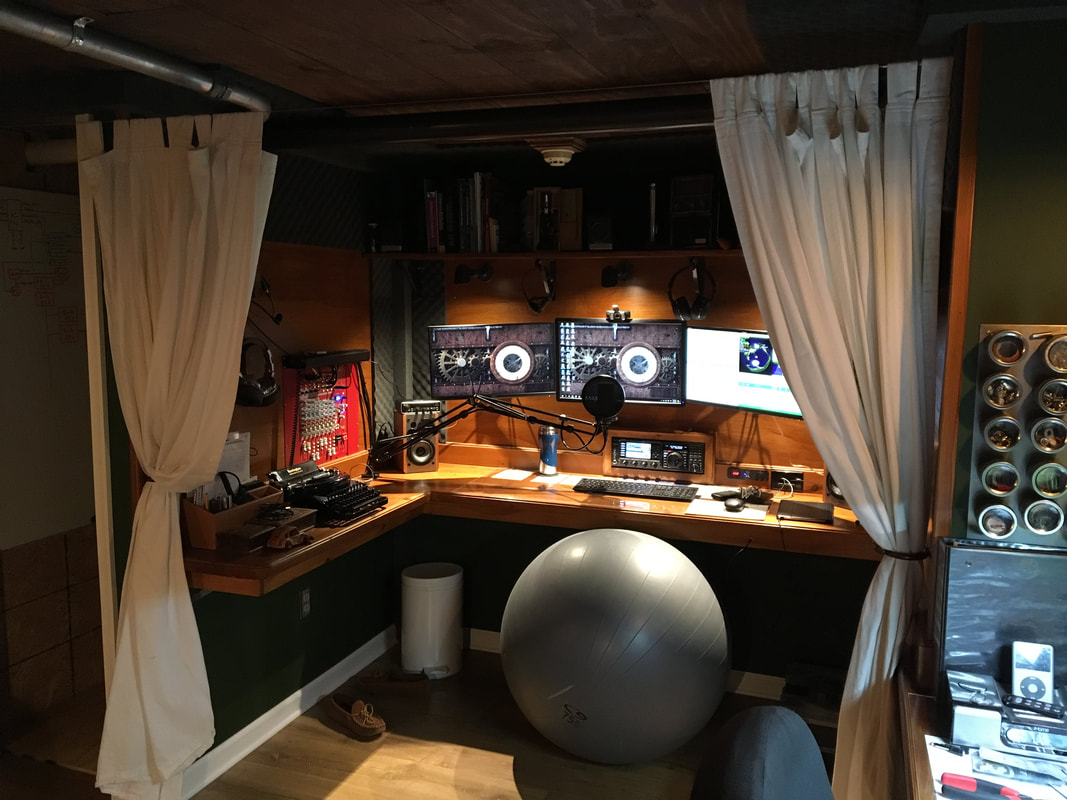
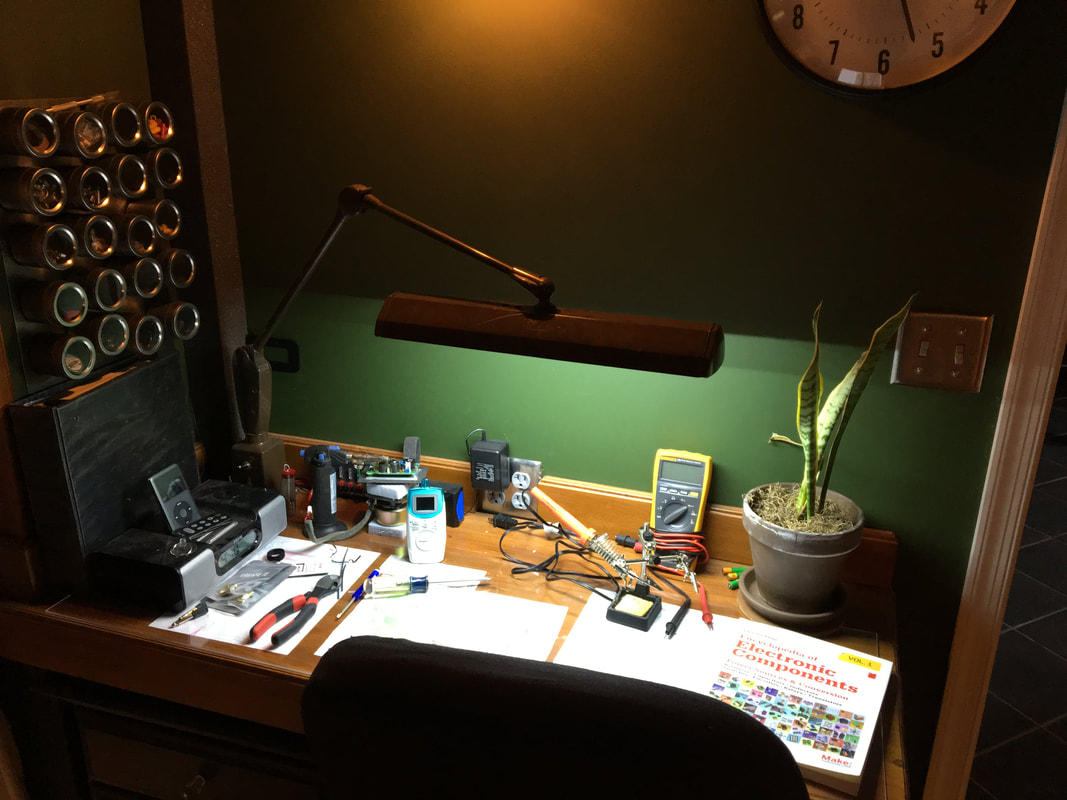
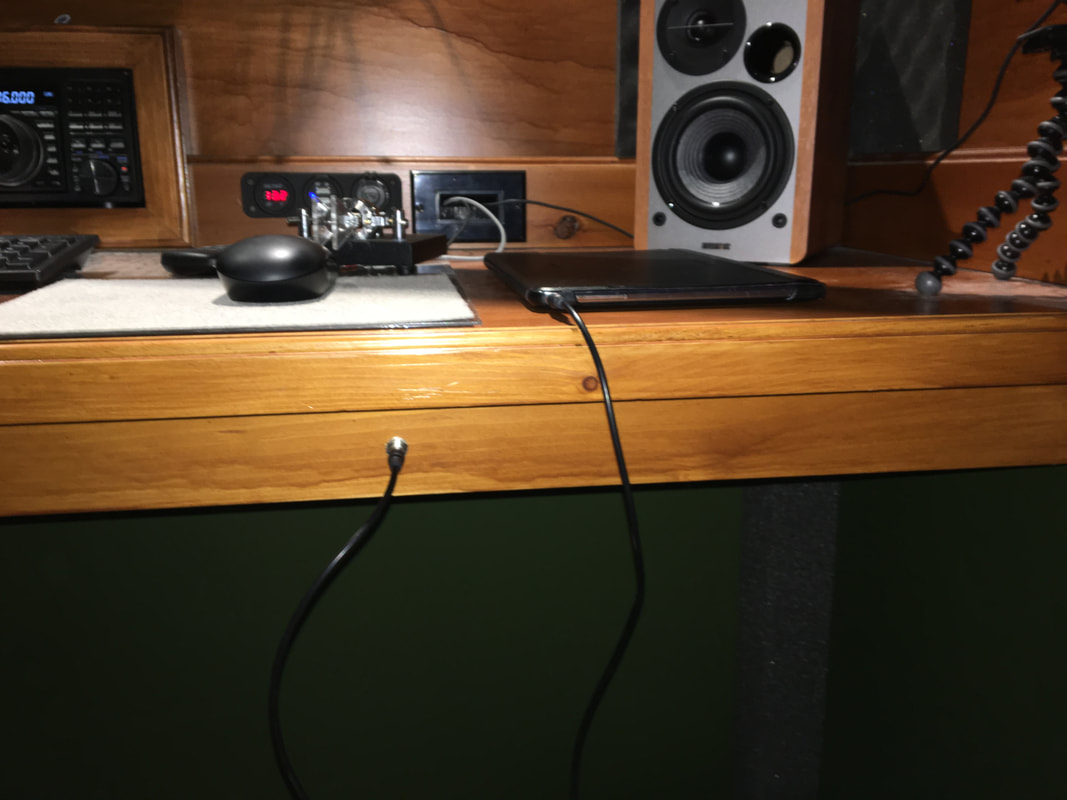
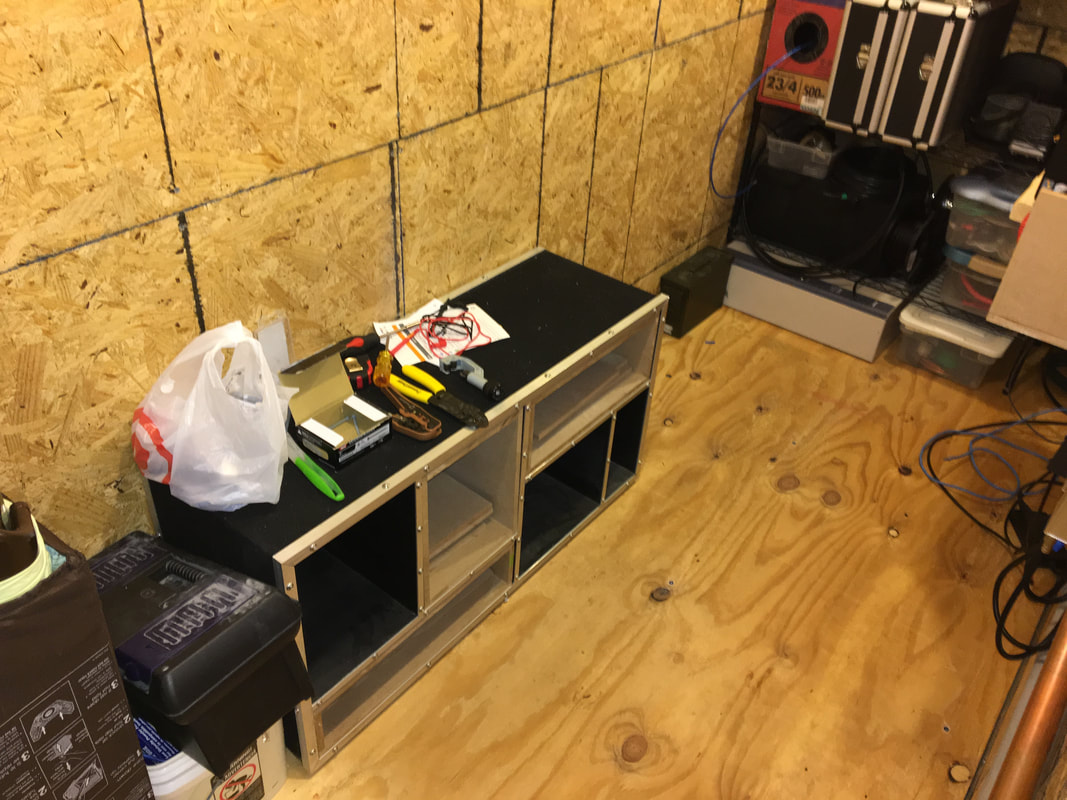
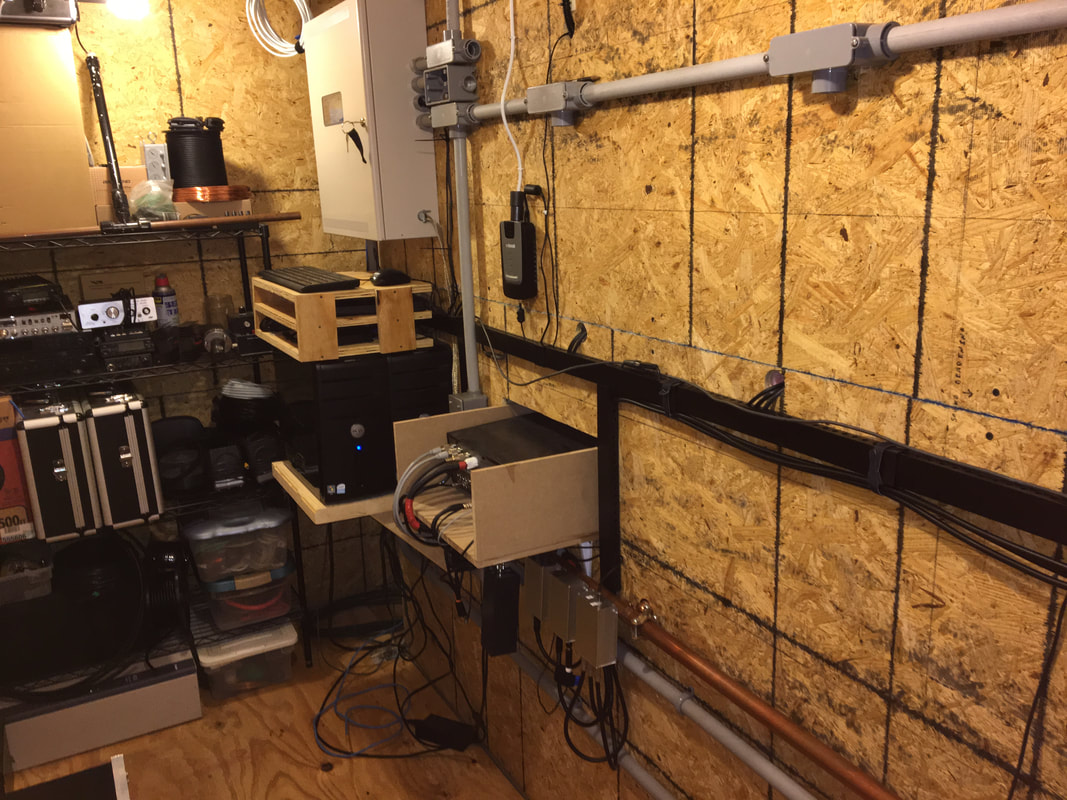
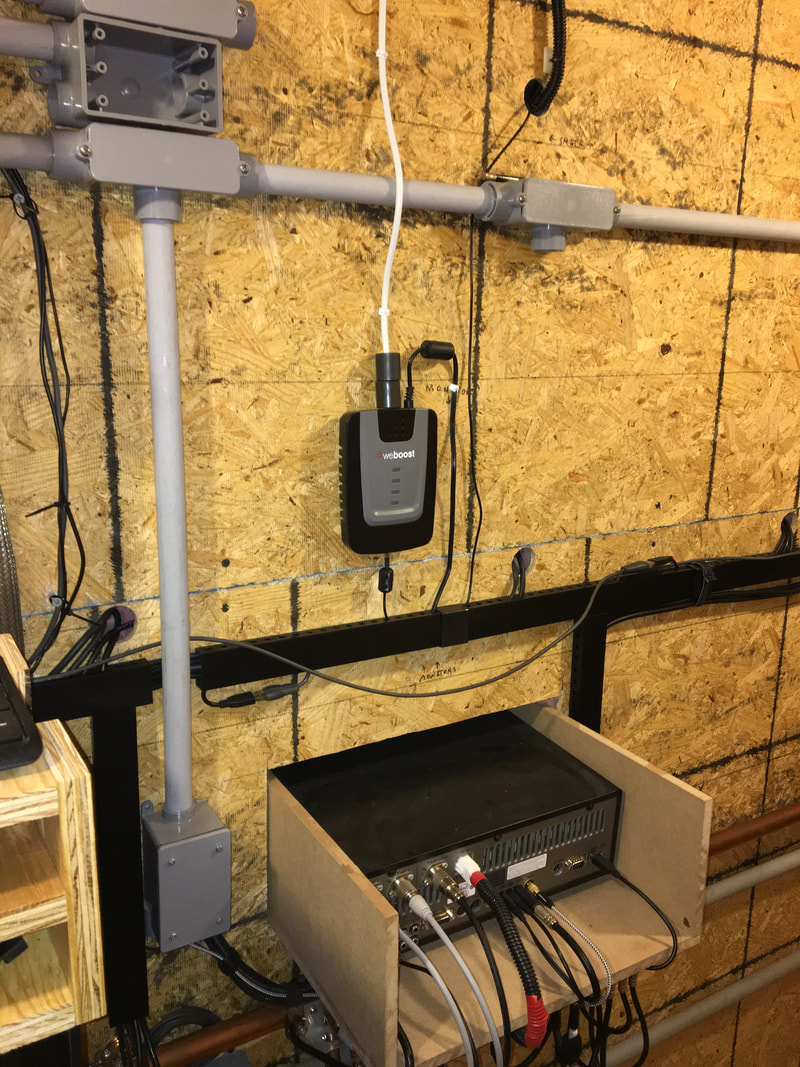
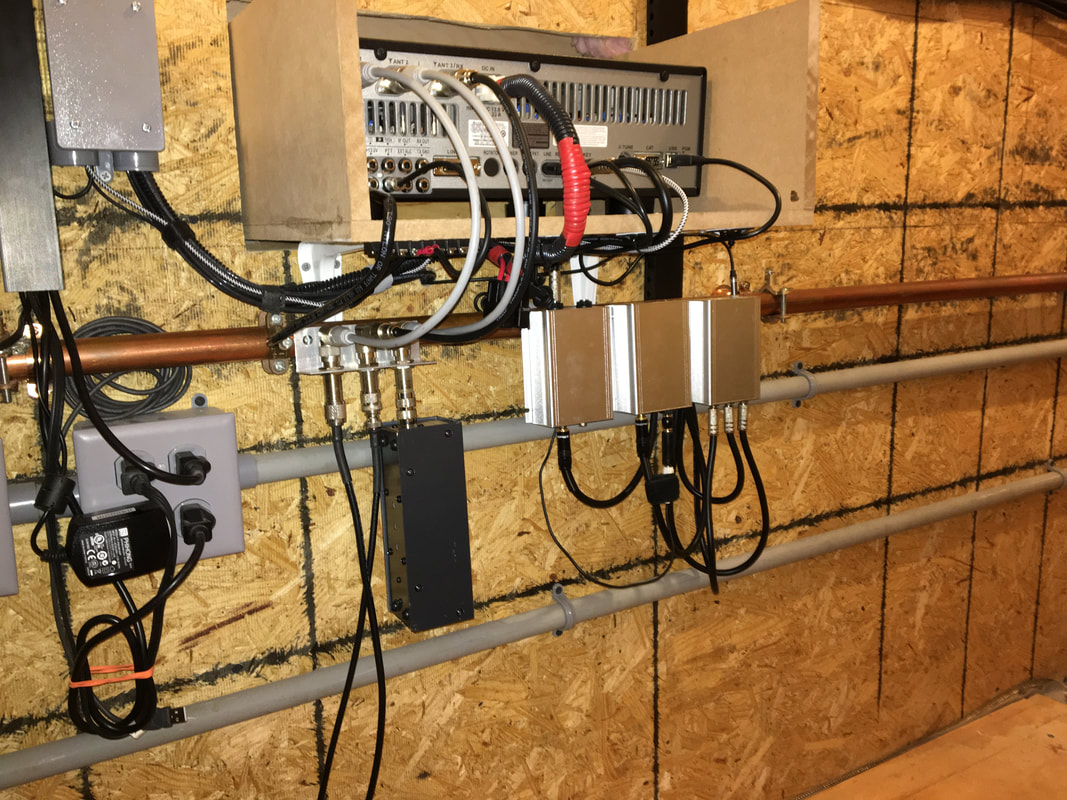
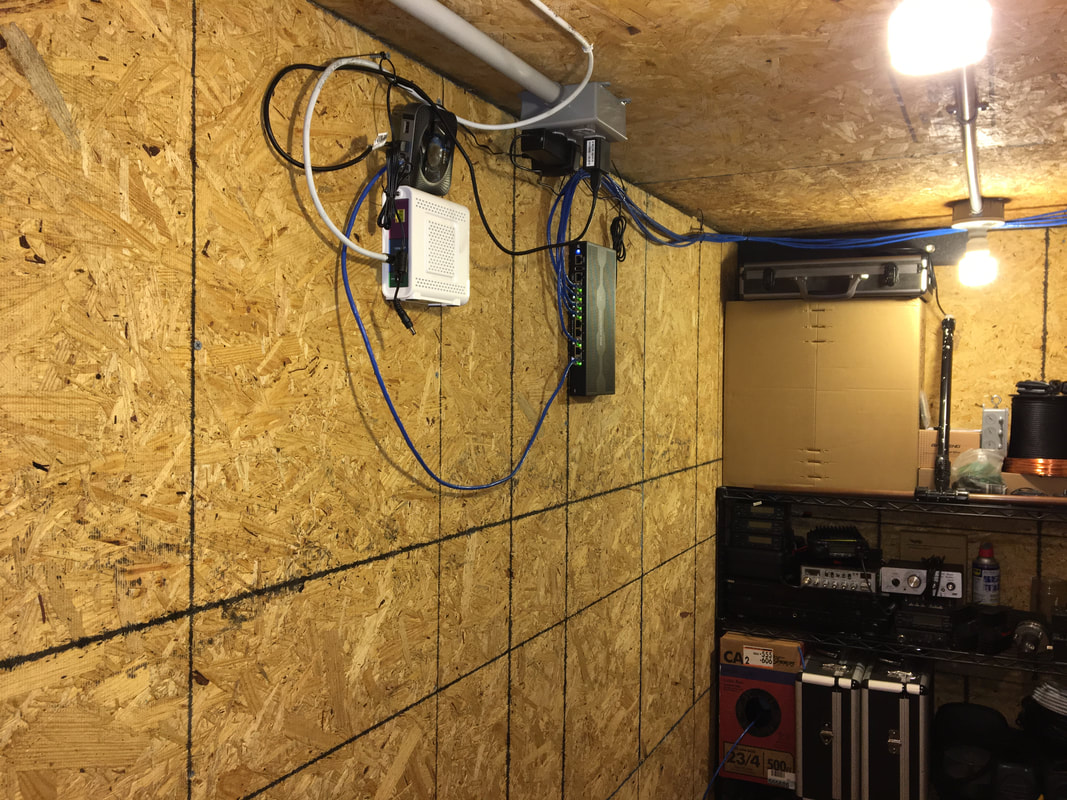
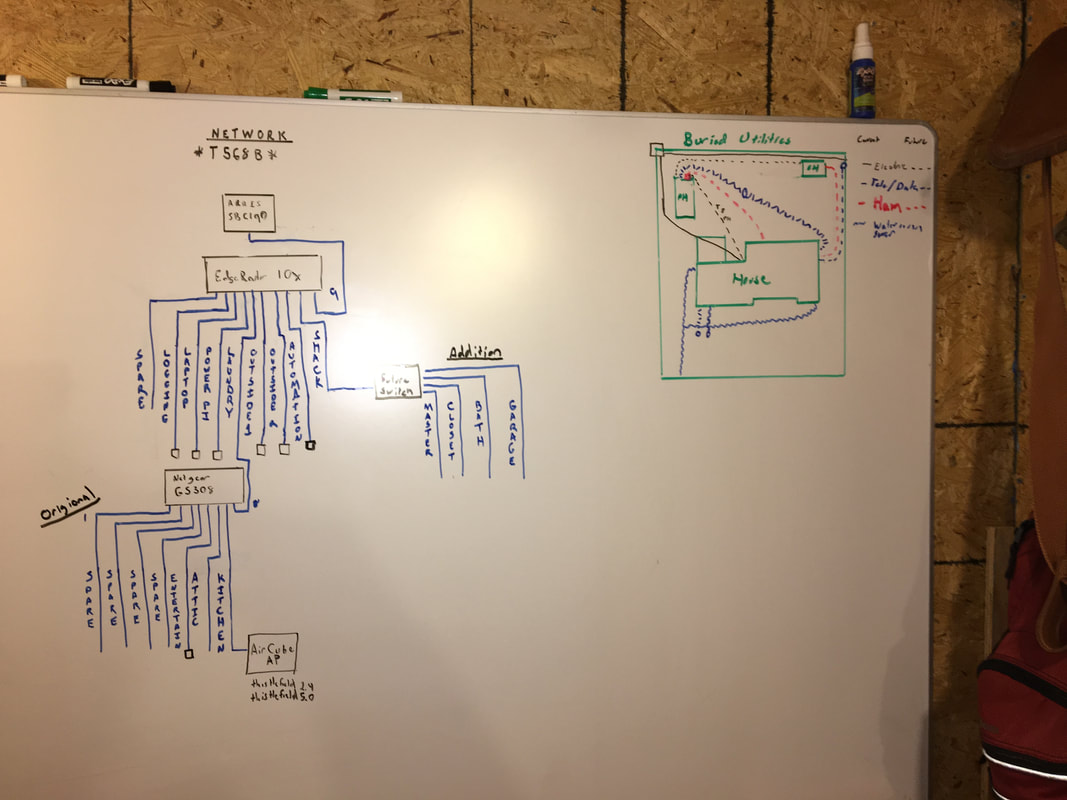
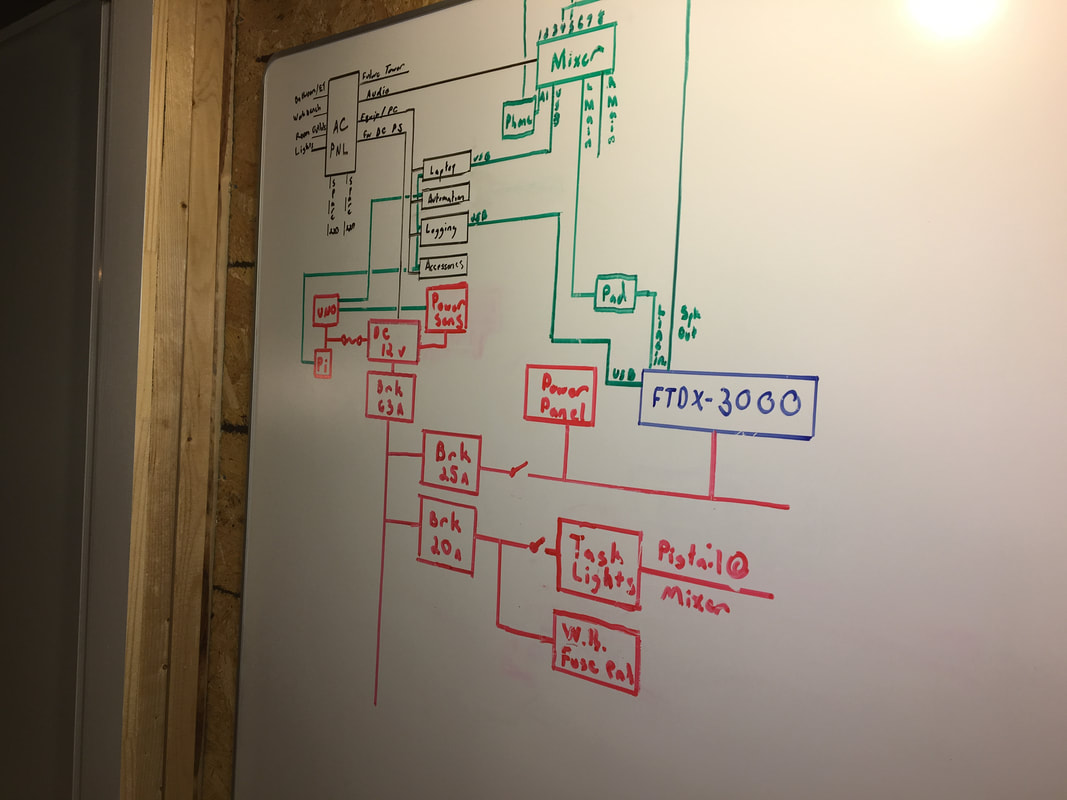
​     Last time I was sharing some info on the VU meters/Relays/Arduino arrangement that I came up with to give me an indication of which thing in the shack was generating audio.  This time, the update is more about progress towards getting some additional shack automation, and eventual remote operation ability.  We start off with the shack "powered down" (mostly) so that you can see everything "come-to-life."  My very amateur code is available on Github (search for user N3VEM on github and you'll find it) and the boards and relays I'm using are listed below as Amazon Affiliate links. (P.S. I switched from an Arduino Uno to an Arduino Mega for the control functions between the last video and this one as well. ) 
0 Comments

Where Did That Noise Come From?

9/4/2020

0 Comments

 
Post Contains Affiliate Links
Like many shacks, mine has a number of different audio sources.  When you're trying to pick a signal out of the noise, or even just trying to sort out which computer made the "ding" sometimes it can be challenging.  My solution to this problem involved some VU meters, an Arduino Uno, and a relay board.  This one is easiest to describe by just showing you, so check it out:
The code that runs on the Arduino to do this is still a work in progress, but if you'd like to grab a copy or dabble, you can snag it from one of my github repositories. (More on this later - but I just started a github to enable sharing all the technical details about the shack!)

The parts I used are below.  Clicking them will take you to Amazon so you can snag them for yourself:

​Enjoy!
0 Comments

New Antennas - Fast Tuning

7/26/2020

0 Comments

 
 Hello there!  I've been making a bunch of contacts recently, thanks to a couple of new antennas at my house.  Things have been rather busy, so I didn't get to detail all the construction steps, but there was something "new to me" that I tried with both of these antennas, and I wanted to share - I did the "one-cut tuning" method for both of these, and it worked out great!

     If you're curious about the one-cut method, you can jump to the last section.  If you're curious about the antennas I did it with, here's the quick info:

Fan Dipole

This one had a saga...I gave the "real-time" account on twitter as I worked on it over several weeks, but here's the short version: Due to being busy, it took me a while to get it up.  Once it was up and tuned, but before I even made a single QSO on it, a storm brought down the tree holding one end up, so I had to start over.  Good news - it's now in the air!

CoopTenna

     This was another "from junk" antenna, that I built, basically because the antenna deities told me that if I built a giant ground plane (chicken coop) I had to put an antenna on top of it to keep them happy.  It's made from an old fiberglass extension pole (spray painted black) with a wire running up the middle, and a short whip on top that I can slide in and out to make it tuneable.  

One Cut Tuning

     I had read about "one cut tuning" in an article on ham universe a while back, but it basically goes like this:

Cut your antenna to length using the standard formula of 468 / frequency (in MHz)
  1. Make note of the exact length of each half of the dipole.  It's easiest to work in inches or centimeters.  We'll call this (L1)
  2. Put the antenna up into its final position.  Note the frequency where the actual SWR "dip" is.  We'll call this (f1)
  3. Make note of the "desired" frequency - i.e. where you want the dip to be. We'll call this (f2)
  4. New Length = (f1)/(f2) x (L1).
  5. Trim (or fold back) so that the antenna halves are your new length.
  6. Put the antenna back up, and go get on the air - you're done!

The things I was curious about, that I couldn't find anywhere, and my newly discovered answers were:
  1. Does this work for a fan dipole, or does the interaction between elements screw things up?
    1. For me, Yes, it works!  The "new" frequency ended up being a little bit off from my target, but it was close enough that I was still under 3:1 everywhere I wanted to be on 80m, and under 2:1 across all of 40m and 20m.
  2. Does this work for a vertical, when you're basically only working with half an antenna against a ground plane? 
    1. For me, Yes!  I did the exact same method for the length of the vertical, so I only had to put it up once, bring it down to tune it, and then put it up for good.

Done and done!
0 Comments

Busy Beaver

1/2/2020

4 Comments

 
     I've been a very busy beaver this fall and winter!  I've had some family commitments, I started a new job, I'm still writing code for Parks on the Air, and our 3 kiddos have been keeping my partner and I hopping.  That doesn't mean I haven't been working on hamshack projects though!  I just had to prioritize my limited time, so when it came down to having time to do the projects vs. write about them, I decided to just plug away as much as I can and catch up on the written updates later :-)
     Luckily for all of you, I'll also be making an appearance on an upcoming episode of Ham Radio Workbench to talk about my shack build, so rather than write too much about it, just make sure to tune in and hear all about it!

    To accompany what you'll be able to get via the audio in the podcast interview, here's a "history in pictures" to browse as a visual highlight of past and present state of the shack during the last several years.  Enjoy!
Previous Shack Build
Next: Coming Soon!
Back to Part 1
4 Comments

(Not) Burnin' Down the House

9/30/2019

0 Comments

 
Post Contains Affiliate Links     
   In my very small amount of evening free time in the last months, I managed to work on a couple little projects in my hamshack.  Both of these things are related to the small workbench area I built for myself.  I purposefully kept the workbench on the small side, because I've found that keeping a space small forces me to be deliberate about organization and tidiness.  The end result, is that I end up with more usable work space, because I keep it clean, then I would have with a giant workbench covered in debris (Although I'm far from perfect in that regard...)
   The first of these projects was re-wiring an old task lamp.  My wife's grandfather passed away a few months back, and one of the things in the pile of stuff that we had to go through was an old desk lamp.  It was a really neat looking florescent fixture, being made of all metal, with a nice heavy base.  It looked old, so I figured I'd better inspect it before using it - I was glad I did!  It turns out that it was made in the 1950's.  I know that, because the base, where the open-frame (!) ballast was located, was stuffed with newspaper (!!) dated 1951, to hold the ballast in place.
     The newspaper had the requisite singe marks on it from where things got a little toasty at some point.  The wiring was also all cloth-covered cord that was fraying all over the place.  I pulled all the old wiring out, and did away with the florescent fixture parts.  I replaced the wiring with modern wire appropriate for the task, added a new switch on the base, and instead of a florescent fixture, I attached 3 strips of led lighting from wired communications onto the light reflector.  I now have a neat vintage looking task lamp, but one that runs on the same 12 volts as my other shack stuff, and won't burn down my house if I have it turned on for a few hours!

     The other task that I've completed recently, was to get some organization in place for my small parts that I use most frequently at my workbench.  Step one of that project was to grab a sheet of metal from the hardware section at the big-box-home improvement center, and step two was to snag a 20 pack of magnetic spice jars from Amazon.  Presto - small parts organization!
Picture

     And lastly, what better way to exhibit both of these items, than to showcase them being pressed into service by a future member of our ham radio clan, hard at they're work!
Picture
0 Comments
<<Previous

    Categories

    All
    Antenna
    Cw
    Digital-modes
    Flying-with-gear
    Home QTH
    Miscellaneous
    Mobile
    Operating Events
    Portable
    POTA
    Shack Build
    Technical


    - N3VEM -

         Welcome to my Ham Radio Blog!  This blog was started primarily to share my two concurrent shack builds - my mobile station and my home station.  Over time, this has grown to include sharing about my operations, and general radio-related thoughts that I have as a newer operator.  
         
    ​Enjoy!

    RSS Feed


    Picture
    POTA!

    Picture
    Proving that hams do indeed still build stuff!

    Picture
    100 Watts and Wire is an awesome community, based around an excellent podcast. 

    Archives

    September 2020
    July 2020
    January 2020
    September 2019
    August 2019
    July 2019
    June 2019
    May 2019
    March 2019
    January 2019
    December 2018
    November 2018
    October 2018
    September 2018
    August 2018
    July 2018
    June 2018
    May 2018
    April 2018
    March 2018
    February 2018
    January 2018
    December 2017
    November 2017
    October 2017
    September 2017
    August 2017
    July 2017
    June 2017
    May 2017
    April 2017
    March 2017
    February 2017
    January 2017
    December 2016
    November 2016
    October 2016
    September 2016
    August 2016
    July 2016
    June 2016
    May 2016
    April 2016
    March 2016
    February 2016
    January 2016
    December 2015
    November 2015


Picture
Copyright © 2015
 Vance Martin is a participant in the Amazon Services LLC Associates Program, an affiliate advertising program designed to provide a means for sites to earn advertising fees by advertising and linking to amazon.com.