NOVEMBER 3 VICTOR ECHO MIKE
  • Blog
  • Events and Activations
  • Diversions
  • About
  • Gallery
  • Contact
  • Links
  • Subscribe
  • Search
  • Blog
  • Events and Activations
  • Diversions
  • About
  • Gallery
  • Contact
  • Links
  • Subscribe
  • Search
NOVEMBER 3 VICTOR ECHO MIKE

ham radio Projects and musings from a (Relatively) new operator

in The Gutter

4/27/2016

5 Comments

 
If you go all the way back to the beginning of this blog, you can see the current state of my home shack. If you need a refresher, here it is again.
Picture
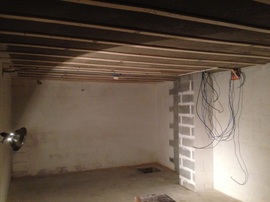
     Due to the hecticness (is that a word?) of life, and some other home projects that needed finished ahead of this, I haven't had time to dig into the work down here yet - but I will soon!​
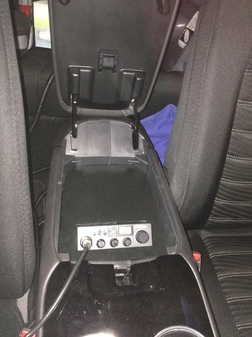
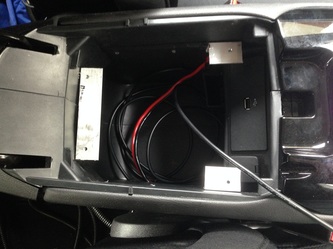
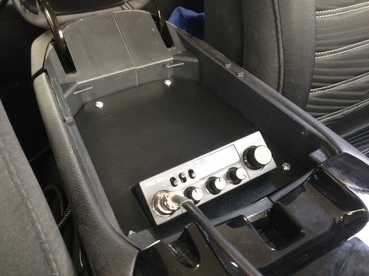
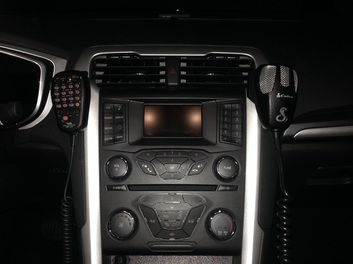
     Even though life is busy, I still like to play radio in the house every so often. If that urge strikes and I can't fight it, I bring my stuff in from the car and set up like this:
Picture
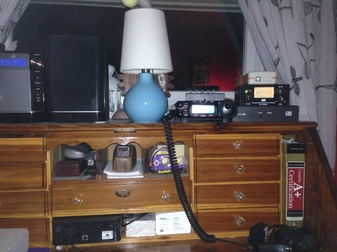
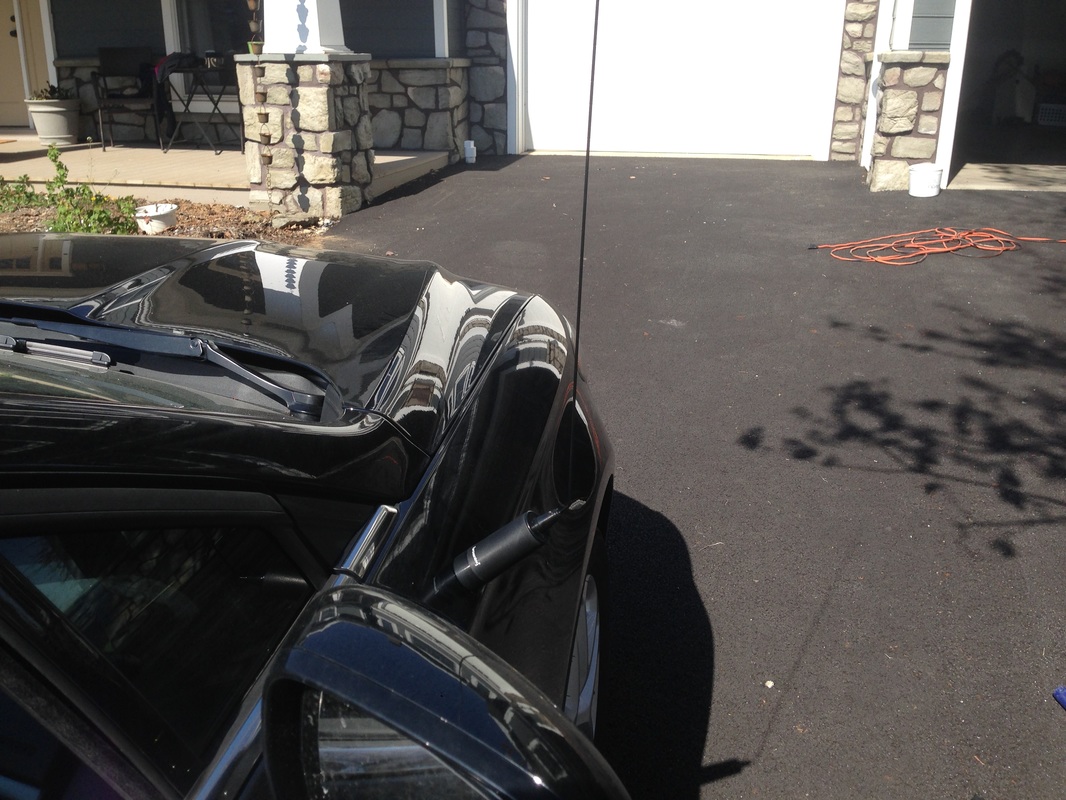
When I do this, the antenna I use as a temporary one is my gutters. Right outside this window is the downspout that goes up from the basement to the roof, and then the gutter runs the length of the main part of the house, about 32 feet. This means that between the downspout and gutter, I basically have a 60ish foot inverted L antenna, with the vertical part being about half of it. This works out to about 1/2 wave on 40 meters.
     When I decided to use this I knew it would be temporary, so I just pounded a 6 foot piece of rebar I had into the ground at the base of the downspout. I put a ring terminal on the center conductor of the coax and screwed that to the bottom of the downspout, and then used a hose clamp to attach the shield to the rebar.
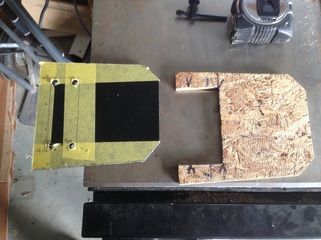
 I make an ugly choke out of a few turns of the end of the coax, and connect the other end to my LDG tuner, and call it a day. Not nearly as effective as radials and proper matching would be, but it gets me on the air temporarily.
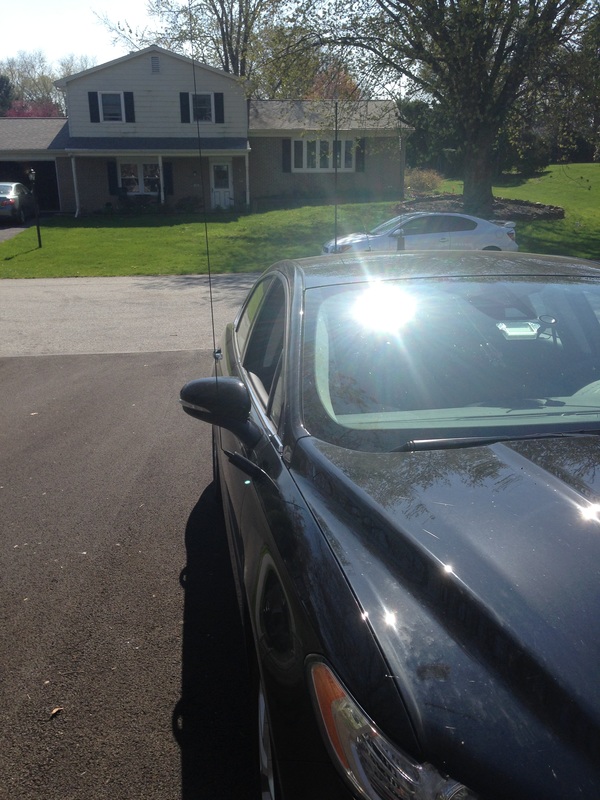
     So, all of this was to bring you here: Gutter's can make pretty darn good antenna's! 
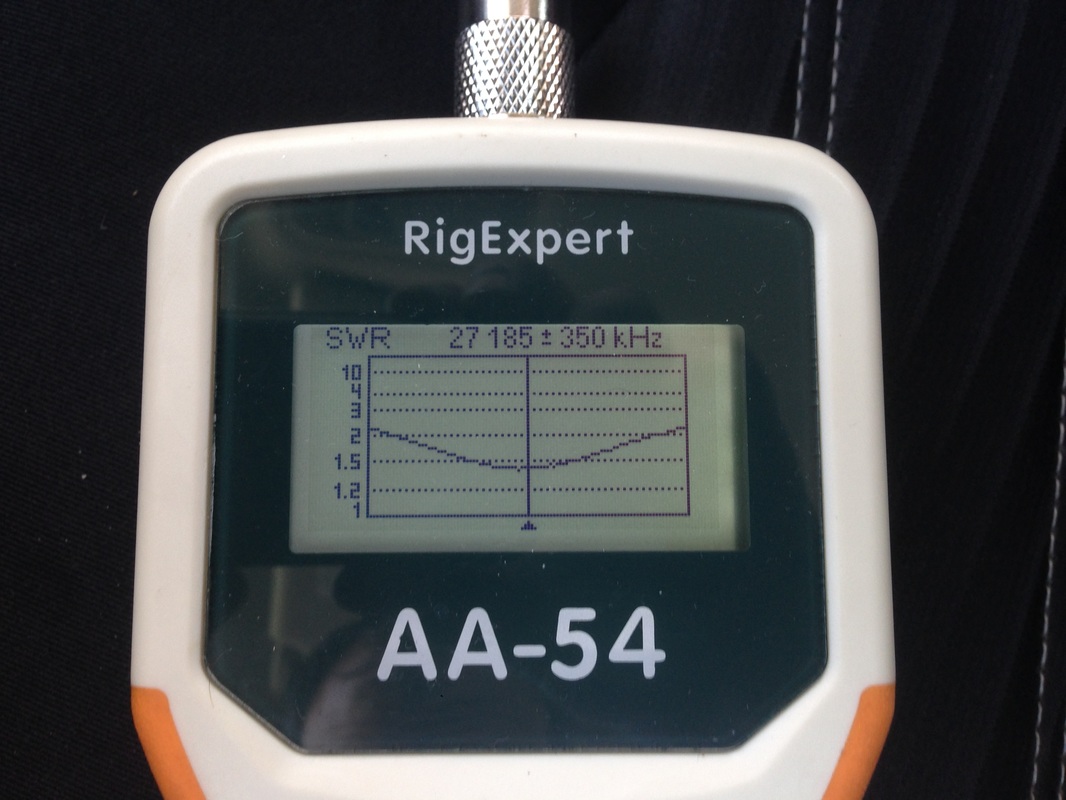
Good enough that I'd consider burying some radials, putting in a proper ground rod, and making the coax connections a little more weather proof.  I made some contacts with good reports, and low power almost right away, so I decided to measure my gutter antenna using my analyzer.  Here's the graph:
Picture
     This graph covers from 0 to 54 MHz, and almost all of it is under 5:1 SWR, so the LDG tuner that works with my radio can match it all just fine.  Here are where the bands land:
  • 160m is all right around 3:1
  • 80m varies from 2.5:1 to 3.5:1 
  • 40m is the worst ranging from 4:1 to 5.3:1 (go figure!)
  • 30m is all just under 4:1
  • 20m is all between 2:1 and 2.5:1
  • 17m is about 2:1
  • 15m is all between 1.8:1 and 1.81:1
  • 12m is between 2.8:1 and 3:1
  • 10m is between 2.7:1 and 3.3:1
  • 6m is between 1.6:1 and 3.3:1
     In addition to the relatively low SWR, there are a several spots that are nearly resonant - several of those aren't in the amateur bands, but a couple are:
  • 3.780MHz
  • 28.080MHz
  • 51.840MHz
     So if you actually read the whole way through this - what do you think?  Are you gonna hook up to your downspouts and gutters and see what magic you can make happen?  I know at least one of the local hams in my area uses his gutters from time to time, and I owe him a visit so that we can hook up the analyzer to his guttertenna and see how it charts out.  Leave a comment and let me know your thoughts!
5 Comments

morse code

4/24/2016

2 Comments

 
dah di dit   dit     dah dit   di di di dah dah   di di di dah   dit   dah dah

So....I'm learning CW (or as most non-hams know it: Morse Code.)  For anyone who needs an interpretation of the above, its the sound in CW of this message:

de n3vem

de is an abbreviation for "this is" so my message above just says "this is n3vem."  

     I had set a goal for myself to be able to have an on-air QSO by September.  Some people might think that I should be able to learn the code much quicker, but remember, in addition to ham radio, I'm a husband, father, a full-time employee for a big company, AND a student.  My company does tuition reimbursement, so I'm working on finishing up my degree through one of the local colleges.  All that being said, I think I'm doing okay!
     I've been using the software program Just Learn Morse Code and it seems to be working well.  This program uses the Koch-Farnsworth method, which basically means you listen to the characters and one speed, but spaced at another.  That way you get used to what the characters "sound like" at the faster speed, but you get them delivered to you slower.  I now know the entire alphabet, all the numbers, and all the punctuation that I think I'll actually need.  Right now, I'm listening to the characters at 10wpm, spaced at 5wpm.  I can copy 5 minutes of code at about 90% accuracy this way, so now I just need to start speeding up my spacing.  When I'm at 10wpm for both characters and spacing, I think I'll have a go live on the air.
     Before that happens, I do want to invest in a key in the meantime, and an oscillator so that I can practice sending with something other than just tapping on my desk :-)  I'm having a blast!
     My daughter has been amused by it too - she has now started bringing me things and saying - "Daddy, spell this in morse code!"  I think I might have a future ham on my hands...

     Do you have any recommendations for keys?  Leave a comment and let me know!
2 Comments

the other radio - final

4/23/2016

0 Comments

 
post contains affiliate links
     I'm sure the purists are tired of hearing about my CB install at this point, so this will be my last post on it, but that's mainly because it's finally done!  (Is any radio project every really done?)
     I spent about an hour and a half between the last couple of evenings finishing up the install of a CB radio into the center console of my car.  To come up to speed, you may want to check out part 1 and part 2 of this project.  Okay - now that you're up to speed, all I really had left to do was to make the permanent mounting panel to replace the temporary wooden template that served for test-fitting purposes.
     At this point, the process was fairly straight-forward.  First, I put some tape onto the piece of HDPE that I had gotten from Tap Plastics to both protect it, but also so that I had something to mark on.  I then traced the plywood template onto this, and started cutting.  Here's a shot of what things looked like, part of the way through that process:
Picture
     Once all my cutting was done, I screwed the mounting bracket to this new panel.  The way that worked was actually to screw 2 small L brackets to the panel, and then I screwed the CB mounting bracket to the L brackets.  This was needed because of the angle at which the CB was mounted.
     With the part cut, and the radio in it, it was time for a quick test fit:
Picture
     If you checked out parts 1 and 2 of this project you'll know that I had installed brackets for this panel to sit on.  At this point I used my trusty tap set and drilled through the plastic, into the metal.  I then used a slightly bigger bit to drill the holes the in the plastic out just a little larger, and then I used the tap to add the threads to the holes in the brackets.
Picture
     All that was left to do was to screw the panel in place!  I also used a very thin bead of black caulk around the radio, where it passes through the opening, just to hide my not-perfectly-straight cut a little bit - I don't have a very good jig saw so cuts that I can't do on my table saw or mitre saw can give me a hard time.
Picture
     Done!  Now I've got my working CB in place, and when the center console lid is closed, it's neatly tucked away.  You may notice that there is a lot of empty space behind the radio in this panel.  With a bit of luck, and some spare $$ I hope to eventually put a screwdriver controller there for the Tarheel Antenna that I don't own yet.  One can dream, right?

     On to the next project!  Leave a comment and guess what it might be (if you read some of my other posts, you might be able to figure it out!)

     Lastly - I've been pretty please with this little CB radio - you can get them fairly cheaply through the jungle, so please check it out:
0 Comments

the "other" radio - Part 2

4/21/2016

0 Comments

 
     A while back I did a post on the initial steps that I took when installing the CB radio in my car.  I know some hams have a beef (hi hi) with CB radio, but I like having one because of the amount of highway time I have in my job.  If you want a refresher on where I was prior to this post check out my part 1 post here.  I finally had some time to continue work on this project.  It's still not done, but I made some progress on it.  The goal with Part 2 of this project was to start where I had left off, but finish up the wiring so that I could use the radio for a little bit, in it's current configuration, before cutting the final part that will make the "pretty" mounting place for the radio.
     The first part of this was to install a UHF male connector on the end of the coax in the center console.  There are about a million different theories on what the "correct" method is, what the "best" method is, and about what method Uncle Fred has been using ever since he installed his first antenna on the dinosaur that he rode to work every day.  For some silly reason, I usually just follow the directions that come from the manufacturer (they should know, right?)  For this connector the directions are to strip to the appropriate measurements, fold the shield over the reducer, screw the body on, solder the tip, solder through the holes, screw on the barrel, and call it a day.  I don't do a ton of soldering anymore, but it turned out just peachy, and I didn't get any weird readings when checking things out with my analyzer after it was done.
Picture
Picture
     I then installed Anderson Power Poles on the power lead that was waiting to be used, and on the power leads from the radio.  No pictures of that...sorry.
     With the connectors on, I turned to the antenna.  Because the NMO mount was installed on the front fender of the car, I had to bend the antenna element to make it vertical.  Basically, without doing any trimming, I measured the SWR with the antenna sticking straight out, and then I measured the SWR again after bending it to vertical to see how much bending the antenna element changed it.  I was then able to cut the bent part off, and slowly trim to length with the antenna sticking out, and then when I hit the magic spot where bending it up to vertical would make the SWR land where I wanted it, I made the bend, and presto - CB antenna!
     I also added another mic hanger, so that my ham mic and CB mic would kind of "balance" each other as they hang on the dash.
Picture

     Lastly, during a recent work trip, I got to test out the radio and it's location, so I've decided that I'm please with the mounting location, etc.  I actually got to test it out, because I heard one trucker say to another - "I wonder if that guy in the Black Fusion could get any more antenna's on his car?" to which I had to reply - "I can put as many antenna's on here as you'd like me too"  :-)  We then had a nice chat about radio's, ham radio, and what all my antenna's were for, which was great, because the HF ham bands were pretty much dead, and this way I still got to have a QSO (I just won't tell that truckers that's what we call it...)
     Since I'm pleased with it, the only thing left to do is to take out the temporary wood mounting piece, trace it onto the piece of HDPE that is waiting in my garage, and do the final "screwing down" of everything.  For now though, I'll leave you with 2 questions...
     1) How do you solder your connectors?
     2) Do you talk on CB radio? (you can call it 11 meters if it makes you feel better...)

Leave a comment and let me know!
0 Comments

Delaware water gap

4/20/2016

0 Comments

 
Picture
Delaware Water Gap National Recreation Area Unit RC07
Seems like every activation gets harder for me :-( 
     I only had a short time for this, but band conditions seemed completely dead; not a single contact in the short time I called CQ.  I tested everything out and my equipment is fine...just a bad day, but heck, a bad day playing with radios is still better than a lot of the alternatives!
     Even though I didn't get to make any contacts on my very brief attempt at an impromptu activation, I did snap a couple pictures and a GPS screenshot. Being in a valley, I figured my odds might not be great, but I figured if I looked for signs like "Scenic Lookout" I might be able to find a place with some elevation.  As it was, I made a sudden turn onto Chestnut Hill Road, because it looked like a steep climb, and the word "Hill" in the name seemed promising.  This road is barely a road, and even includes warning signs like "road not maintained" and "travel at your own risk."  Almost as if by fate however, at the crest of the hill was a small pull-off where I stopped to try and make my contacts.  If only the bands had gotten the memo that fate was supposed to be on my side....
0 Comments
<<Previous

    Categories

    All
    Antenna
    Cw
    Digital-modes
    Flying-with-gear
    Home QTH
    Miscellaneous
    Mobile
    Operating Events
    Portable
    POTA
    Shack Build
    Technical


    - N3VEM -

         Welcome to my Ham Radio Blog!  This blog was started primarily to share my two concurrent shack builds - my mobile station and my home station.  Over time, this has grown to include sharing about my operations, and general radio-related thoughts that I have as a newer operator.  
         
    ​Enjoy!

    RSS Feed


    Picture
    POTA!

    Picture
    Proving that hams do indeed still build stuff!

    Picture
    100 Watts and Wire is an awesome community, based around an excellent podcast. 

    Archives

    September 2020
    July 2020
    January 2020
    September 2019
    August 2019
    July 2019
    June 2019
    May 2019
    March 2019
    January 2019
    December 2018
    November 2018
    October 2018
    September 2018
    August 2018
    July 2018
    June 2018
    May 2018
    April 2018
    March 2018
    February 2018
    January 2018
    December 2017
    November 2017
    October 2017
    September 2017
    August 2017
    July 2017
    June 2017
    May 2017
    April 2017
    March 2017
    February 2017
    January 2017
    December 2016
    November 2016
    October 2016
    September 2016
    August 2016
    July 2016
    June 2016
    May 2016
    April 2016
    March 2016
    February 2016
    January 2016
    December 2015
    November 2015


Picture
Copyright © 2015
 Vance Martin is a participant in the Amazon Services LLC Associates Program, an affiliate advertising program designed to provide a means for sites to earn advertising fees by advertising and linking to amazon.com.