Its a miracle! I started and finished a project in the same week!
I shouldn't be too rough on myself - quite a few of my ongoing projects are rather large, so progress tends to be slow, doing small amounts of work as time allows. This project however, was one that was a complete workshop tangent.
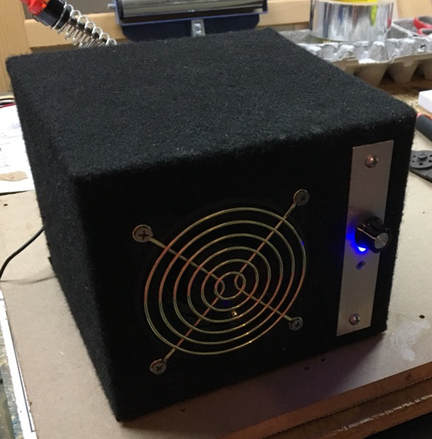
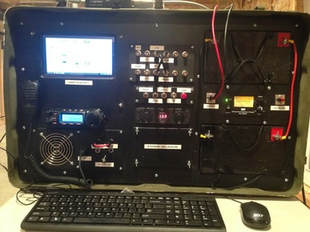
There it is - a "homebrew" speaker for ham radio use! The day I started this, I didn't even know I was going to do it. It all came about becasue I was working on another radio project (the "secret project" that I allude to from time to time) in the garage, and I wanted to be able to hear my rig over all the noise I was making. I started to look at powered speakers online, when suddenly it dawned on me that I probably had everything I needed to make one, primarily becasue the key components (a speaker and a small amplifier) I had left over from tearing this thing apart in order to work on version 2 (which still isn't done....sigh.)
So realizing that I had those parts, I started to dig in the piles in the garage and presto, within a couple days I had a small powered speaker! If you follow me on twitter you saw these pictures as I did each step, but here they are again with a few more details. Enjoy!
|
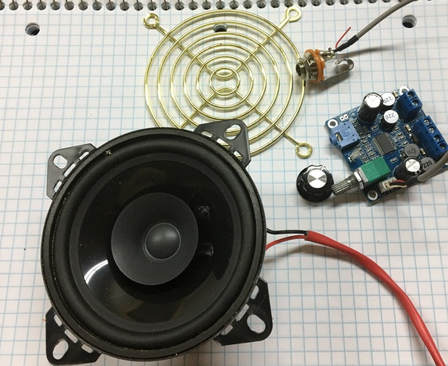
Pretty much any 4" speaker would work if you want to duplicate this. You can pick up a really cheap one like I did at any auto-parts store, or you can check out Amazon - you can find options from cheap and good-enough sounding, to expensive and impressive sounding, and everything in between. |
|
|
|
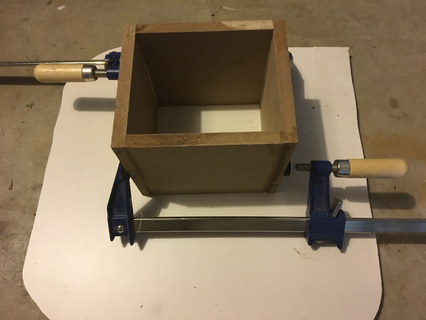
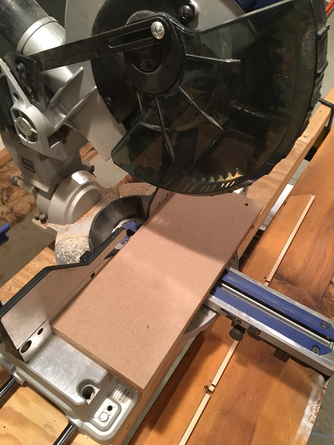
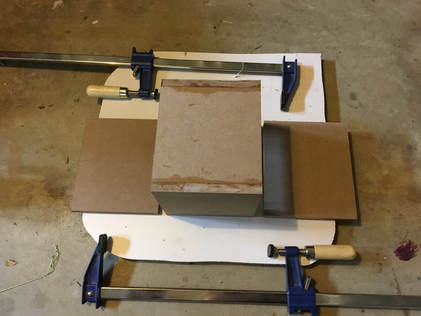
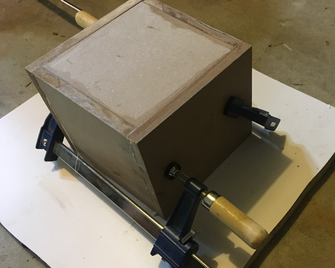
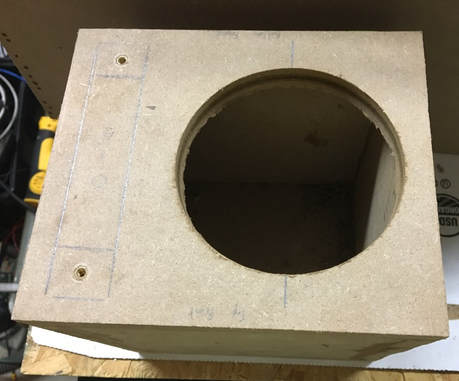
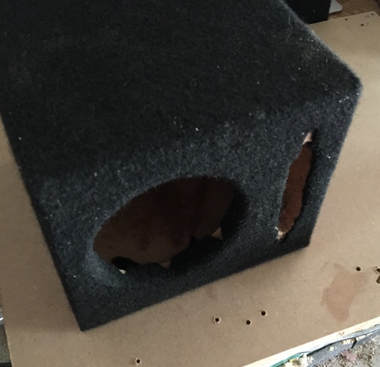
As I built the box, I didn't design it to any specific size. Technically, speakers usually perform best with an optimized air space behind them, but for communications quality SSB, and even basic CW, I wasn't too worried. During the banter on Twitter with KR6ZY, KD9EAS, K4CDN, and some others, Mark mentioned the enclosure designs that are specifically resonant for CW frequencies. If you're a big CW person, you might want to do a Google search for "resonant CW speaker." Another option if you want a more size-specific air space would be to get one of the rubber baffles designed to go into the hole before the speaker. I'm cheap (err... I mean frugal) so I didn't go that route.
|
|
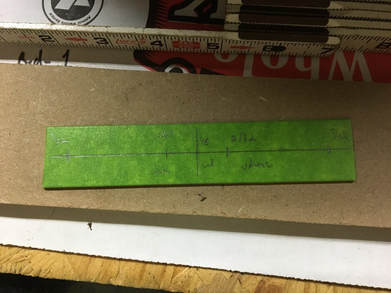
If you have a hardware store near you, that is probably the best place to get MDF and aluminum, but you can order both of these things online. Shipping rates can get strange with sheets of plywood or 4' lengths of aluminum, but there are places like online metals that will cut things to size for you.
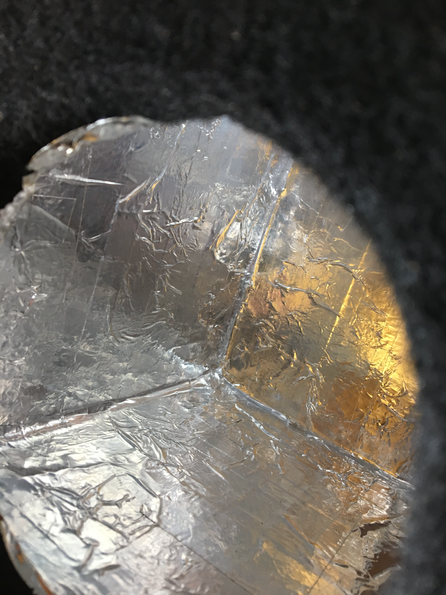
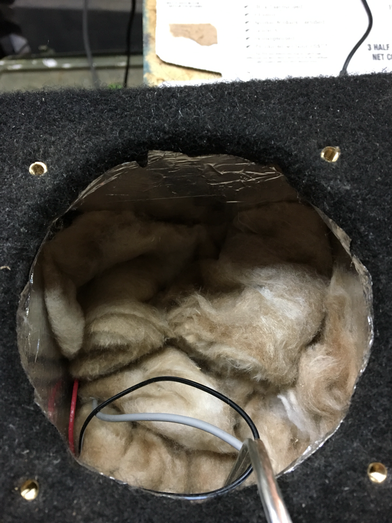
|
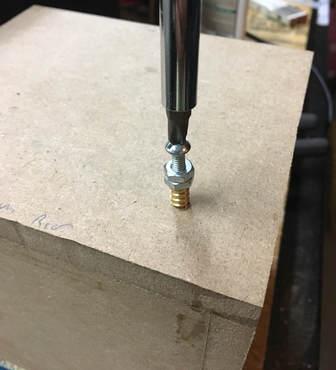
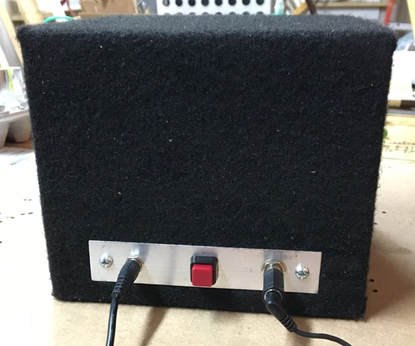
Most Radio power stuff is standardizing on PowerPoles for power connections, but I used a coaxial connection for 2 reasons - I had run out of power poles, and it's easier to make a round hole in a panel then a square one. I figured I can always make a pigtail to go from this to PowerPoles the next time I order some parts.
|
|
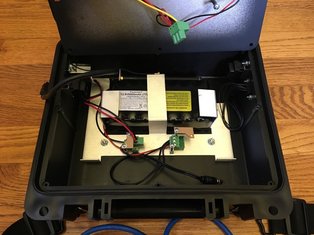
This is the amplifier board I used - the SMAKN® TPA3118 numeric 12V power amplifier board
|
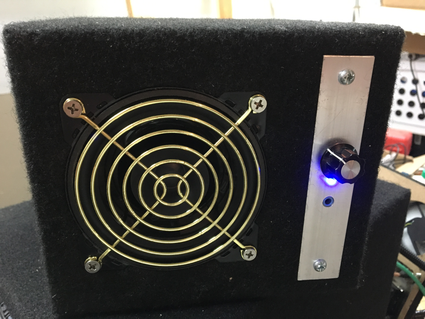
The 3.5mm jack on the small amp turned out to have a "bonus" functionality! It was really meant (I think) to be an alternative input from the ones on the board itself. It is just wired in parallel with the other inputs, so by plugging a mono to stereo adapter (remember that I was only using the left channel). I can use traditional stero headphones to monitor the input source for the amp.
Why is that a bonus? In field-day like situations, the speaker can be plugged into the rig, and the operator can plug headphones into the speaker. The operator can then use the rig's AF gain (volume) control to set a comfortable audio level for the headphones, and then anyone who wants to listen in on the action can adjust the speaker volume until their heart is content, without impacting what the operator hears in their headphones. I think thats a slick, unplanned for feature! You could always get the same effect by plugging both a speaker and headphones into a "Y" cable, but this has a more polished feel to it.





 RSS Feed


