|
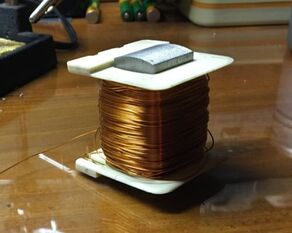
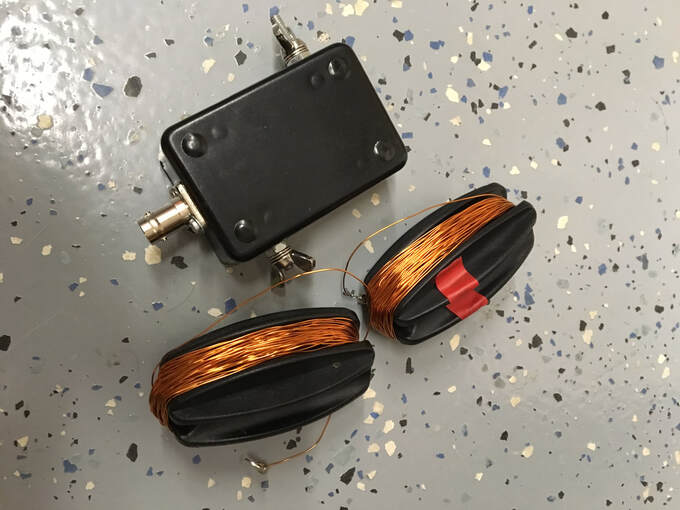
In one of my recent posts (the one about my attic antenna) I mentioned my tendency to feel obligated to give things a try, especially if someone has advised me otherwise. I don't know if its just stubbornness, or if its the desire to see it for myself, but it does seem to be how I roll. Well, I've gone and done it again - this time with a portable antenna. If you know me at all, or if you've read other posts of mine, you're probably aware of my affinity for portable operations. My love of portable ops has introduced me to a great group of individuals, some of whom I volunteer with to help support Parks on the Air. The group of "tech admin" that work together to support the website, database, etc. for POTA meet virtually once a week to go over whatever things we need to, in order to support the effort. Because we're all hams, we often end up just "rag-chewing" a bit after we cover the "business" end of the call. During one of these chats, I happened to mention that I was disassembling a washer that had just gone bad so I could recycle the metal, and in the process, I ended up with this bit from a transformer: I joked with the team that I should unwind it and make antennas, seeing as there must be hundreds, if not thousands, of feet of this tiny enameled wire wrapped around it. One of the guys - Thom, W8TAM, suggested that it probably wouldn't work out that well, being so small and a solid wire. He's probably right - I can't imagine how many times this skinny, solid, wire could be flexed, kinked, etc. before breaking, but the trap was set. He inadvertently set me on a mission of "well now I have to find out....." So, now I have this: It's nothing fancy - just a random-wire end-fed with a counterpoise. The counterpoise I lay on the ground, and I think I cut it around 33ish feet or so. The antenna element (the one marked with the red tape) is cut at around 70 feet. Inside the box is a little 9:1 unun that I build a while back (I wrote about it here.) With my portable setup, I can tune this on pretty much any of the bands between 10 and 80 meters. Now that it's built, the interesting bit will be to see how many times it can survive being deployed and repacked - so far I'm up to 3. But hey, even it only lasts for half a dozen deployments, I've got a whole pile of it that I can just keep unwinding more from as it breaks :-)
0 Comments
I recently acquired another piece of gear for my ham shack, which prompted 2 things:
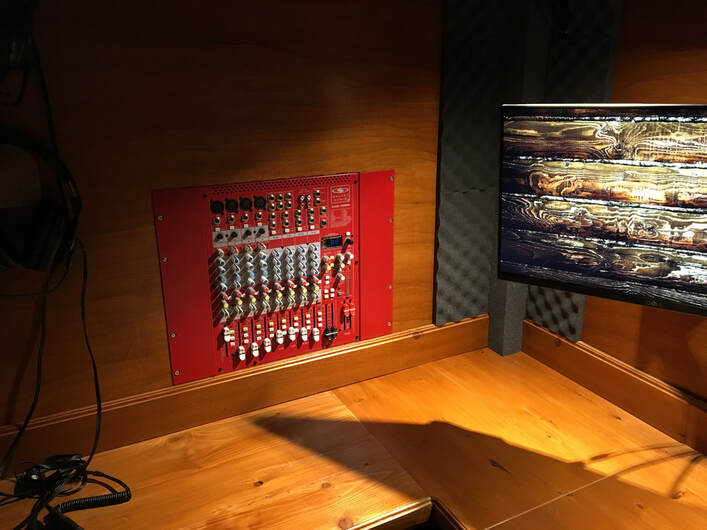
So what is the piece of equipment that inspired these two things? Here it is: I am certainly not an audio "buff" and I only have a very basic knowledge of audio equipment, but I had a couple things in my shack that I wanted to accomplish that I thought would be aided by adding a mixer. Primarily, I wanted an easy way to have the option for a couple different microphones at the same time so that I can accommodate guest operators (mainly my kiddos) and be able to route these to multiple radios. I also figured this would be a nice way to interface the same microphones and headsets with a couple different computers and phones for work conference calls and webinars that I do from my home office. I've only just grazed the surface of getting everything set up, but so far I'm liking it much better than my old "patch panel" and swapping plugs in and out for the different tasks. The Advice Acquiring this mixer lends itself to sharing something on frugality, that I hope can be a help to younger hams getting into the hobby that might be new in their careers, without a lot of money left over for ham radio purchases, or even to older hams on a fixed income etc. I love ham radio, but like many of you, I'm not swimming in piles of money to be able to spend on it. I have a good job, and make an ok salary, but a large percentage of what I earn is getting socked into college savings for my kids so they don't have to start their working lives in debt the way I did. Because of this choice, I am very fugal with my hobby. With that thought, here is my advice for enjoying ham radio on a budget, and for frugality in general: Be patient. This might seem like an oversimplification, but it is actually a very powerful practice. When there is something you want (like a new piece of ham gear, or a robot that mows your yard) put yourself on notice for at least month before making a purchase. In my experience this does 3 key things:
My new mixer is a great example of this. I decided several months ago that I wanted to purchase a mixer for my shack. Since I have limited "hobby" budget, I was dragging my feet, waiting to save up some cash, because mixers with the features I was after were all a decent chunk of change, even if looking for used ones on ebay:
While dragging my feet and doing my research, I stumbled across the mixer that I ended up buying. Basically, because I waited, I ended up coming across a sale on these mixers because the company that makes them has discontinued them. I presume that this is due to the move to digital audio, and less demand for analog mixers. Because I was being realistic with myself (i.e., I just want to have casual chats on ssb - I'm not a professional broadcaster) I was very comfortable buying something that is "discontinued" considering the fact that it only cost me $150, for something that was previously sold for $400 and up. Also, being "new" to audio equipment, learning with something relatively inexpensive made way more sense then shelling out hundreds of dollars. So there you have it - I've got a new mixer that was pretty much as inexpensive as one can be had with the included features, and hopefully you've been encouraged to "be patient" when considering those big purchases - you just might end up finding something that does what you need, at a fraction of what you thought you were going to need spend! Lastly, if you want another example of "Be Patient" Go back to Part 1 of my new shack build and check out the date that I started this whole adventure...it certainly didn't get put together overnight! P.S. I'll be sure to share more about my thoughts on the actual mixer once I've used it for a while, but if you think the price sounds right, I found it at Full Compass. I can't give any official endorsement, and I get nothing from them if you buy one, but I figured I'd at least share where I managed to snag what seems to be a decent deal.
An unfortunate disease, that I don't think is unique to ham radio, is "knowitallitis." This all-to-common disease is the direct result of spending more time reading about a topic than actually practicing it. The symptoms are quite obvious when you know what to look for - the most common is making comments on Facebook and QRZ, in a rude or indignant manner, about how "(insert subject) will (never/always) do what you (expect/don't expect) and I know it because I read the information at (insert random hyperlink here.) One of the subjects in ham radio that commonly falls into this category is attic antennas. Quite often we see questions or hear comments on these antennas, and it seems like the ham radio internet trolls show up in droves to offer their commentary, many of which I suspect are not speaking from personal experience, but rather from the aforementioned disease of "knowitallitis." Whenever I have seen these debates I have just quietly lurked in the background and watched the fray. Moving forward however, this will no longer be the case, because I can now speak from personal experience! So, what were my reasons for putting up an attic antenna? 1) Mostly, I wanted to see, first hand, what the hype/anti-hype was all about 2) I had some wire scraps that I could solder together to make longer runs, but didn't want to rely on pieced together wire to hold up outdoors 3) I thought it would probably be quick to throw it up there, vs. getting stuff tossed into trees (I was way off on this!) while I continue building out my shack and antenna farm What I ended up putting in the attic was a fan dipole for 40 / 20 / 15 / 10, with a 1:1 balun at the feedpoint. The ends of the 40 had to wrap around the perimeter of the attic a bit to fit, so the 40 meter element is almost like a folded dipole of sorts. Regardless, there are numerous articles in the ham-sphere about building a fan dipole, so I won't go into that - I really just want to share some bullet points with my thoughts on an attic antenna, now that I can speak from first hand experience:
So, with all that, here's the real question - would I do it again now that I have first-hand experience?
Nope. Its not that the antenna is bad, its just that it isn't great, and getting it installed in the attic was a genuine pain. Considering I have no antenna restrictions and plenty of trees in my yard, the effort to get this thing put in the attic was completely ridiculous. If you have restrictions that force you into the attic, go for it, but if you can put your antenna anywhere else, try that first - but than again, if you're like me, you've already completely disregarded this entire post, and decided to try it just to learn it first hand...
Post contains affiliate links
If you follow me on Twitter or Instagram, this might be considered old news, but I wanted to officially share so that anyone who is not on social media, that stumbles across my blog, can come up to speed:-)
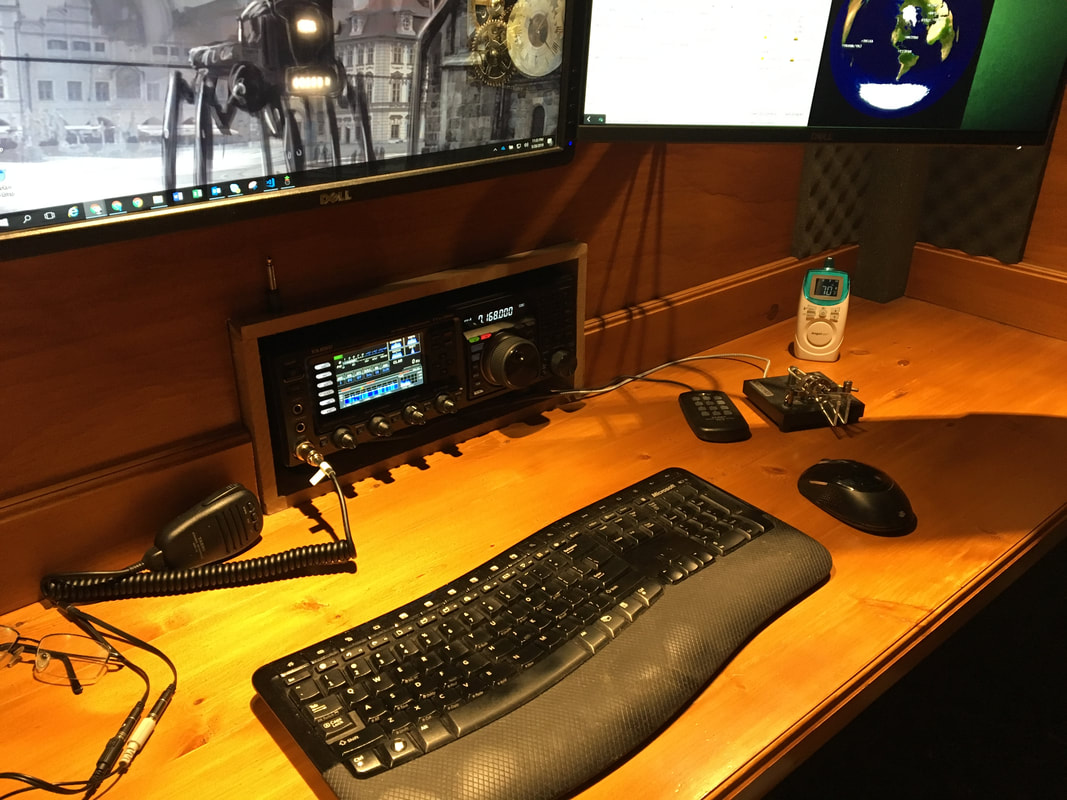
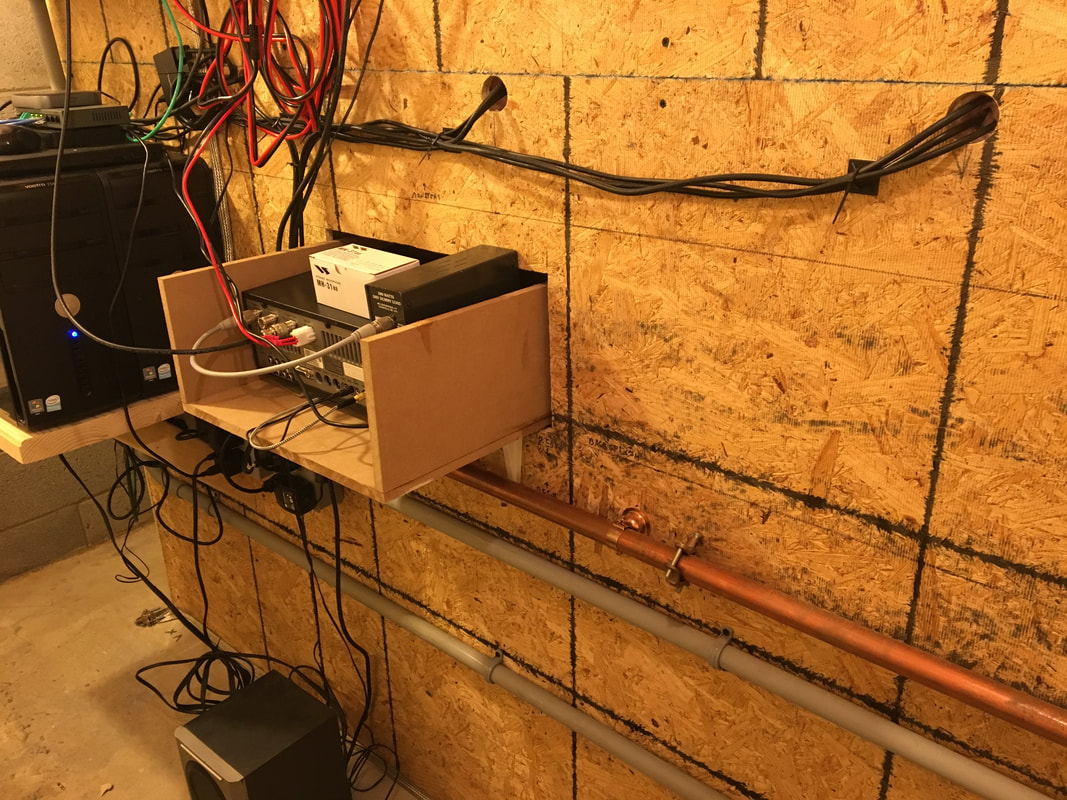
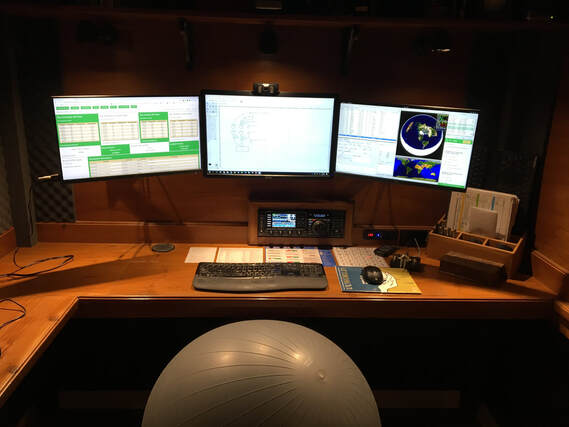
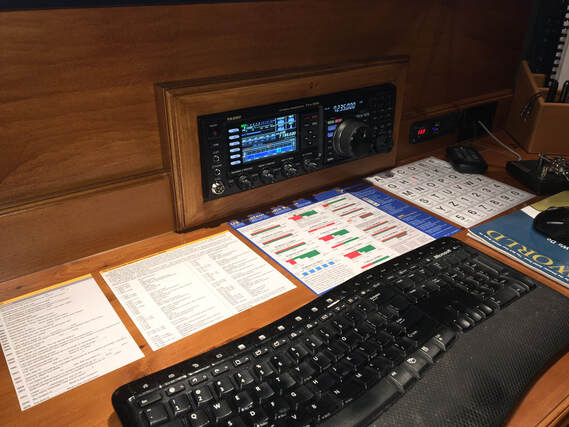
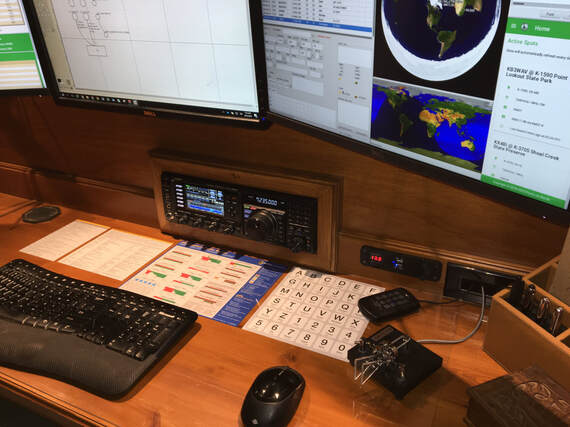
A couple weeks back I shared that I finally made a decision on a rig for the shack, and I cut the hole in the wall where it would poke through (the wall of my operating position is about 4 feet from the back wall of the actual room, so that I can access the back of the equipment easily.) In the last several weeks, I finally got to a couple things to "finish off" this little piece of the project. Namely, I made a face frame, sized perfectly for the rig, to go around the opening where the radio sticks through, and I also added a couple other useful tidbits:
I'm pretty pleased with how it turned out! As you look at the pictures, if you're wondering why the rig slightly off-center, that is actually for 2 very purposeful reasons:
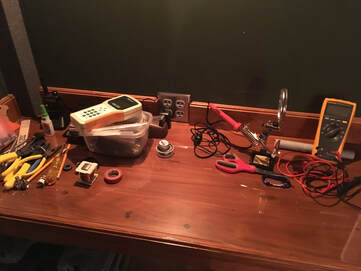
As a final note, for those who wonder where the "mess" is kept (some twitter folks pointed out that every ham is obliged to have a messy workbench) it is actually on the small workbench space that is just behind me and to my right, as I sit at the operating position.
Good day all! Just a quick note to share with any of my readers who happened to miss the announcements that we have started sharing about the Summer 2019 Support Your Parks Event: For this second annual event, I am coordinating the sponsorship, and distribution of a series of plaques for Parks on the Air, Inc. that will be up for grabs during the Support Your Parks, Summer 2019 event. This event takes place on July 20th and 21st UTC. These are no ordinary QSO party plagues! Up for grabs will be premium series plaques, on black piano-finish wood. The Award is laser engraved on an 8x10 textured black aluminum plate with a silver Florentine border. Check out these beauties, which were awarded during this event in 2018: For 2019, we have a list of plaques that may be available, depending on the number of individuals or clubs that volunteer as Sponsors – if you or your club is interested in sponsoring a plaque, read the “plaque sponsorship information” section later in this document. The final list of plaques that will be up for grabs will be shared via the POTA Facebook Group and POTA Slack Channel 1 week prior to the event. I will be once again sponsoring the “Most Contacts, Activator” award, to get the ball rolling. General Rules and Items for Consideration
Plaque Sponsorship Information
|
Categories
All
- N3VEM - Welcome to my Ham Radio Blog! This blog was started primarily to share my two concurrent shack builds - my mobile station and my home station. Over time, this has grown to include sharing about my operations, and general radio-related thoughts that I have as a newer operator. Proving that hams do indeed still build stuff!
100 Watts and Wire is an awesome community, based around an excellent podcast.
Archives
September 2020
|



 RSS Feed


