Post Contains Affiliate Link
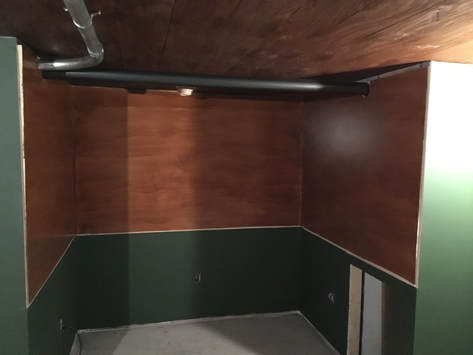
I'd like to share another bit of my shack project with you - the desk for my operating position. For reference, here's the space before I started building the desk:
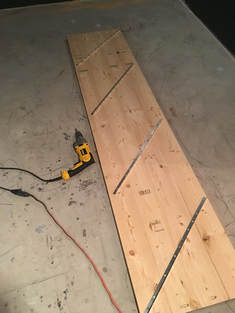
The look I'm ultimately, going for is more on the rustic side - think "old English pub turned into a radio studio" :-) Anyway, for a desktop to match that look I waffled around with ideas, but ultimately wanted something pretty beefy - like maybe butcher block or old thick reclaimed boards. Ready-made butcher block would have been pricey, and I didn't see any old torn-down barns in my area in the last few weeks, so I decided to make something. Of all the potential materials, I ended up just getting a bunch of 2x6 boards.
|
I started by ripping about 1/4" off both sides using my table saw, so they would have square edges. After that, I borrowed the YL's kreg jig to make pocket holes, so that I could glue them up, and then use screws to pull them together tight.
|
 |
This type of lumber is often pretty green (i.e. not fully cured) so it can have a tendency to twist funny as it dries. Since I'm going for rustic, I don't mind if goes slightly askew while it dries, but to try to minimize it, I screwed some steel angle onto the bottom, to keep things relatively straight while the glue set, and I did the sanding etc. to prep the top.
|
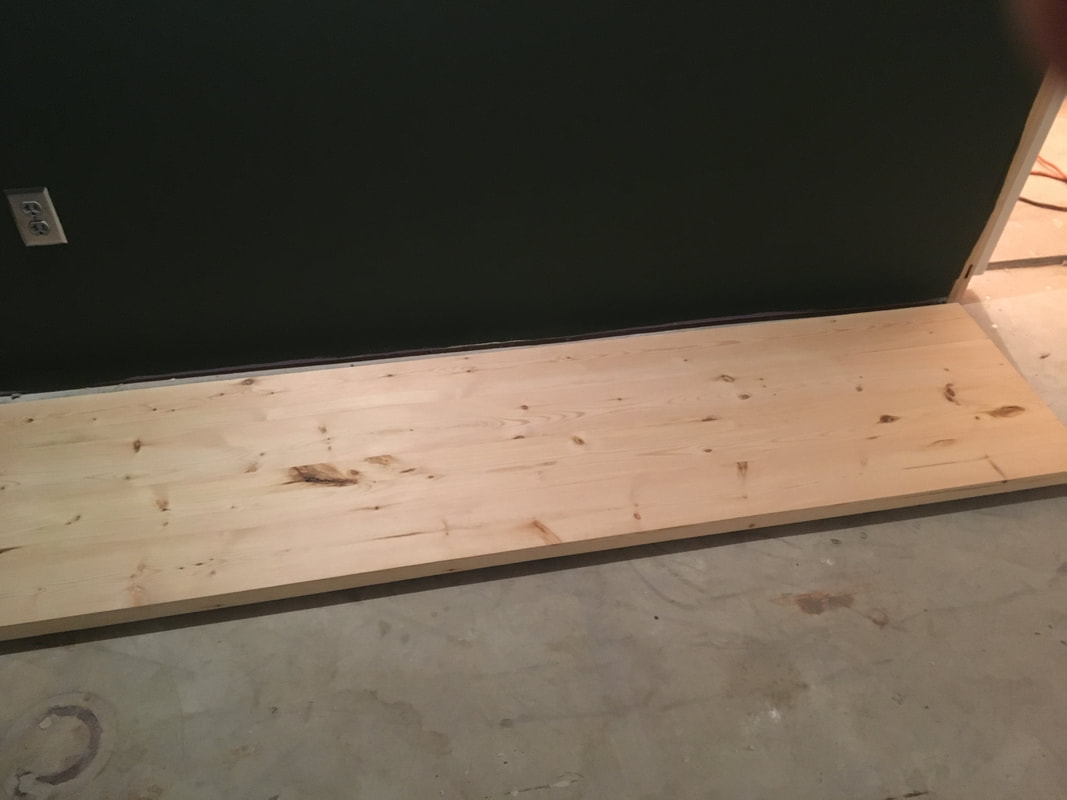
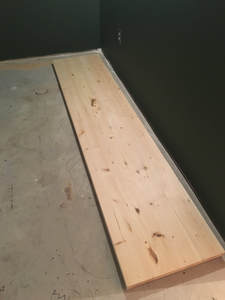
This is the first of two of these slabs to make up the desk area. It was a couple days before I had a chance to get back to it, so the glue was good and cured by the time I flipped it over and started sanding the top. I started with 60 grit paper in my sander to knock everything down to the same level, and then worked my up to 80, 100, 120, and finally 220 grit paper. The second slab has just started getting its first sanding with the 60 grit :-)
|
I'm pretty pleased with how the top came out after sanding. Once it's stained and sealed I think it will give me just the look I'm after.
|
|
Next, I needed a frame to mount the desk on! Luckily, I though ahead and put lumber in the walls where this was going to mount, so I have some very strong anchoring in the wall. For the frame I went with 1x3 pine. With the frame in place you can really start to see how the operating desk will kind of flow around the corners, and blend in with what will be the workbench area, to the right.

One final note - most ham shacks are probably going to want deeper desktops, but in my case, the equipment will be recessed in the wall, accessible from the rear by the doorway to the left. For this reason I only wanted my desktop wide enough that when I rest my arms on it, my finger tips just hit the wall (where the buttons will be!) For me and the way I sit, that worked out to be about 20."
Bye for now!
..
 RSS Feed


