Post contains affiliate links
If you go back in time a couple years, to the beginnings of my blog, you might recall that one of the reasons I started it was to share my ongoing shack builds. It's been a while, but as I promised last week, I finally have an update on the home shack. This is a good time to also point out, that if you don't follow me on twitter or instagram, please Check out the links in the right side bar and do so! My followers there got several sneak peaks at this while it was in progress...
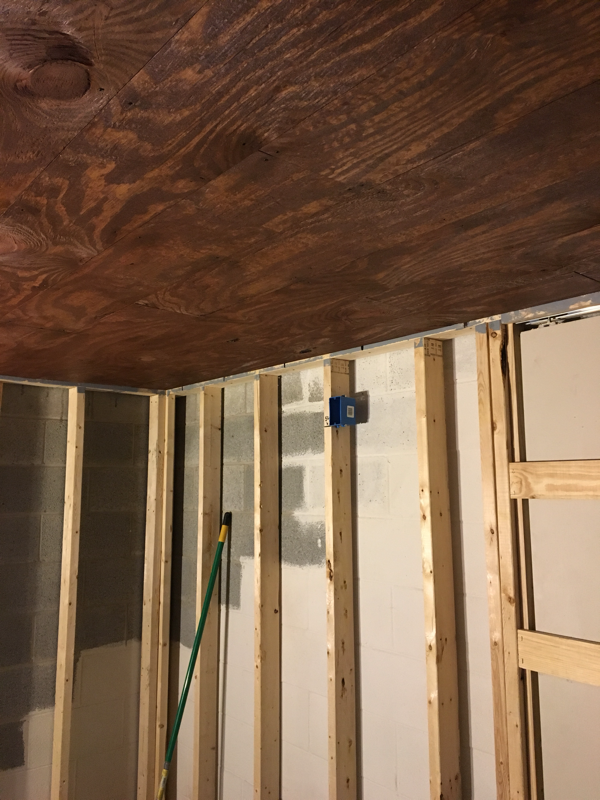
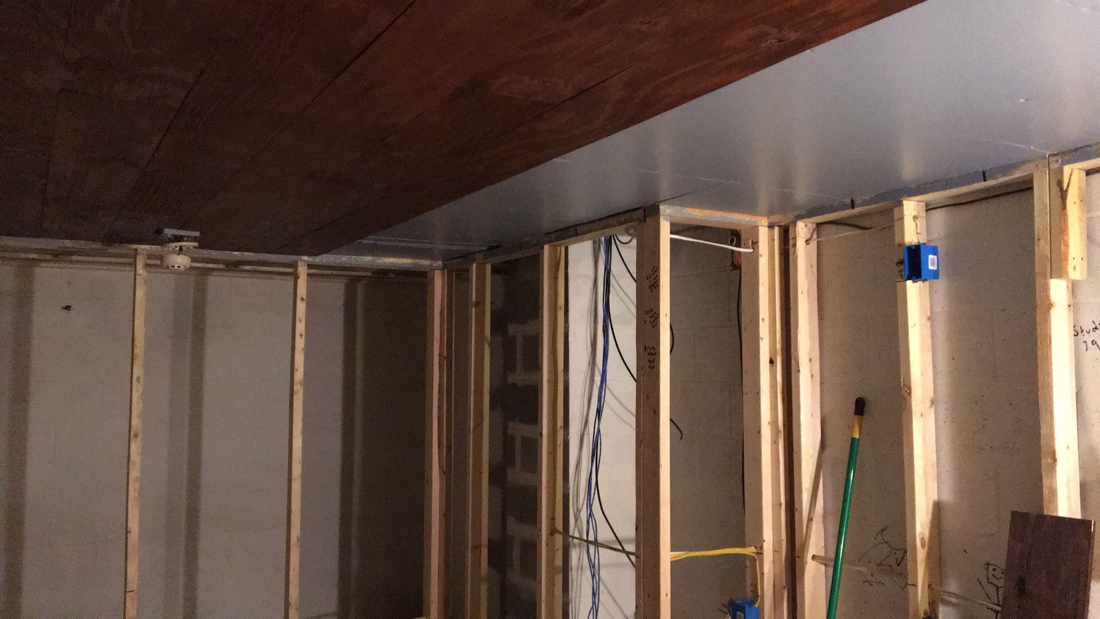
The last time I shared, I only had framing done. Since then, the rough electrical for the non-radio stuff (outlets & lights) has been nearly finished. Because of low headroom, I decided to do exposed conduit for part of the main run to the shack's sub panel. This means I had to get the ceiling treatment done before I could finish my rough electrical.
|
The raw space I had to work with is actually underneath my house's original garage. The suspended concrete ceiling was hardly smooth (check out the picture!), so I wanted a treatment that wouldn't look strange if it was uneven or wavy. Ultimately, because (as I've mentioned before) I'm going for the "old English pub meets mad scientist lair" look, I decided that a wood plank ceiling would fit the bill.
|
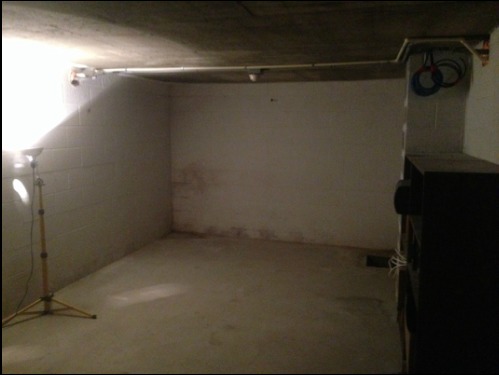
Here's what the space looked like before this project started - raw concrete cube, and nearly none of it was straight / level / plumb!
|
Since I wanted something that looked old and weathered, I knew that I needed boards that were a little rough. They do make flooring that "looks" old, but it still seemed too modern. To get the look I was after, I ended up buying 1/2" exterior sheating. This is plywood that has imperfections, knots, dings, you name it. In other words, with a bit of stain, it would be perfect!
Before I got too carried away, I put up furring strips and foam insulation board. I also painted the face of the insulation board gray, so that if there were any gaps in my rustic ceiling you wouldn't see green or pink foam showing through.
|
The next step was to fire up my table saw. I love this saw! It was an "every holiday this year" gift from the YL. I also have the stand that lets me roll it around the garage, so when I'm using it I can push it over to the 240v outlet on the center garage post, and then push it back to the side when I'm done. Anyway, I ripped the plywood down into 8" and 7" boards. I did this to keep the boards from looking too uniform, plus it creates less waste in in the amount of plywood used. Most of the ceiling is the 8" boards with couple rows of the 7" boards thrown in for effect.
|
  |
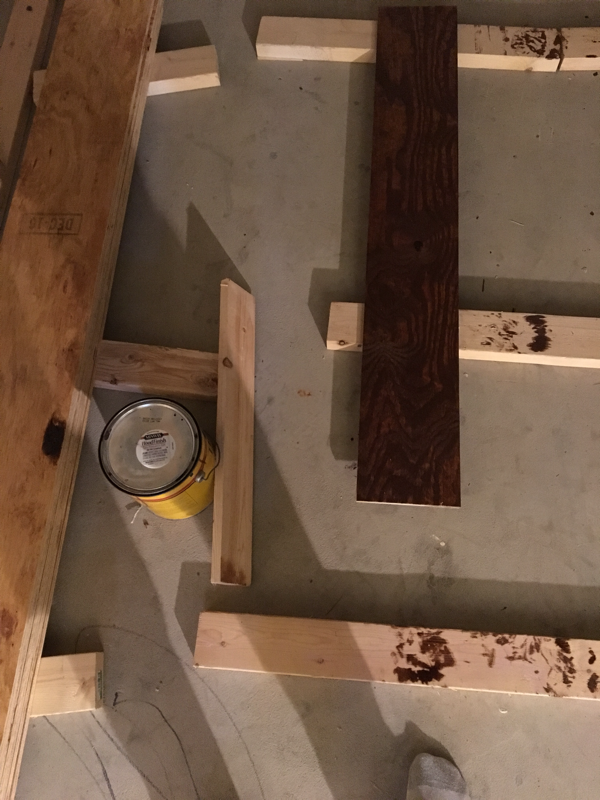
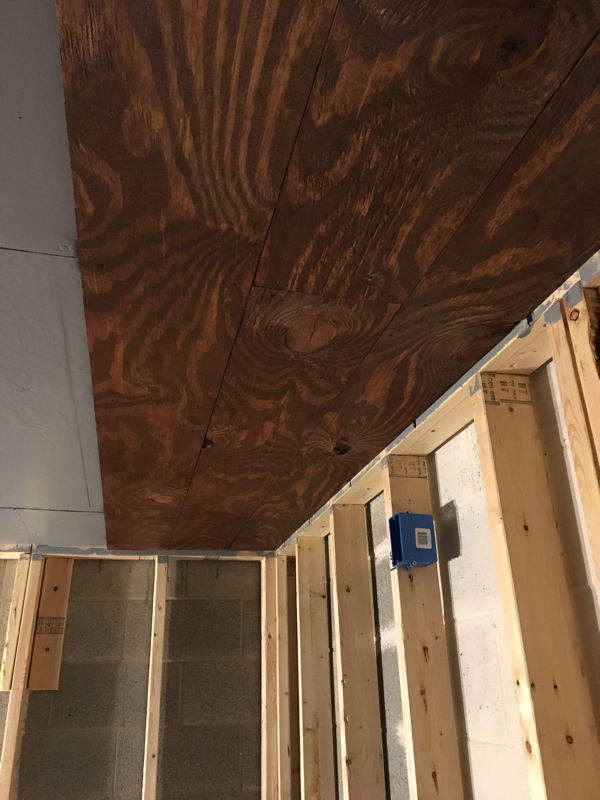
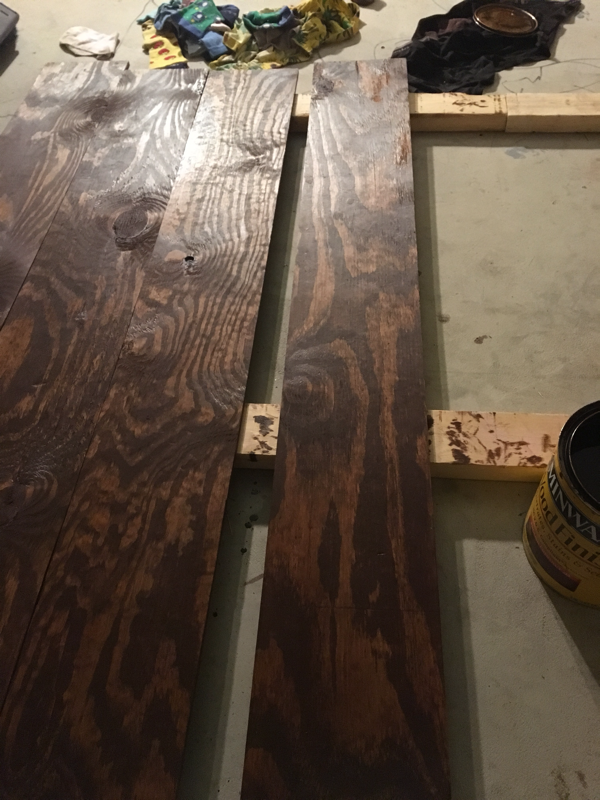
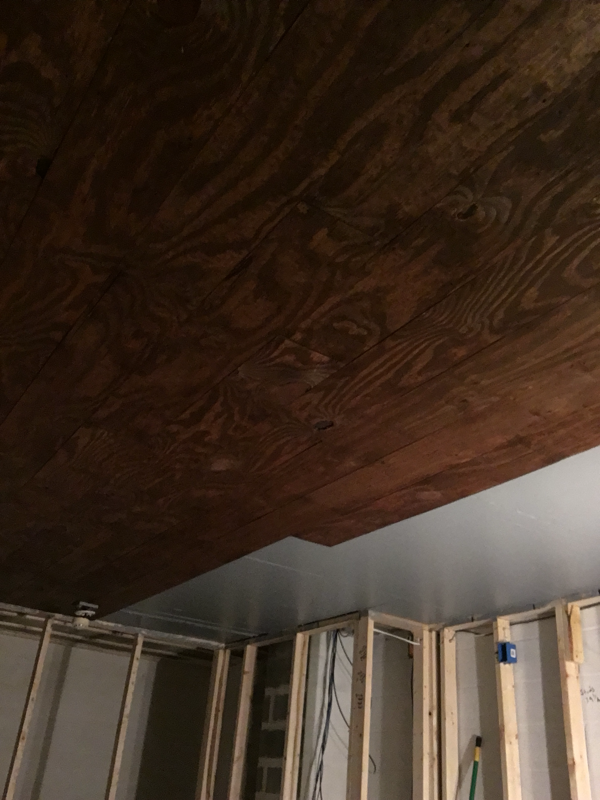
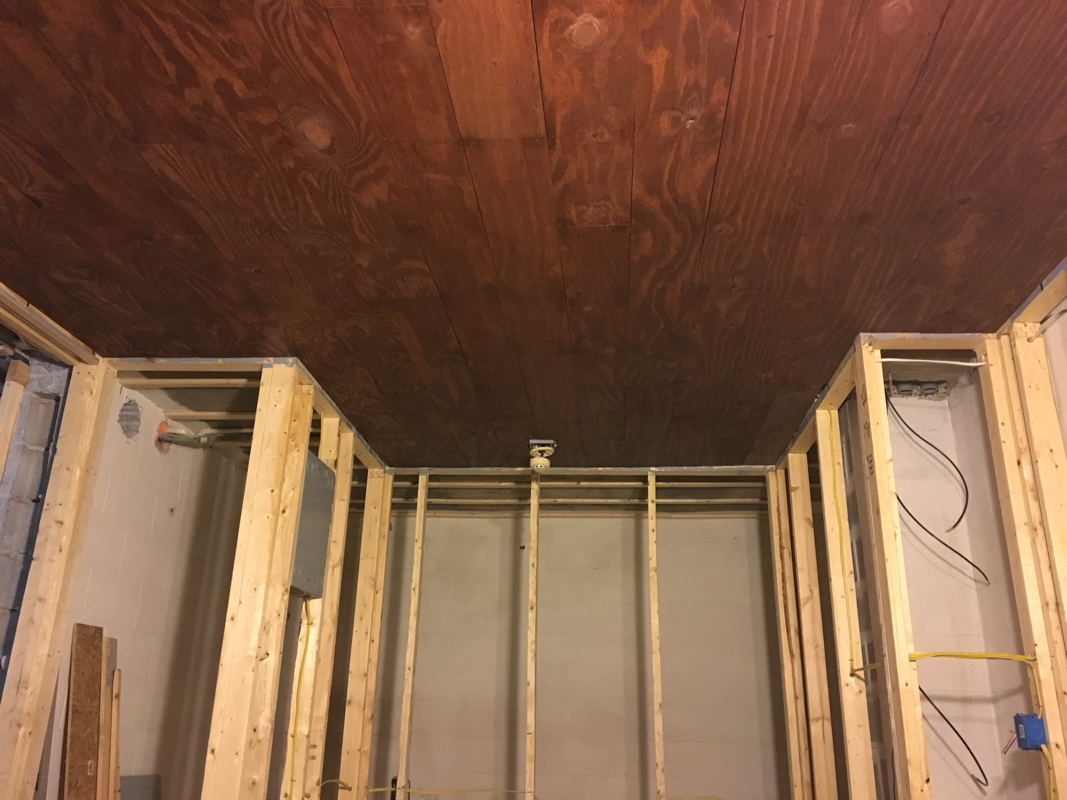
With my fancy boards ready to go, I started the process that took a couple weeks worth of spare evenings. I would stain as many boards as I had room to lay out, and then the next available evening I would screw them up, and then stain the next round. Repeat until finished.
I'm thrilled with the way it came out! I know the look isn't for everyone, but I love it, and will enjoy it every time I lean back in operating chair for a stretch between contacts!
 RSS Feed


