A while back I did a post on the initial steps that I took when installing the CB radio in my car. I know some hams have a beef (hi hi) with CB radio, but I like having one because of the amount of highway time I have in my job. If you want a refresher on where I was prior to this post check out my part 1 post here. I finally had some time to continue work on this project. It's still not done, but I made some progress on it. The goal with Part 2 of this project was to start where I had left off, but finish up the wiring so that I could use the radio for a little bit, in it's current configuration, before cutting the final part that will make the "pretty" mounting place for the radio.
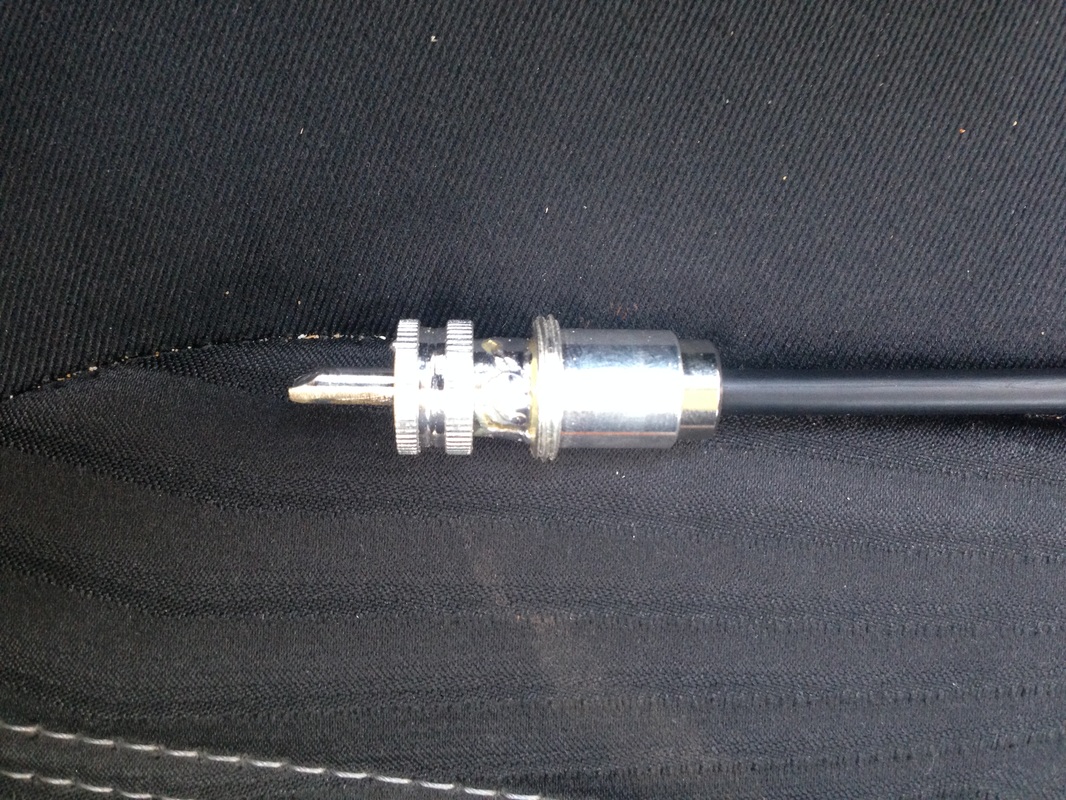
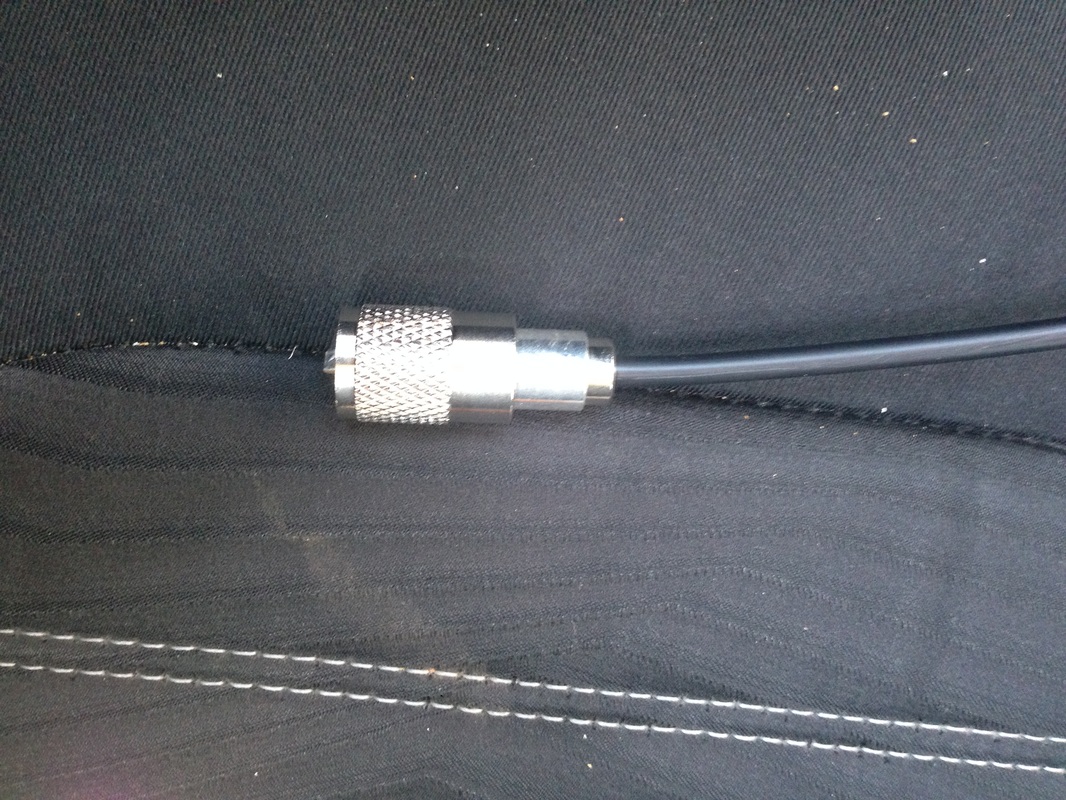
The first part of this was to install a UHF male connector on the end of the coax in the center console. There are about a million different theories on what the "correct" method is, what the "best" method is, and about what method Uncle Fred has been using ever since he installed his first antenna on the dinosaur that he rode to work every day. For some silly reason, I usually just follow the directions that come from the manufacturer (they should know, right?) For this connector the directions are to strip to the appropriate measurements, fold the shield over the reducer, screw the body on, solder the tip, solder through the holes, screw on the barrel, and call it a day. I don't do a ton of soldering anymore, but it turned out just peachy, and I didn't get any weird readings when checking things out with my analyzer after it was done.
|
|
I then installed Anderson Power Poles on the power lead that was waiting to be used, and on the power leads from the radio. No pictures of that...sorry.
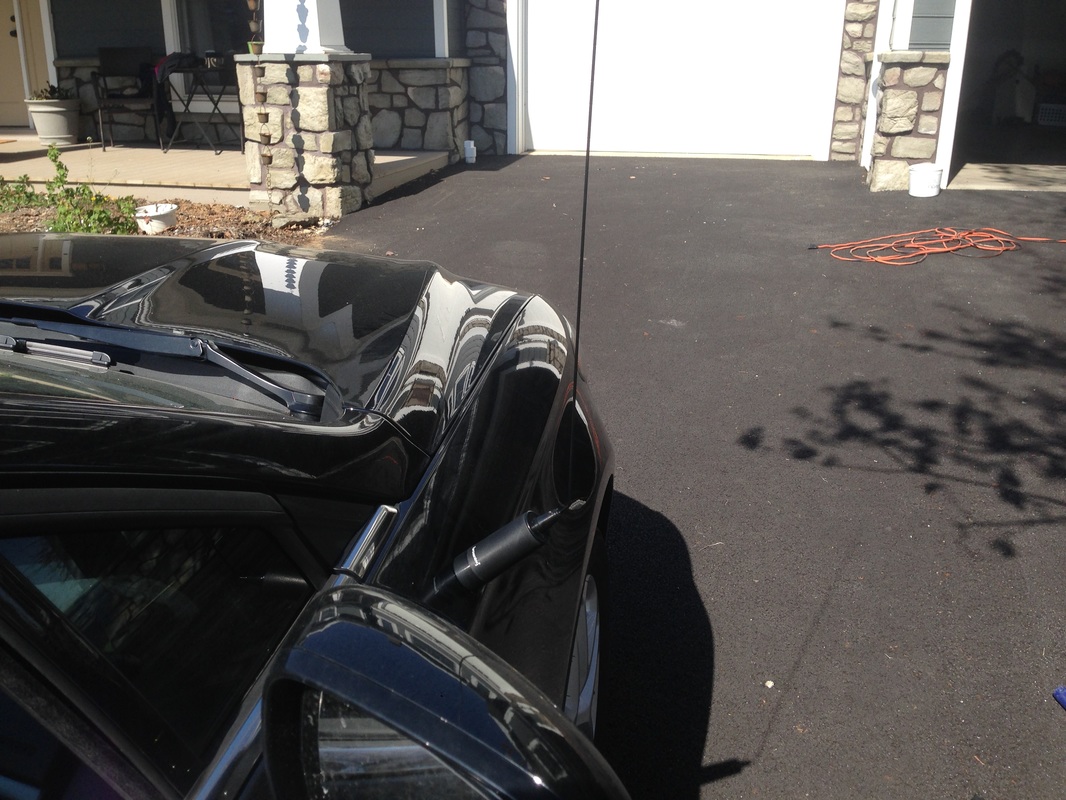
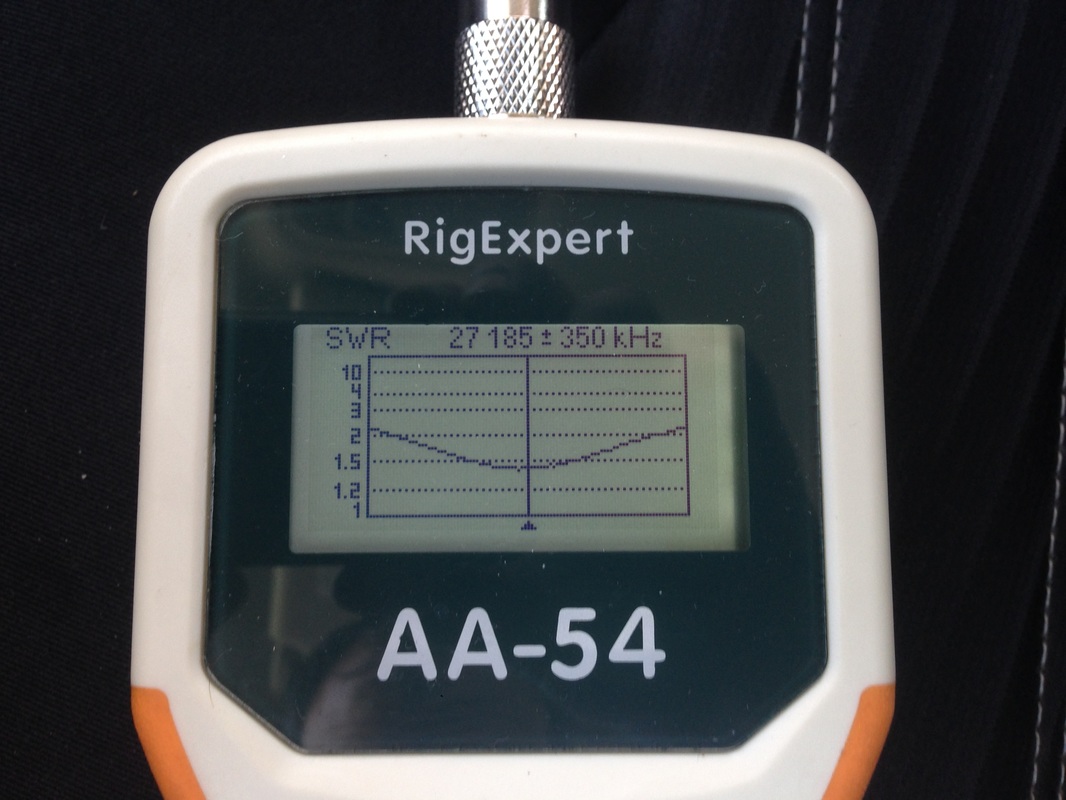
With the connectors on, I turned to the antenna. Because the NMO mount was installed on the front fender of the car, I had to bend the antenna element to make it vertical. Basically, without doing any trimming, I measured the SWR with the antenna sticking straight out, and then I measured the SWR again after bending it to vertical to see how much bending the antenna element changed it. I was then able to cut the bent part off, and slowly trim to length with the antenna sticking out, and then when I hit the magic spot where bending it up to vertical would make the SWR land where I wanted it, I made the bend, and presto - CB antenna!
With the connectors on, I turned to the antenna. Because the NMO mount was installed on the front fender of the car, I had to bend the antenna element to make it vertical. Basically, without doing any trimming, I measured the SWR with the antenna sticking straight out, and then I measured the SWR again after bending it to vertical to see how much bending the antenna element changed it. I was then able to cut the bent part off, and slowly trim to length with the antenna sticking out, and then when I hit the magic spot where bending it up to vertical would make the SWR land where I wanted it, I made the bend, and presto - CB antenna!
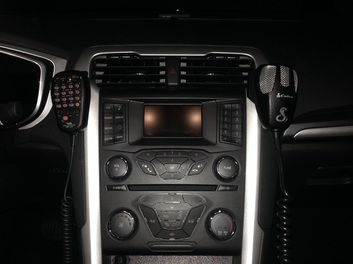
I also added another mic hanger, so that my ham mic and CB mic would kind of "balance" each other as they hang on the dash.
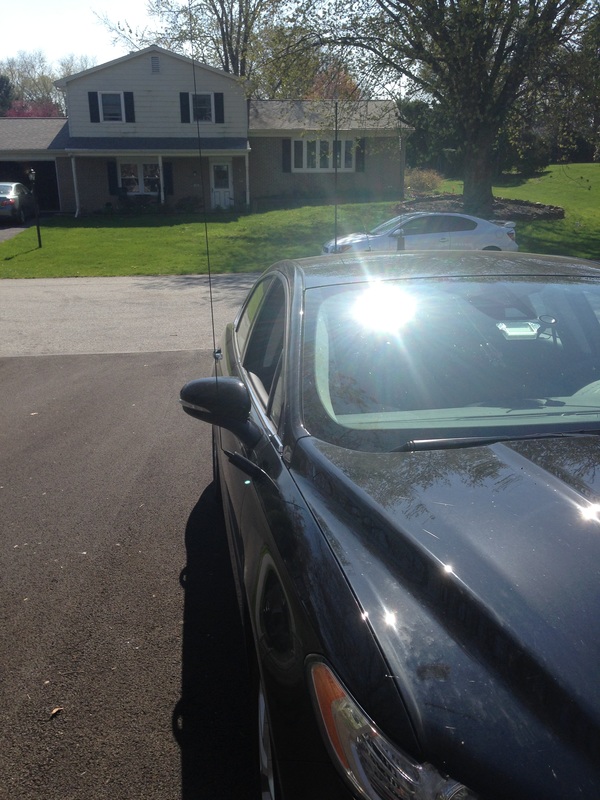
Lastly, during a recent work trip, I got to test out the radio and it's location, so I've decided that I'm please with the mounting location, etc. I actually got to test it out, because I heard one trucker say to another - "I wonder if that guy in the Black Fusion could get any more antenna's on his car?" to which I had to reply - "I can put as many antenna's on here as you'd like me too" :-) We then had a nice chat about radio's, ham radio, and what all my antenna's were for, which was great, because the HF ham bands were pretty much dead, and this way I still got to have a QSO (I just won't tell that truckers that's what we call it...)
Since I'm pleased with it, the only thing left to do is to take out the temporary wood mounting piece, trace it onto the piece of HDPE that is waiting in my garage, and do the final "screwing down" of everything. For now though, I'll leave you with 2 questions...
1) How do you solder your connectors?
2) Do you talk on CB radio? (you can call it 11 meters if it makes you feel better...)
Leave a comment and let me know!
 RSS Feed


