Post contains affiliate links
Believe it or not - it can be that simple.....What radio license can you just run out buy? GMRS.
GMRS (FCC Part 95 Subpart A) is a radio service intended primarily for family communications (although there are some older businesses grandfathered in.) In case you don't know about GMRS, it is basically a service where you are required to be licensed, but the only stipulations for getting the license are having about $60 available to mail to the FCC, being a person (not a business, government, or representative of one), and being 18. Once you've done that, you, and anyone you're related too, can use your license.
GMRS is very similar to the little blister-pack radios you can buy at the chain stores. Those radio's are normally part of the Family Radio Service, or FRS. There are some shared frequencies between FRS and GMRS but power levels and allowable antenna types vary. The biggest difference is, that you can use more power, larger antenna's, setup and use repeaters, etc. with GMRS. There are a limited number of frequencies (specific channels) that you can use, but that shouldn't be a hurdle. There are even commercial UHF mobile and HT radios out there that are type accepted for the GMRS service, so if you can get your hands on them, you can actaully put together a decent little station.
|
So why am I writing about GMRS? Because of my daughter! She has been expressing a lot of interest in my ham radio activities, so I decided that setting up a couple GMRS radio's would be a good way for her to be able to "practice" for the big show! The idea was to put 1 radio in the house, and 1 in my car, so that when I'm around town, we can chat, without the need for me to be standing over her shoulder. With that thought in mind, this saga began around christmas time - and what a saga it turned out to be...
|
Who can use the GMRS license? Pretty much anyone who would show up at your family reunion.....
(1) Licensee; (2) Licensee's spouse; (3) Licensee's children, grandchildren, stepchildren; (4) Licensee's parents, grandparents, stepparents; (5) Licensee's brothers, sisters; (6) Licensee's aunts, uncles, nieces, nephews; and (7) Licensee's in-laws. |
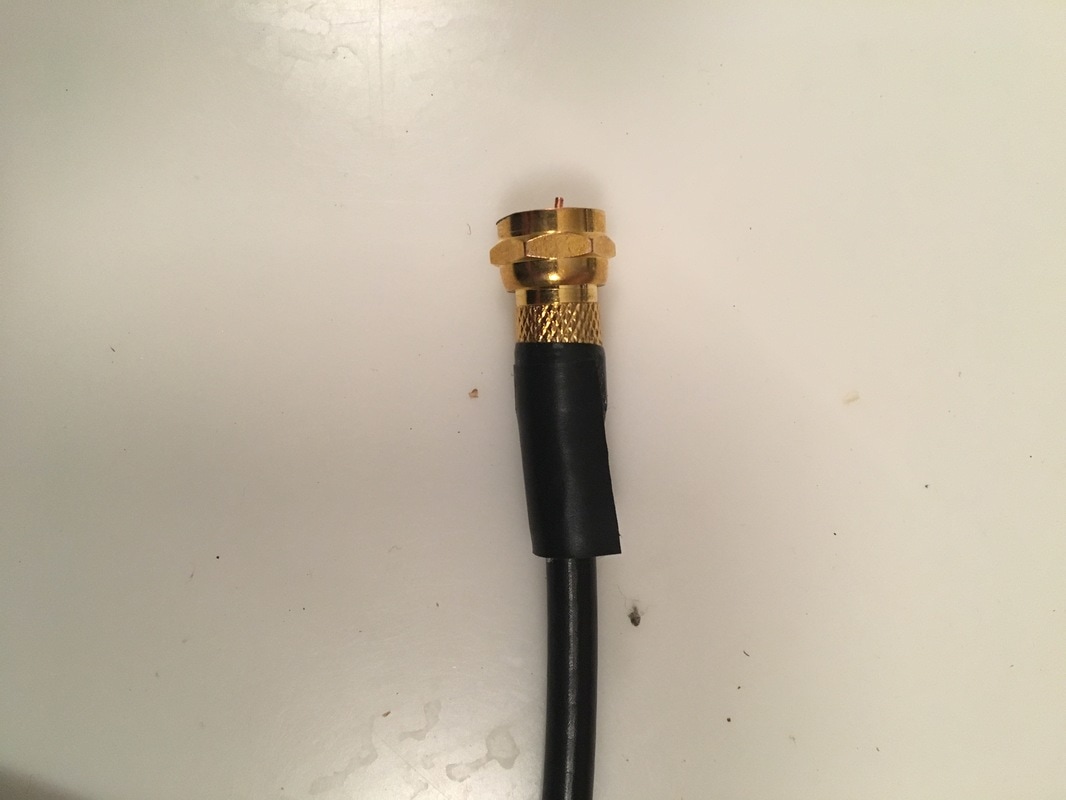
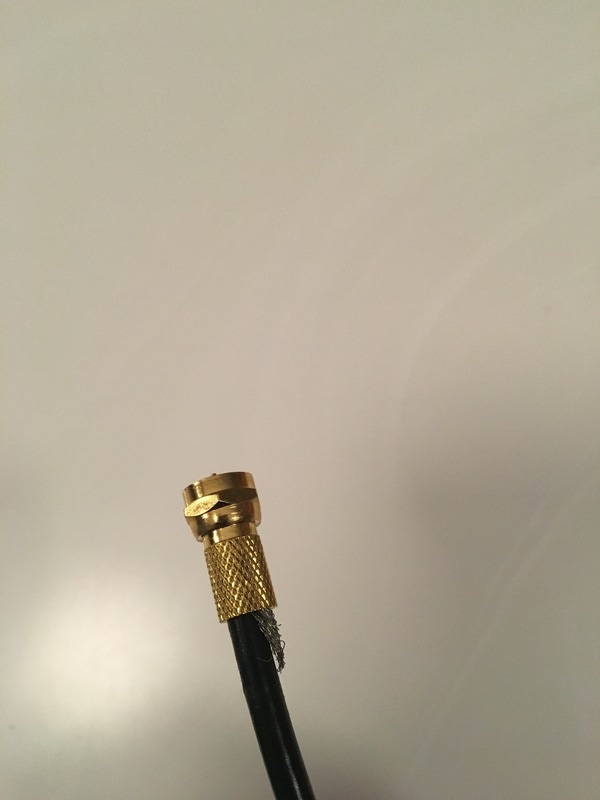
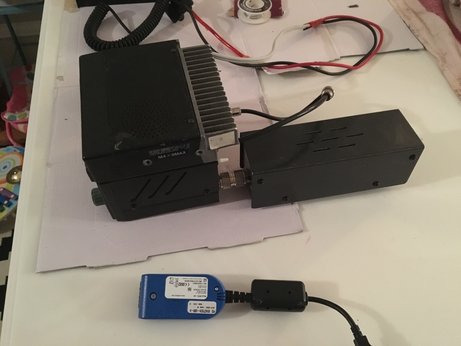
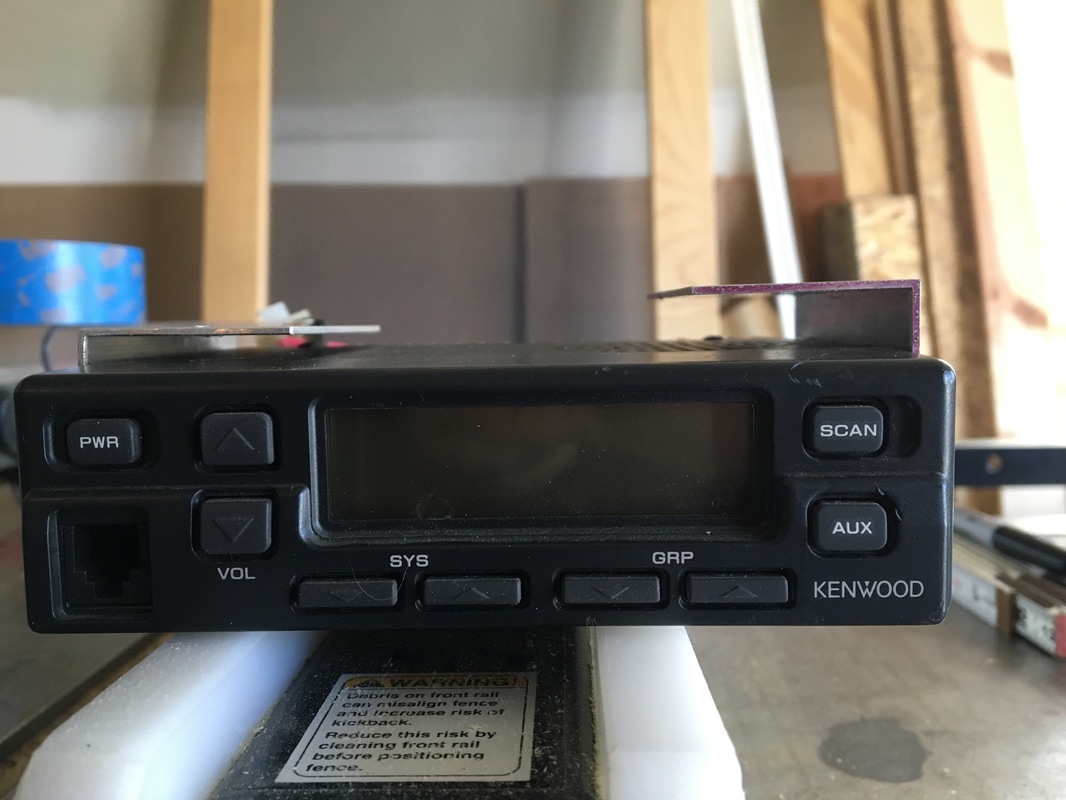
We ordered some Kenwood TK-840 commercial radio's online just before christmas. Based on the searching I did, these radio's were type accepted for GMRS. Getting things off ebay, you never know what to expect - and this proved to be no different. The radio's came, and the first thing I noticed was that there were F connectors, instead of anything normally used for radio, on the coax pigtails. To make things even more interesting, they weren't even really attached. It was almost like someone had gone to RadioShack, bought some connectors, and just kind of jammed them onto the end of the coax. Whoever did it wasn't even good at applying electrical tape...
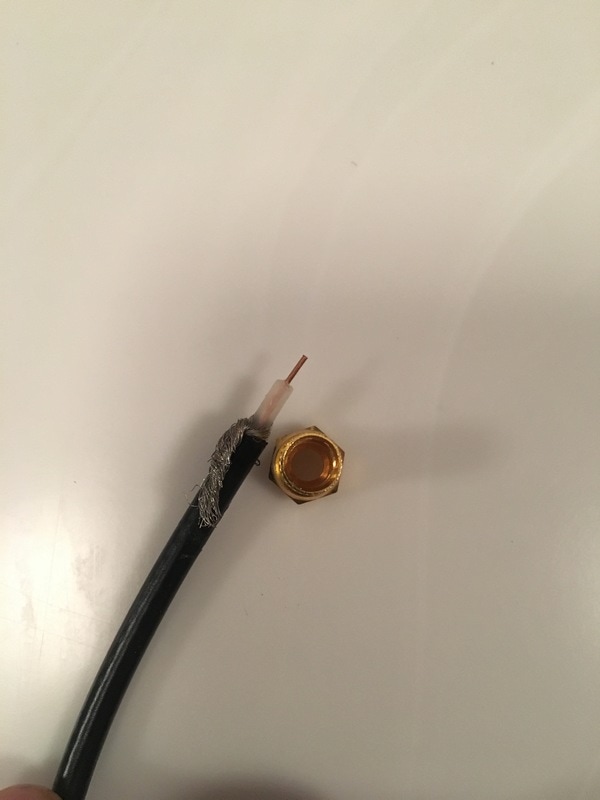
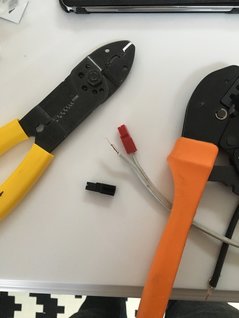
Luckily, the coax itself seemed to be properly connected, so I figured we would just make putting connectors on part of the project as my daughter and I got these radio's ready to go (her first lesson in solder was about iron safety!) Next came the power leads. Again, it wasn't technically the proper cord, but I found out what it was that had been used, and looked up the current handling capacity, and it was rated for enough current to handle what these little radio's would do, so we added some powerpole connectors.
|
 |
With the powerpole connectors on (this goes WAAAAY easier with the proper crimper!!!), and proper RF connectors in place, I hooked the radio's up to a dummy load, through a meter, just to make sure they worked. Everything seemed to be in order - so far so good!
The next step was to get my hands on the programming software for these rigs. That software, which was made by Kenwood, is called KPG25D. It isn't officially available any longer, but through the magic of the internet most people can get ahold of it fairly simply. Writing out all the details of how to use the software would take up a lot of space, so I'll just leave it at this - you'll need this stuff, which you can find online if you search around a bit:
All this does take some finagling, but Google helped me, so you can either search around like I did, or contact me and i'll help answer any questions you might have!
- The programming manual (or you can just sort of figure it out as you go)
- The KPG25D programming software
- This is DOS software, so another catch is that you either need to get your hands on an old computer, or use a DOS emulator - I used DosBox
- A USB to serial converter cable (if your computer doesn't have a serial port)
- The Kenwood Programming cable that matches the radio
All this does take some finagling, but Google helped me, so you can either search around like I did, or contact me and i'll help answer any questions you might have!
Armed with all the stuff above, we programmed the GMRS frequencies into the radio's, and fired them up for a test:
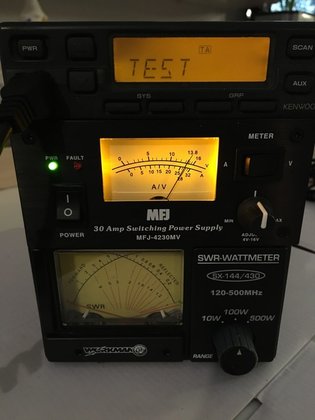
For the astute folks out there, you'll notice that the power meter isn't budging - for some reason these radio's, which worked fine before I reprogrammed them, now won't transmit! I poured through lots of notes, and eventually realized that I had gotten version "2" of these radio's which only work on the commercial portions of UHF, and are now basically worthless because they are wideband, so they can't be used in commercial service any longer, and they won't transmit anywhere in the amature or GMRS bands. Grrrrr.....no wonder they were so cheap. (Anybody want to buy 3 worthless radios? If not I'll hold on to them - maybe I can use them as exciters when I start building microwave transverters....)
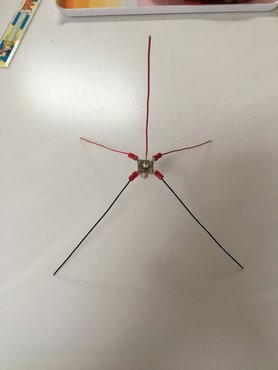
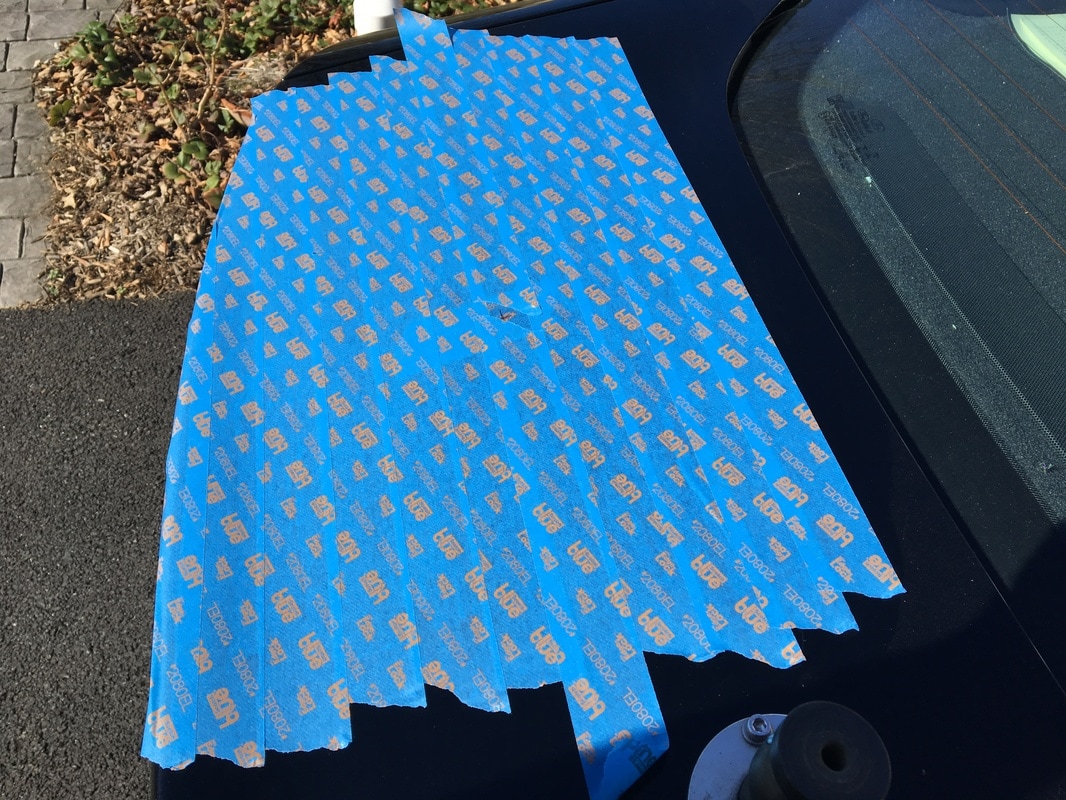
So, with that lesson learned the hard way, we went back to ebay and paid just a bit more. This got us 2 additional radios that were the proper version. While we waited for them to arrive we (my daughter and I) spent a couple hours one evening passing the time by building her very first antenna, tuned specifically for the GMRS frequencies:
As soon as the new radio's arrived, we opened them up, and thanked our lucky stars that these were in much better shape (a Ham must have had them!) - all we had to do was add powerpoles to the power leads, and we were ready to start programming radio's. After we had them programmed, we connected the antenna to my daughter's radio, and a dummy load to mine (P.S, a dummy load will work as an antenna over short distances....sometimes even long distances as many will attest to!) We then had a short test conversation from one end of the kitchen to the other - awesome! Working Radio's!
Next, we had to decide where to install my little helpers radio. Putting radio's around the house can be an interesting exercise, because the install location needs to meet the criteria of everyone who might be involved - in this case, the criteria was:
- Somewhere near power so I don't have to run a long cord
- Somewhere easily accessible to my daughter
- Somewhere that she will be within earshot of adult when she's using it
- Somewhere that it isn't seen during day-to-day living
- Somewhere that we can put her small antenna now, but eventually run a line to a rooftop antenna
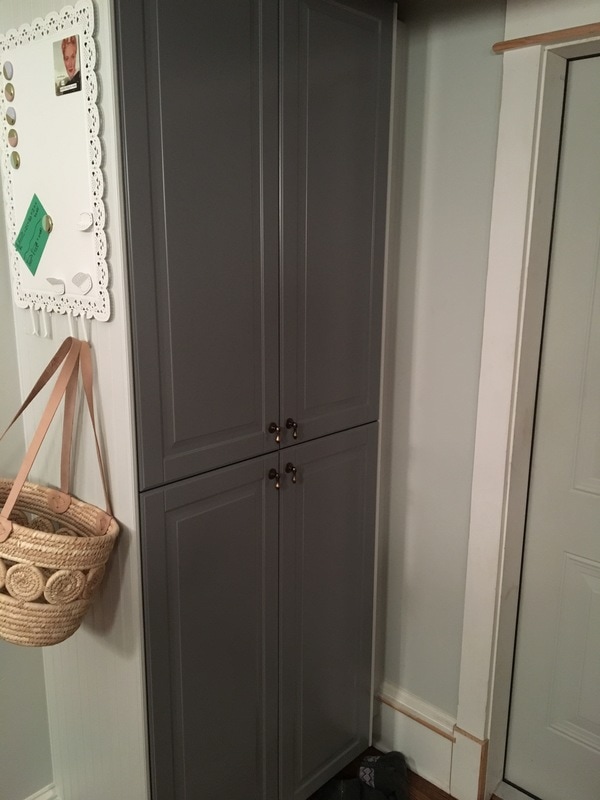
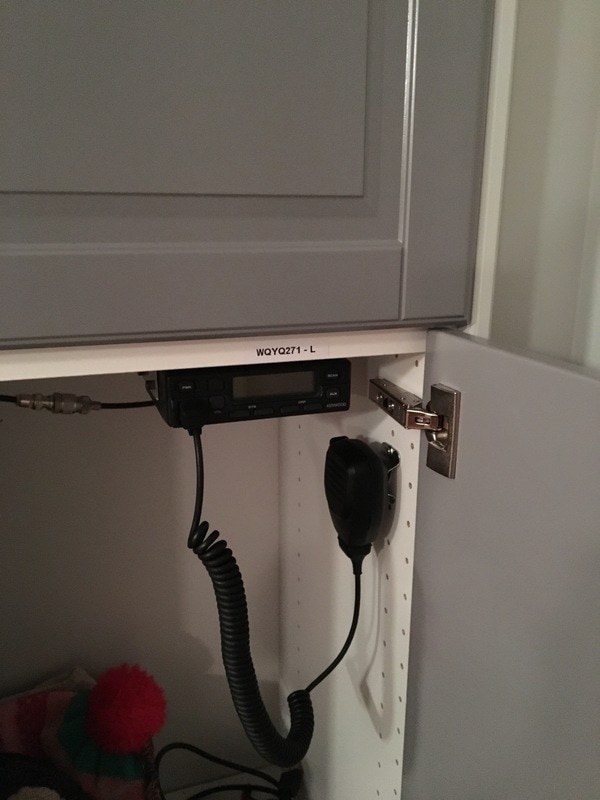
The spot that met all these requirements was the cabinet that I just recently built into the entryway from our garage - it has power in it, because we wanted to be able to charge phones and such, it has shelves and hooks for our little ones' things, it's pretty central in the house (so when little operator is using it she'll be heard), AND it is normally behind closed doors, so no one has to see it that doesn't want too.
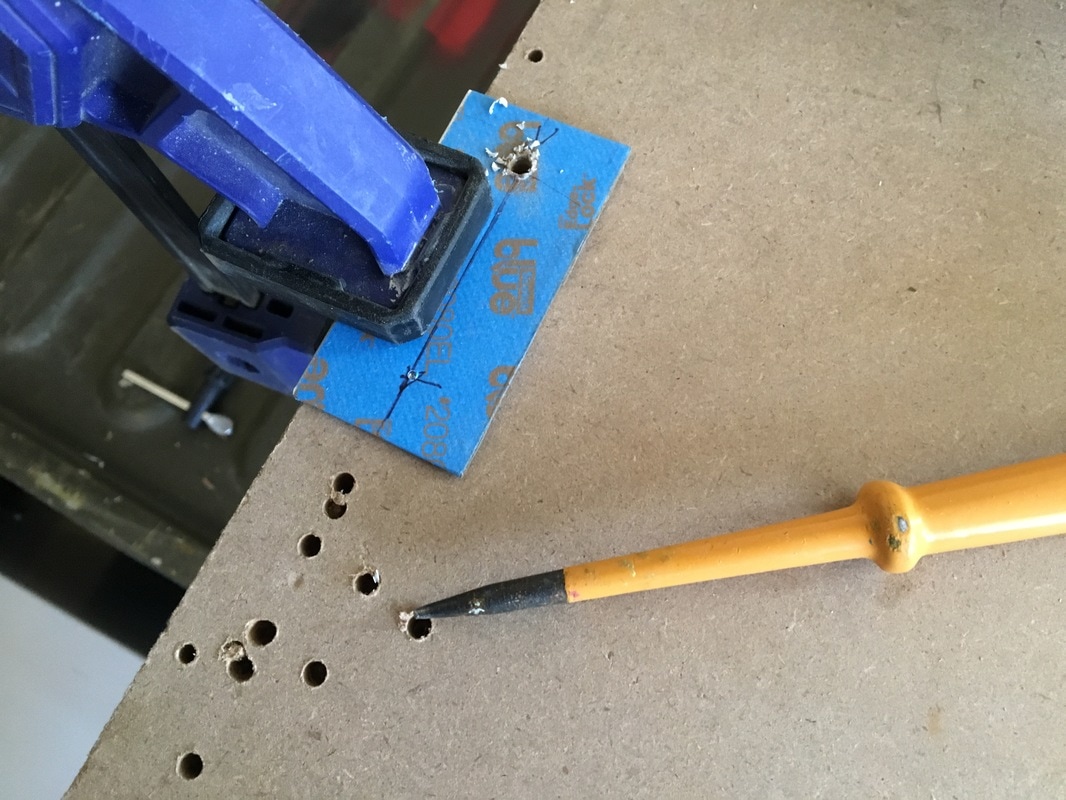
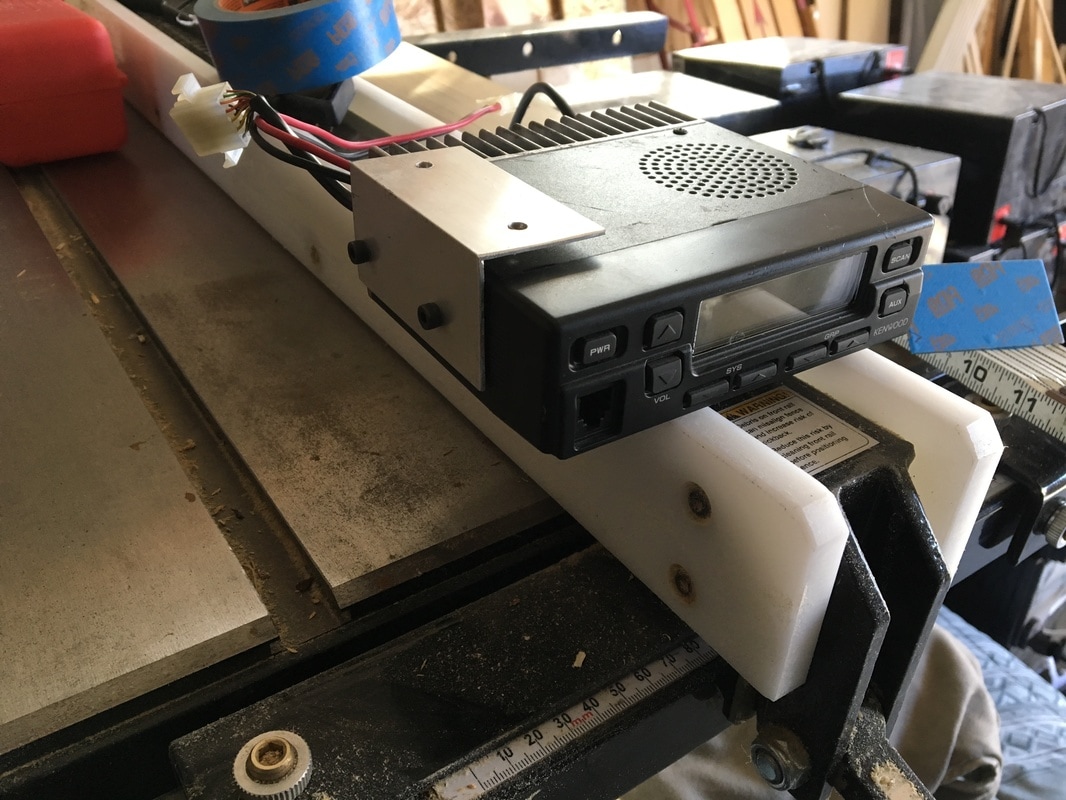
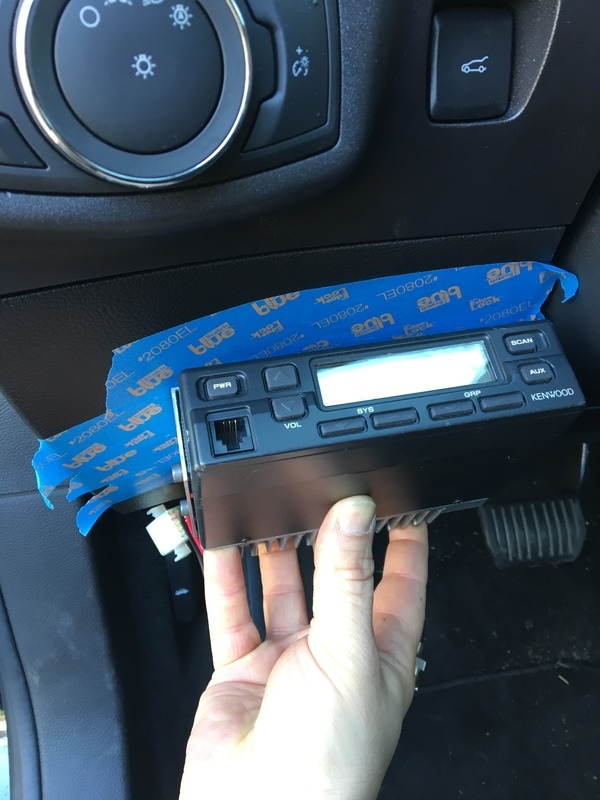
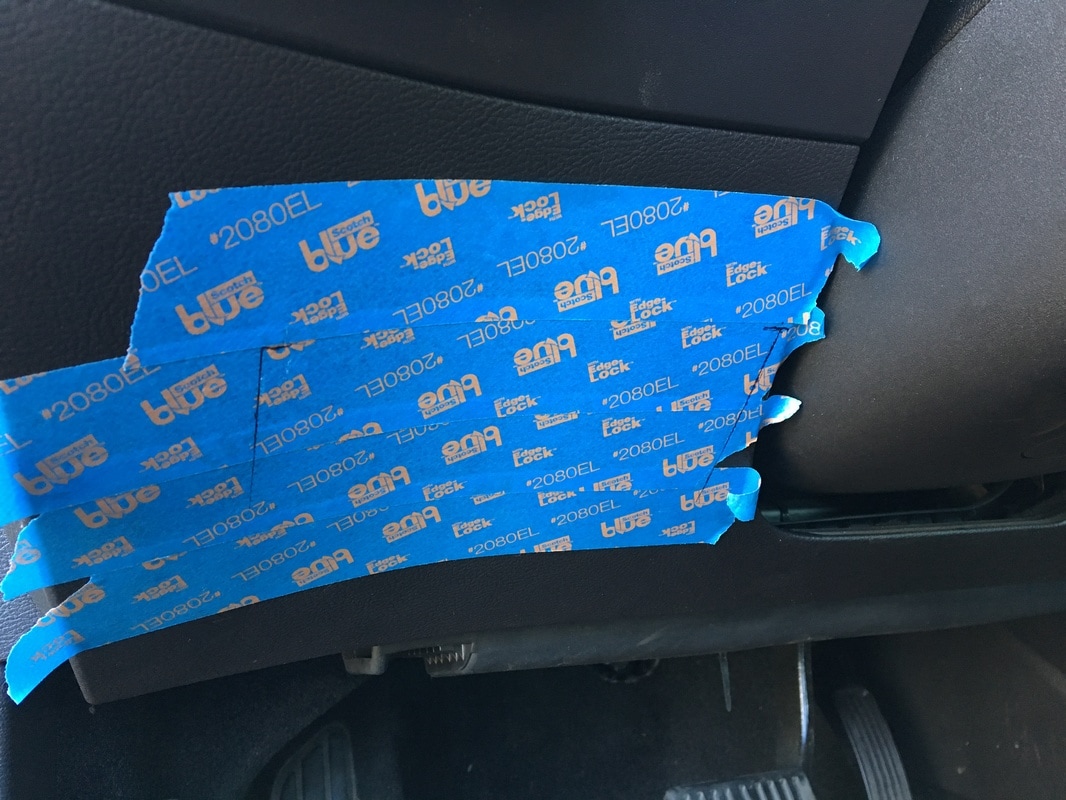
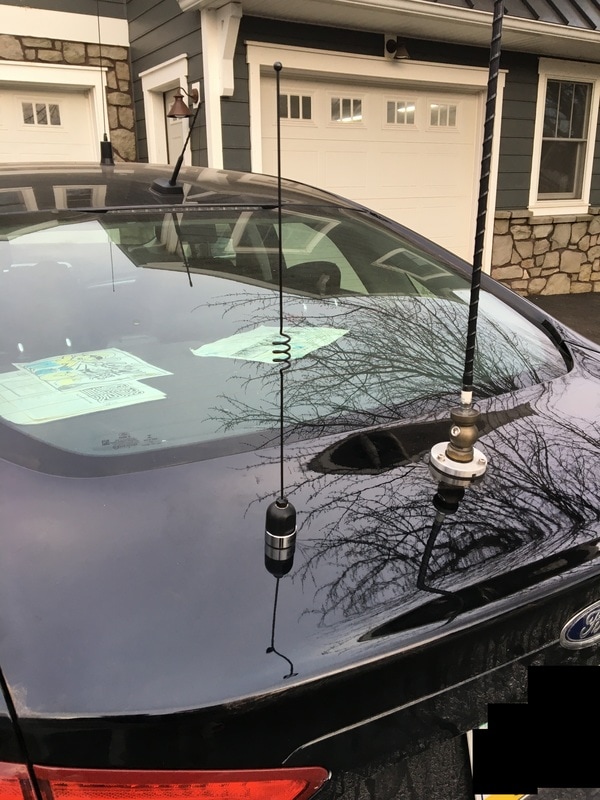
With the little one's radio installed, it was time to make some new holes in my car! I started by making up some brackets to mount the radio. Because the surface where I was going to put this wasn't level, I needed one side to stand out further than the other, so custom making a bracket from aluminum angle was the word of the day. While making those brackets, and marking the mounting locations for everything, I did my normal marking method - I covered the area with blue painters tape, and made all my measurements and marks on it. After drilling away, I peeled the tape back off. I use this same tape method when I drill a hole for antenna's as well. this does 2 things - it makes it easy to mark and measure where to drill without leaving any permanent markings, but it also servers to "catch" all the little metal shavings from the drilling, so they don't lie on the finish of the car and cause rust spots.
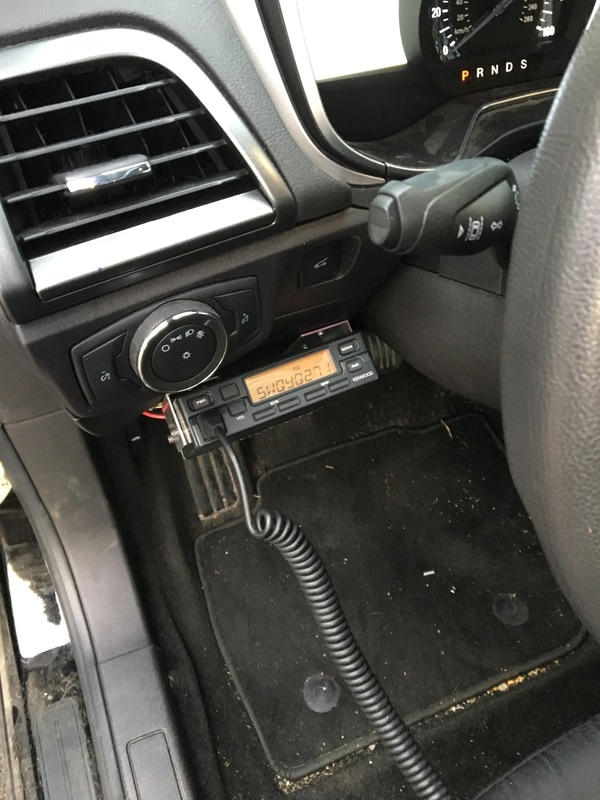
Finally, after a couple months, this project is complete, and my daughter can talk to me while I'm tooling around town. If you happen to be on the GMRS bandwagon and you ever hear a little girl and her dad talking about random nonsense in the Lancaster, PA area, and using the callsign WQYQ271, that's us!
 RSS Feed


