Post contains affiliate links
Welcome to part number (who knows?) of my shack build! In my last update here on my blog, I had just hung up the plywood panels that will become the "walls" of my operating position, through which, and into which, I will eventually be mounting my radio equipment.
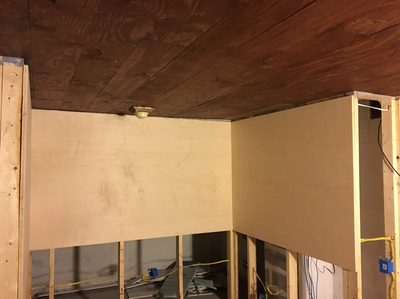
If you follow me on Instagram or Twitter (and I recommend you do - check out the links at the top of the sidebar!) you got to see some pictures of the next phase of things that I just wrapped up.
In Lancaster, PA, where I live, we apparently sit on top of significant natural uranium deposits. We also have very porous topsoil. These two factors together mean that Radon is very prevalent in our area. Our home however, was built before radon was really discovered, so when it was built, radon mitigation wasn't a thing. I always assumed that our levels were probably fine, because our house sits on a little bit of a hill with a daylight exposure basement. In theory, this usually means radon can't accumulate because it seeps out through gaps around doors, windows, etc. A while back though, we decided to test and it turns out the levels in our basement were HIGH.
|
With the amount of time I am planning on spending in my basement ham shack, I figured I better deal with it! For many reasons, we often recommend that ham shacks be in the basement, but we never talk about making sure the basement is a safe place! I STRONGLY urge you to test the radon levels in your basement, especially if that is where your shack is, or if you spend any significant amount of time down there!
|
|
When we built our addition, the foundation and basement slab in the new section were equipped for radon mitigation when we did the project. This meant that I just needed to add a couple of additional suction points in the existing house, (where the shack will be) and tie them into the piping in the new section. The first step to accomplish this was to get out the hammer drill and make some holes.

The first hole I made was in the wall between the original house and the addition, so that my new radon piping (in the old section of the house) could pass through to tie in to the radon mitigation piping in the addition.
After making a hole in the wall, I needed to make 2 holes in the floor - one for each of the suction points I would be adding in the main part of the house. To make the holes, I just used my hammer drill to make a series of smaller holes in a circle, and then used my sledge hammer and a chisel bit in the hammer drill to knock out the center. With this done, if you were the radon under my house, this is the new view you would have:

In my opinion, the most tedious part of the suction points was excavating out the stuff from under the slab, to make the air pocket big enough. I found that a combination of a hand trowel and my big shop vac was just the trick for this. Scrape Scrape Suck, Repeat.
With the new holes in place, it was time to start running pipe! Radon systems use either 3" or 4" piping, depending on the size of the runs etc. There are calculators available to determine what you need based on lengths of runs etc. Short of that, many outfits will just use 4" piping so they don't have to worry about it. In my case, because the system was being retrofit, there were some spaces where 4" pipe just wouldn't fit, so I had to go with 3". This means I have to use a slightly more expensive fan to keep airflow where it needs to be, but that was a better option then tearing a lot of stuff apart, or doing nothing at all!

I think the most unique thing about my install however, was dealing with the section of the pipe that needed to be exposed. Because of ceiling heights etc. there are some things in the shack that will be exposed conduit and pipe. This can actually be a neat look, so I'm just going with it. With that thought in mind however, white plastic pipe doesn't quite fit the bill as "looking neat" so here's what I did for the section that would be exposed:
The first thing I did was measure, cut it to length, and do a dry test fit. Once I knew I had it the right size I masked the ends, where it would need to be glued. I also used some 120 grit sandpaper to rough up the PVC and get the glossy sheen off of it everywhere that wasn't masked. With that prep work done, I hammered a piece of conduit into the backyard so I could slip my pipe over it, to stand it on end. (If you saw my Instagram post, this is what I was up to when I was getting strange looks from the neighbors...)

With a beautiful view in the background, I started spray painting! In keeping with the look I was after, I used black paint with a textured finished. The goal was to have it still look like a pipe, just not a cheap plastic one! I have used the Rust-Oleum "Hammered" paint in the past, so I knew it would give me the texture I was after.

After 2 coats of paint I pulled the tape off the ends, and had this fancy looking thing standing in my back yard for a couple hours to dry:

Once the paint was dry enough to handle, this last section of pipe got put in place, so now instead of a cheap looking white pipe going through my shack, I have something that "looks the part" just a little bit better:

With the last section of pipe in place, I finished up my afternoon by putting pipe straps and hangers in place, and sealing up the holes around the suction points. All that's left to do is to install the new Radon fan in the pipe outside the house, do a fresh radon test to check the new levels, and I should have a radioactive-free space, to be radio-active.
 RSS Feed


