NOVEMBER 3 VICTOR ECHO MIKE
  • Blog
  • Events and Activations
  • Diversions
  • About
  • Gallery
  • Contact
  • Links
  • Subscribe
  • Search
  • Blog
  • Events and Activations
  • Diversions
  • About
  • Gallery
  • Contact
  • Links
  • Subscribe
  • Search
NOVEMBER 3 VICTOR ECHO MIKE

ham radio Projects and musings from a (Relatively) new operator

New & Improved

2/12/2016

0 Comments

 
     One of the first parts of my mobile shack project that I shared was how I made the panel to fit in the space under the climate controls in my car, to give me a location to mount the control head of my radio.  It looked pretty good, but over time, I started to notice 2 things:
Picture
  1. I fastened the part in place with silicone adhesive. I thought that between the tight friction fit and this adhesive the part would be fairly permanent, but alas, the glue started coming loose, and I noticed some wiggling when I manipulated the radio controls.
  2. The plastic I used to make the part was a cheap cutting board - the material was great, but apparently it doesn't hold paint well, and the paint started to flake off.

Panel  2.0
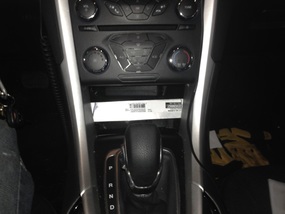
     The first thing I did was to pop the old part out, and clean all the adhesive off the trim where it had been mounted.  While this was off, my first order of business was to fashion a way to attach the new panel a little more firmly.  
Picture
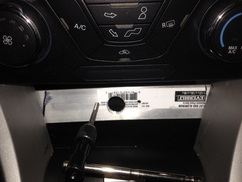
     I decided to go hard core, and screw something fast.  I had a piece of aluminum bar left over from another project.  I cut it to length, so that I could screw the ends of it to the back of the trim on either side of the panel, and then I would be able to use the metal to attach whatever mounting arrangement I came up with for the panel.  I didn't even bother taking the bar code sticker off, because this would end up hidden behind the new panel part, so in the pictures showing the aluminum bar, you can plainly see the label proclaiming that this is, in fact, the brand of aluminum bar you can get at any of the big box home centers.  Where did we buy our random stuff before Lowes and Home Depot?  Oh wait....the hardware store!  Almost forgot about that place!

Picture
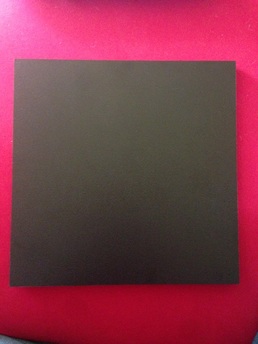
     Once I had this done and screwed in place, I traced the outline of the old panel onto this new piece of plastic, ordered from Tap Plastics.  For the material and size this place was the best price I found in my short search.  It's the same type of material as cutting boards (HDPE) and is marketed for use in marine applications.  I liked it because I knew the material was the type I wanted, and I could order it in black, so I wouldn't have to worry about paint chipping.  As a bonus, I like the texture on this better than the texture on the cutting board that I had used previously.
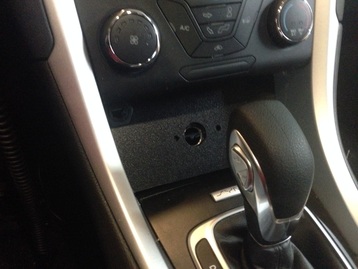
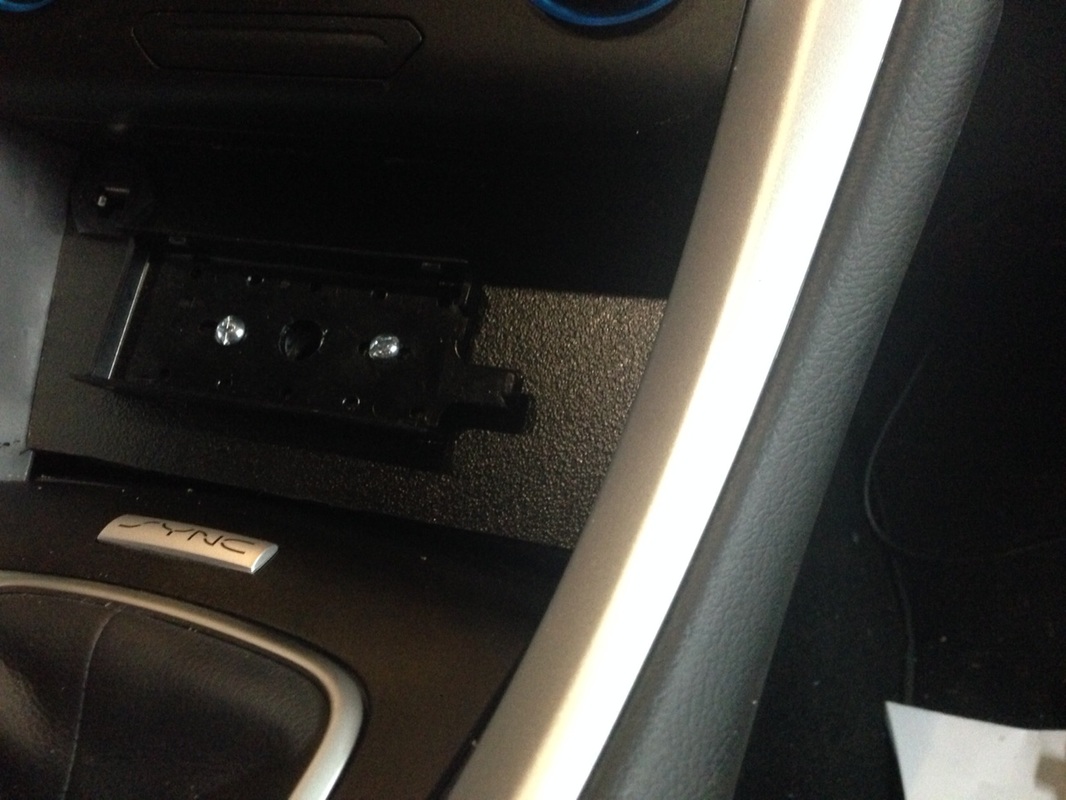
     After tracing the outline of the old panel, I drilled a hole in the upper left hand corner of the new one, for the bulkhead RJ45 connector.  After having it in the lower left on the first one, I realized that I wanted more wiggle room for my fingers on the buttons on top of the radio, so to shift the radio down, I needed to move the mic jack up.  I also decided that I would use the same screws that attach the radio head to the panel, to attach the panel to the aluminum bar.  This way all the mounting screws would be hidden from view, and I would only need 2 screws to attach both the panel and the radio head.  With this thought in mind, I drilled holes in the new panel for the screws to pass through and hold the remote head mount.  I also drilled a larger hole for the control cable to come through to the back of the radio head.  I then pressure fit the part in place, to use it as my drilling guide to transfer all the same holes to the aluminum.
Picture
     I didn't randomly pick my hole sizes.....I used a drill bit that fit my 10-24 tap, so that the screws that hold the panel and the remote head mount could just thread into this, instead of having to work with nuts, wrenches, etc. in the small tight space behind this location. After doing this, I popped the panel back in place, verified that my holes lined up, and then put the screws in.

Picture
Picture
     After doing this, it was just a simple matter of feeding the control wire through, hooking everything up, and popping the control head back onto it's mount:
​
Picture
     I guess it doesn't look much different than it did in the original pictures, but it looks better than it did yesterday, with the paint flaking off the first part I made.  It also feels a lot more solid - everything is screwed fast, and staying put.
     P.S.  I also drilled another hole and put in another NMO mount recently - I'll fill you in on that part of the project as soon as get to finish it....


di-di-di dah-di-dah
0 Comments

Your comment will be posted after it is approved.


Leave a Reply.

    Categories

    All
    Antenna
    Cw
    Digital-modes
    Flying-with-gear
    Home QTH
    Miscellaneous
    Mobile
    Operating Events
    Portable
    POTA
    Shack Build
    Technical


    - N3VEM -

         Welcome to my Ham Radio Blog!  This blog was started primarily to share my two concurrent shack builds - my mobile station and my home station.  Over time, this has grown to include sharing about my operations, and general radio-related thoughts that I have as a newer operator.  
         
    ​Enjoy!

    RSS Feed


    Picture
    POTA!

    Picture
    Proving that hams do indeed still build stuff!

    Picture
    100 Watts and Wire is an awesome community, based around an excellent podcast. 

    Archives

    September 2020
    July 2020
    January 2020
    September 2019
    August 2019
    July 2019
    June 2019
    May 2019
    March 2019
    January 2019
    December 2018
    November 2018
    October 2018
    September 2018
    August 2018
    July 2018
    June 2018
    May 2018
    April 2018
    March 2018
    February 2018
    January 2018
    December 2017
    November 2017
    October 2017
    September 2017
    August 2017
    July 2017
    June 2017
    May 2017
    April 2017
    March 2017
    February 2017
    January 2017
    December 2016
    November 2016
    October 2016
    September 2016
    August 2016
    July 2016
    June 2016
    May 2016
    April 2016
    March 2016
    February 2016
    January 2016
    December 2015
    November 2015


Picture
Copyright © 2015
 Vance Martin is a participant in the Amazon Services LLC Associates Program, an affiliate advertising program designed to provide a means for sites to earn advertising fees by advertising and linking to amazon.com.