I suppose that quite a few people think of the shot for Measles-Mumps-Rubella when they hear the term MMR. In my case though, I'm talking about the other MMR - Mold & Moisture Resistant drywall. We've never had any moisture issues in our basement since it's a walk-out with big windows and plenty of airflow, but just to be on the safe side, I decided to use MMR drywall for the walls of the ham shack.
With the goal of getting started on the hanging, I borrowed a truck this past Saturday morning, went to the home center down the road, and picked up a load of purple drywall. I rather like the color - maybe I should just leave it this way :-)
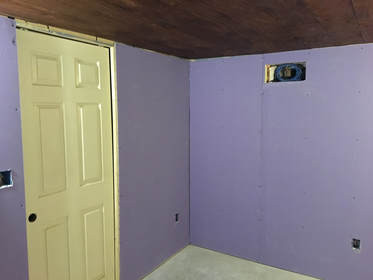
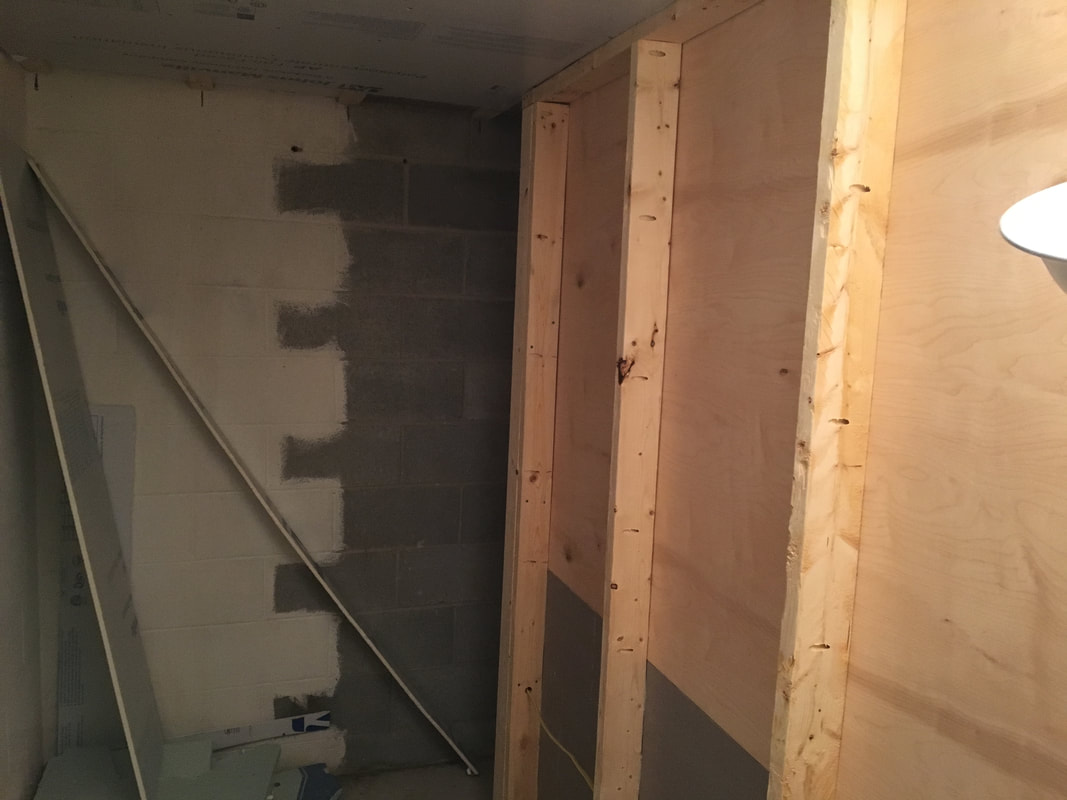
Anyway - now that there are some actual walls in place, it's a little easier to see and explain how all this is coming together. The shack is in the "middle" of the basement, so the corner of the room in the picture above has the pocket door that leads to the current family room. The operating position is actually behind me as I stood to take this photo. You can also see in the above photo, the access to the end of the conduit I ran across the rec room. The hole will get a metal panel over it, with bulkhead connectors for coax. I'm planning on mounting the panel with threaded inserts so that it can be easily removed to access the conduit behind it. Here's a closer shot:
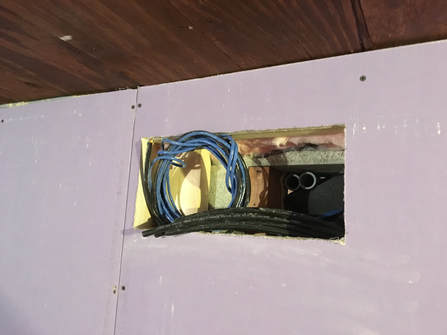
The cables you see are the other things I ran while the ceilings were still open - 4 sections of LMR-400, 2 cat6 cables, and a rotor control cable.
The operating position is also starting to take some shape, now that walls are in place:
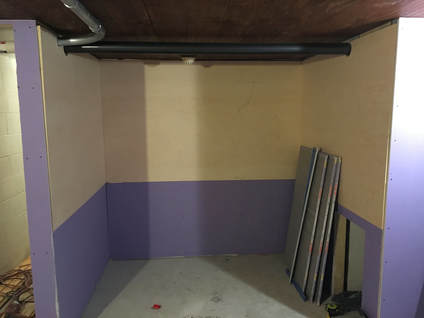
The desktop will land right at the division between the plywood and the drywall, so from the desk up, will be a nice, stained-wood surface that will have the equipment recessed in it, and the drywall will only be under the desk.
If you look closely, in the lower right hand side of the picture you can see an opening in the wall - this opening will serve 2 purposes:
- It gives me access to the bottom of the conduit that runs clean up to the attic of the house, to be used for coax, cables etc.
- It is perfectly sized for the mini-fridge that is currently in the storage room, so most of the time the "hole" will just look like a built in fridge - an important feature in the ham shack!
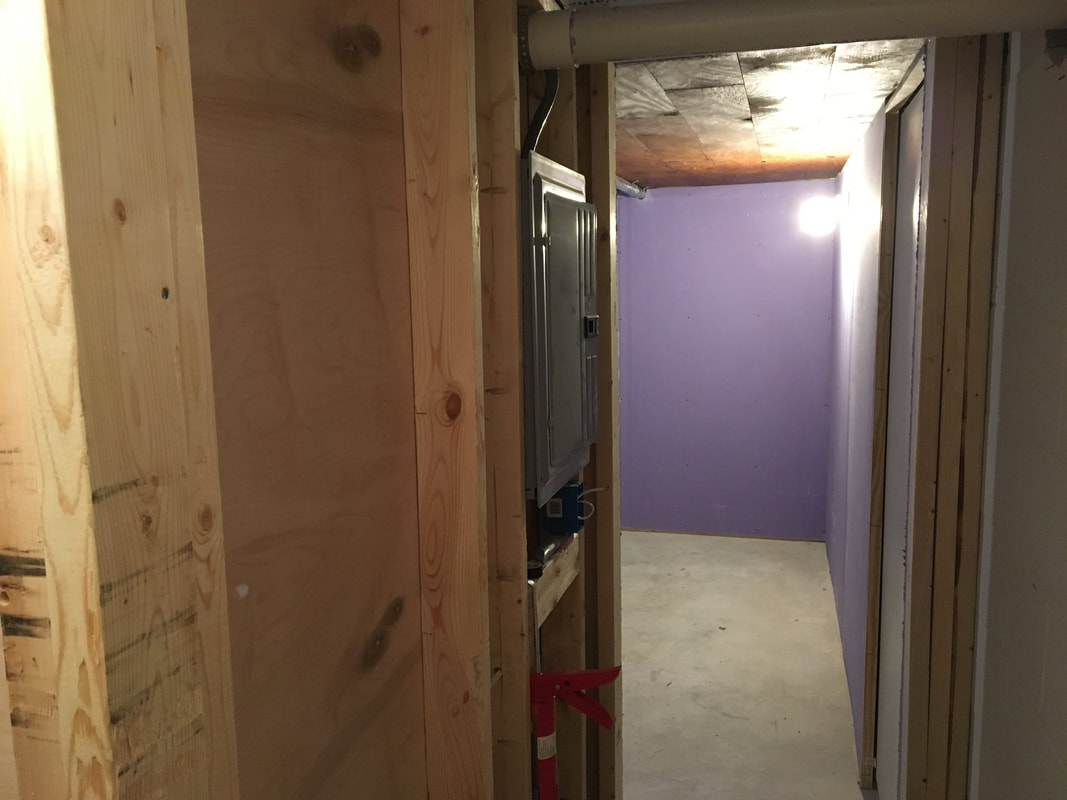
If you're wondering about outlets in this space, don't worry! Some of them will be built into the desktop and back-splash as I finish things out, but most of them will actually be in the "service area" because all you'll see from here is the faces of the equipment - all the wires and such will be accessed by walking behind the wall, through the door to left, that you can just see in the above picture. It's right next to the door that leads out of the other side of the shack (which will give me quick access to the bathroom that will be across the hall - another important shack feature!)
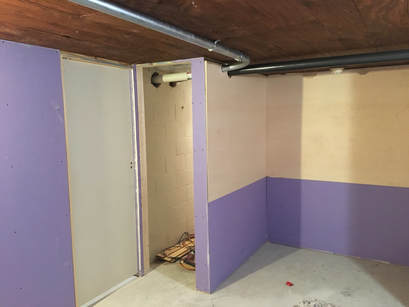
I gave myself about 4 feet of space to the back wall of the room (where most of the equipment will stick through), and about 2.5 feet feet along the side, so it should be a very comfortable way to access the back of the equipment! I also installed a sub-panel for the ham-shack, so future power needs are well covered!
 |  |
Anyway, that's where the shack stands for now! This coming weekend will be spent doing more drywall, but that will be out in the hallway and rec-room, so I won't bore you with those details :-)
Thanks for stopping by!
 RSS Feed


