NOVEMBER 3 VICTOR ECHO MIKE
  • Blog
  • Events and Activations
  • Diversions
  • About
  • Gallery
  • Contact
  • Links
  • Subscribe
  • Search
  • Blog
  • Events and Activations
  • Diversions
  • About
  • Gallery
  • Contact
  • Links
  • Subscribe
  • Search
NOVEMBER 3 VICTOR ECHO MIKE

ham radio Projects and musings from a (Relatively) new operator

npotathon 2.0

10/20/2016

0 Comments


Has this ham gone crazy?!

Picture
     Here it is folks!  Some of you asked for it, and I didn't think it was going to happen, but the stars aligned, and I am now pleased to announce that NPOTAthon 2.0 will be happening on Sunday October 30th!  Mark your Calendars, because just like my first NPOTAthon, I'll need all of you to make this a success!

12 Parks in one day

Picture
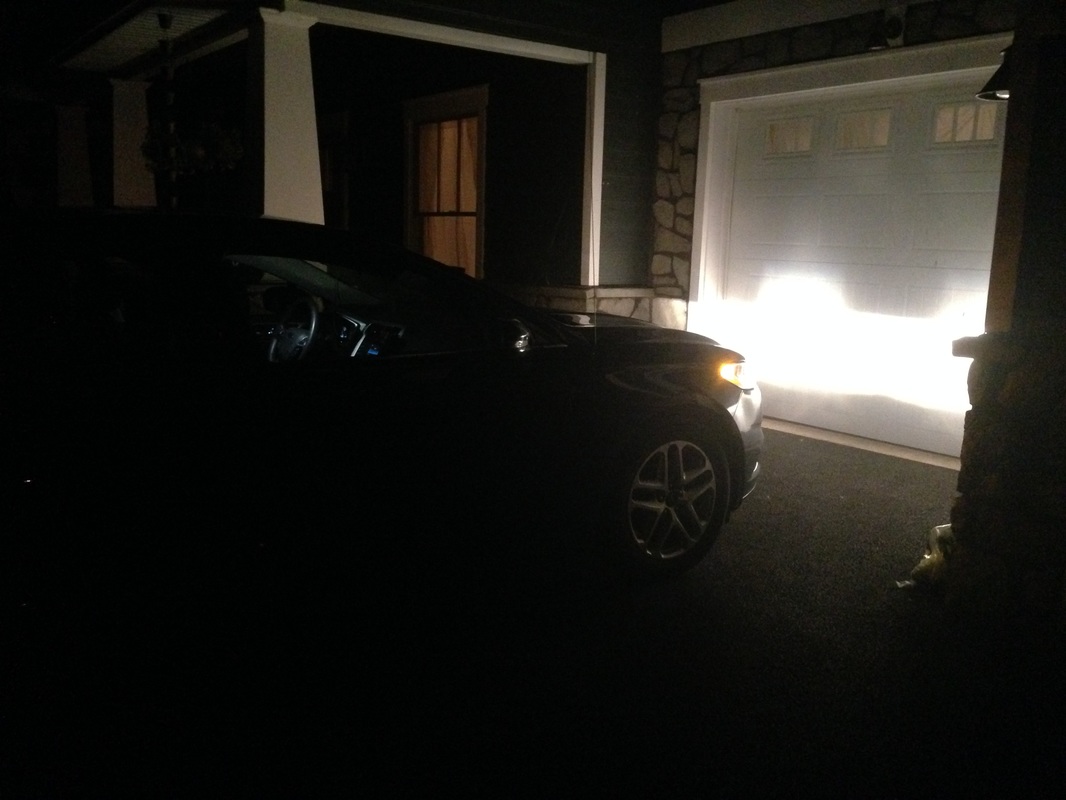
     During the first NPOTAthon I tried for 12 as well, but only successfully activated 10 parks in 1 day - I'm going to attempt to beat that record, AND I'm going to attempt to do it in less time!  The shorter timeframe isn't just a goal because I'm part masochist - it's an unfortunate side effect of the fact that a couple of the parks near the end of this route close at Sunset, and the days are getting shorter!  My first stop will start around 6:00 am.  My schedule gives me 30 minutes to operate at each park, with a total of about 1hour of wiggle room in the whole day - it will be tight, but with your help I can do it!

The Plan

     Like all good plans, I have this timed down to the minute, but on the day of big show, anything could happen, so follow along on my Facebook Page the day of the event, where I'll post as I go.  Be sure to "like" my page so that you get the notices in your feed as I move from park to park!  You can also keep your eye on the NPOTA Facebook group as I'll share the posts there so that the regular gang of chasers can keep tabs on me as well.  

​leg 1

This leg covers the first 6 stops of the day, starting at approximately 6:00 EST / 10:00 UST.
  • Eisenhower                NS13     6:00EST     10:00UST
  • Gettysburg                 MP03     6:34EST     10:34UST
  • Catoctin Mountain     DZ01     7:29EST     11:29UST
  • Monocacy                  BF06      8:30EST     12:30UST
  • Hampton                    NS33      9:56EST     13:56UST
  • Greenbelt Park          DZ04      11:16EST   15:16UST

leg 2

This leg picks up where leg 1 left off, and covers the next stops.
  • Fort Washington                     DZ03     12:22EST     16:22UST
  • Piscataway Park                     DZ07     13:11EST     17:11UST
  • Manassas                                BP02     14:39EST     18:39UST
  • Prince William Forest Park    DZ08     15:48EST     19:48UST
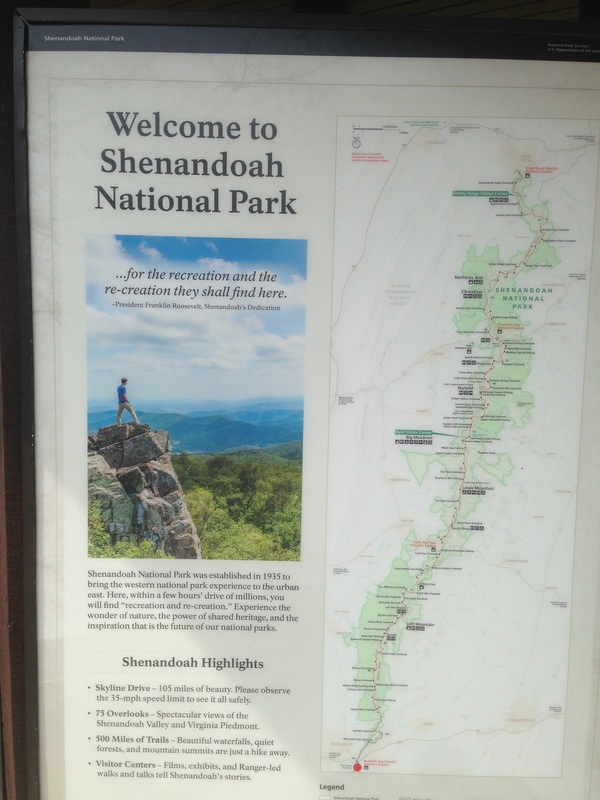
  • Fredricksburg/Spotslyvania   MP02     16:44EST     20:44UST
  • Green Springs                        AA09     18:23EST     22:23UST
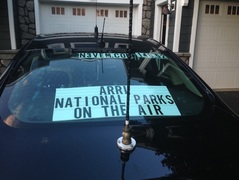
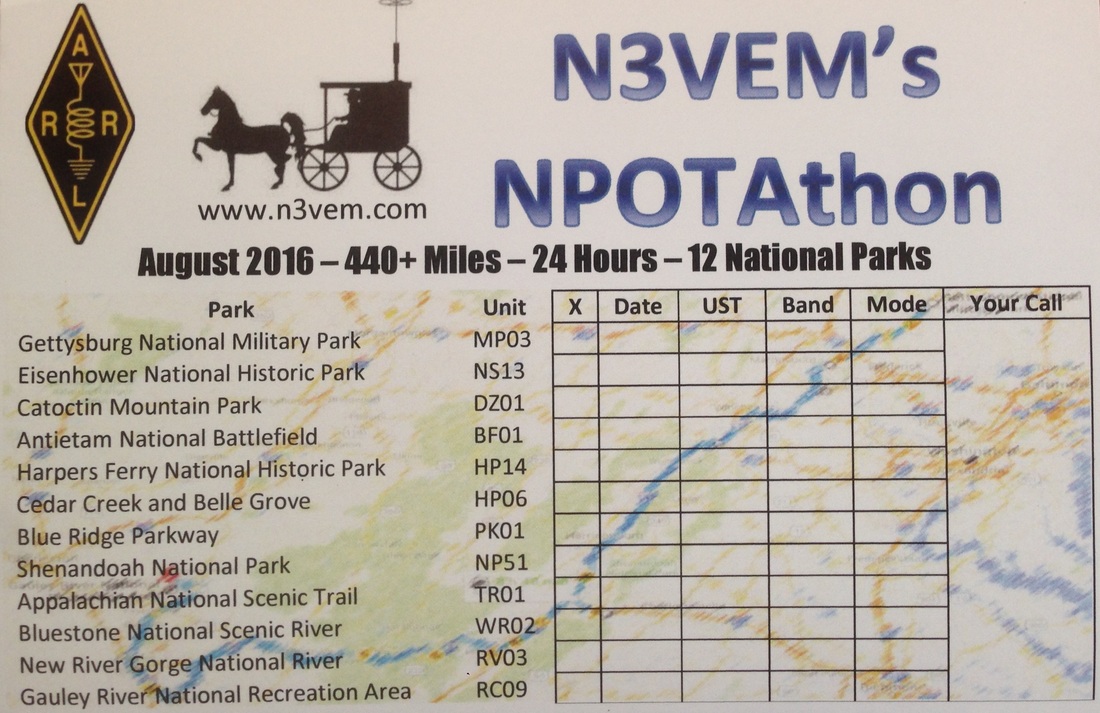
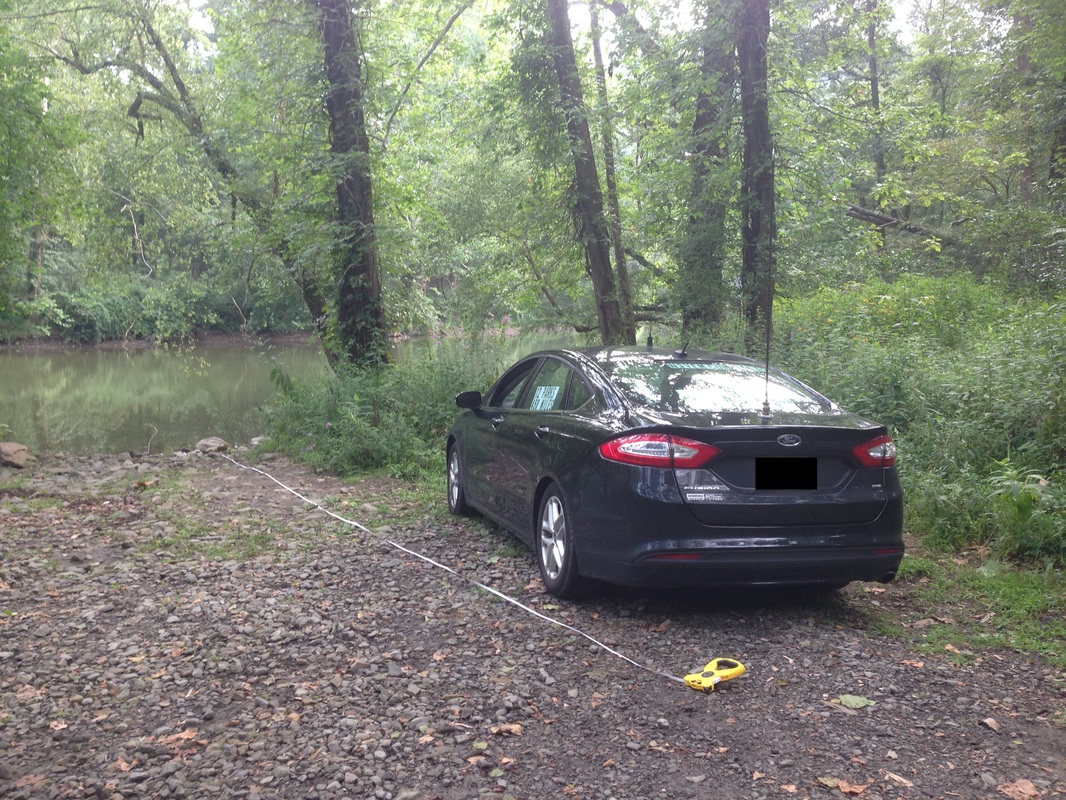
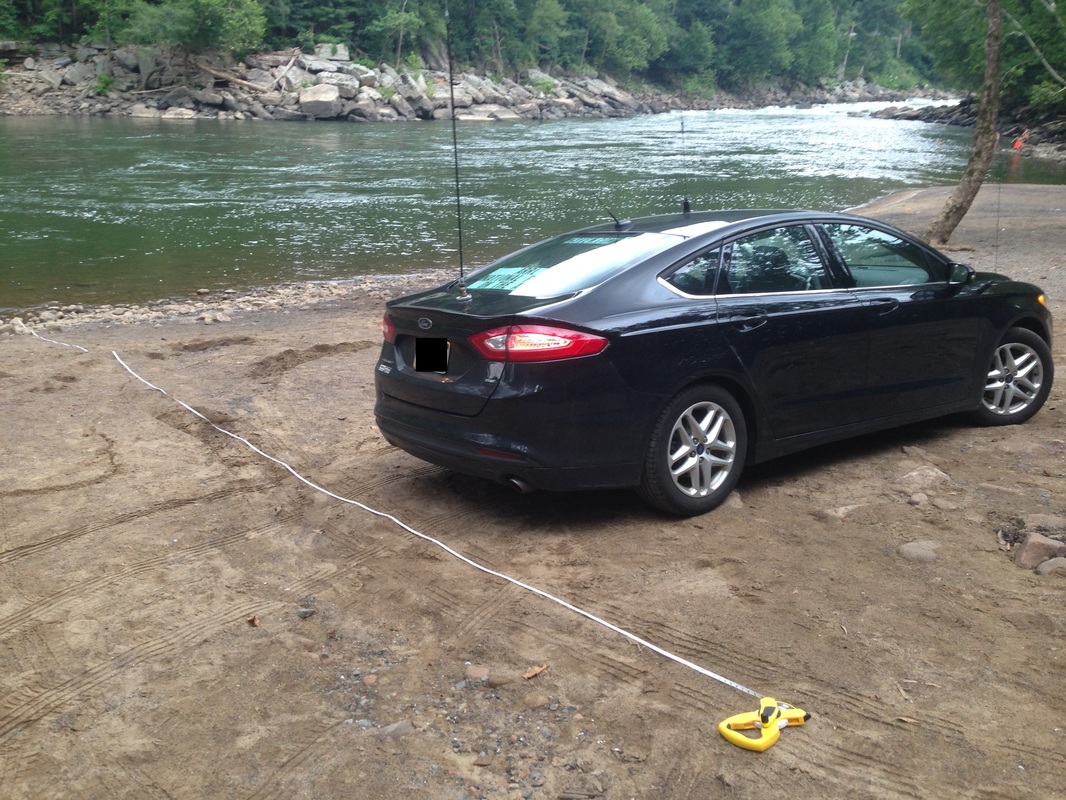
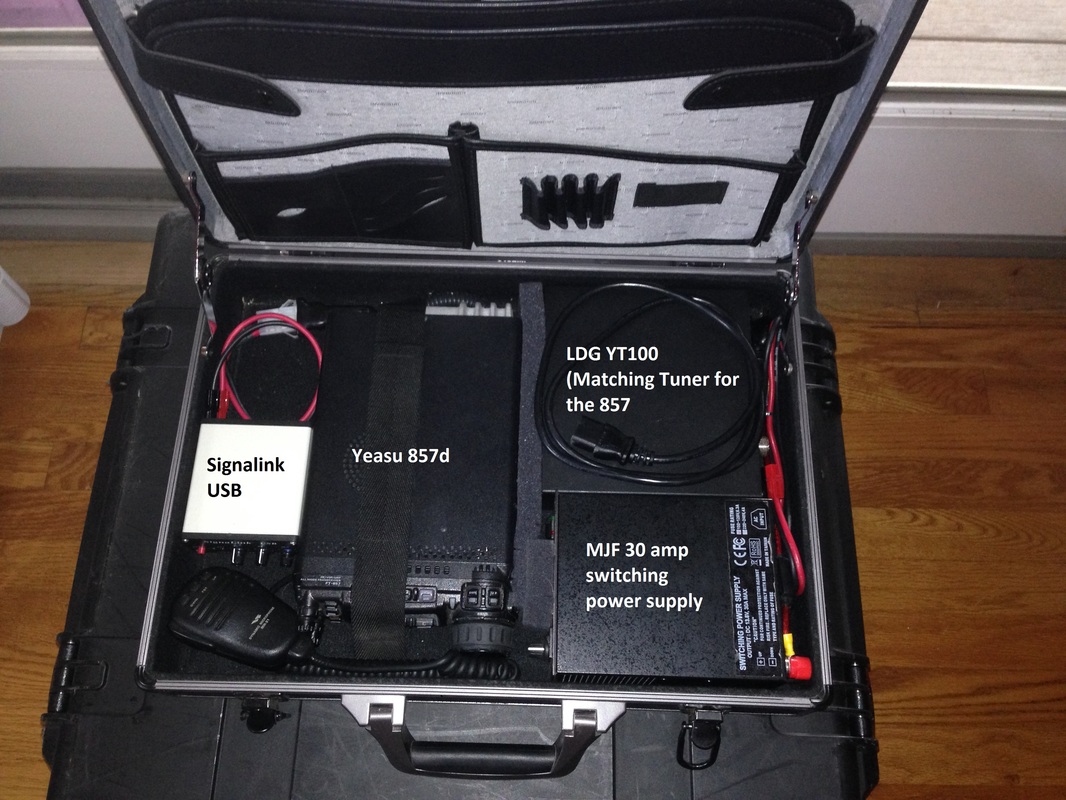
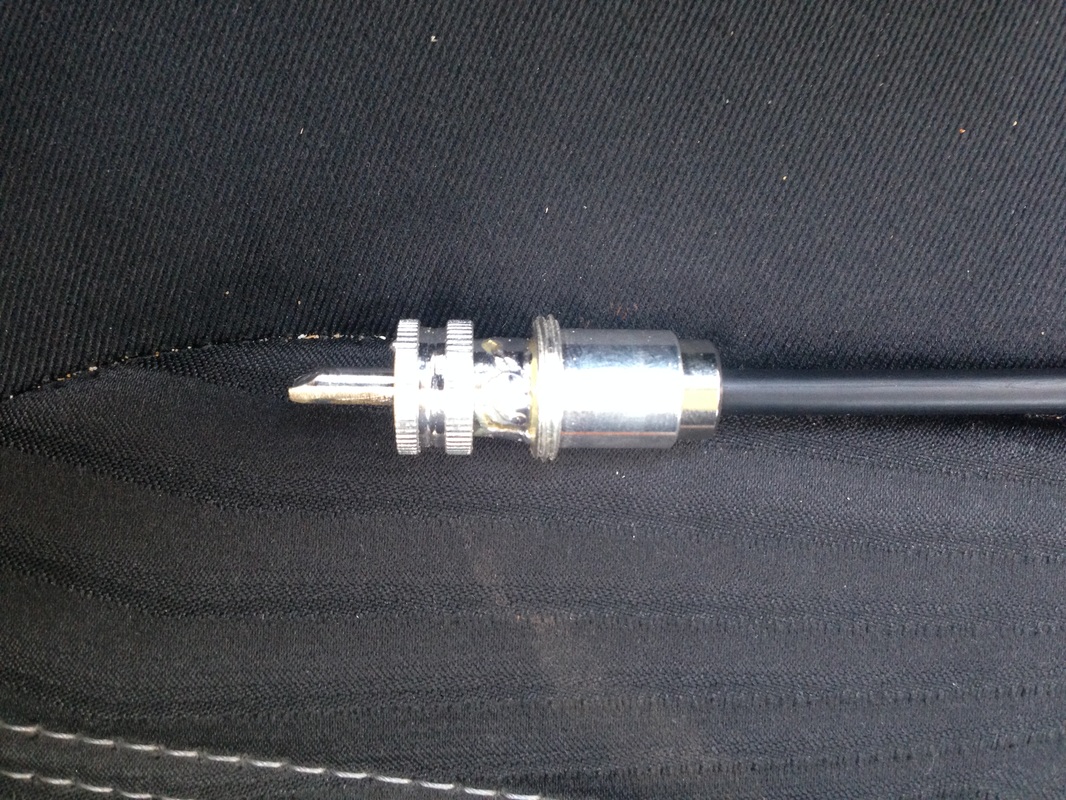
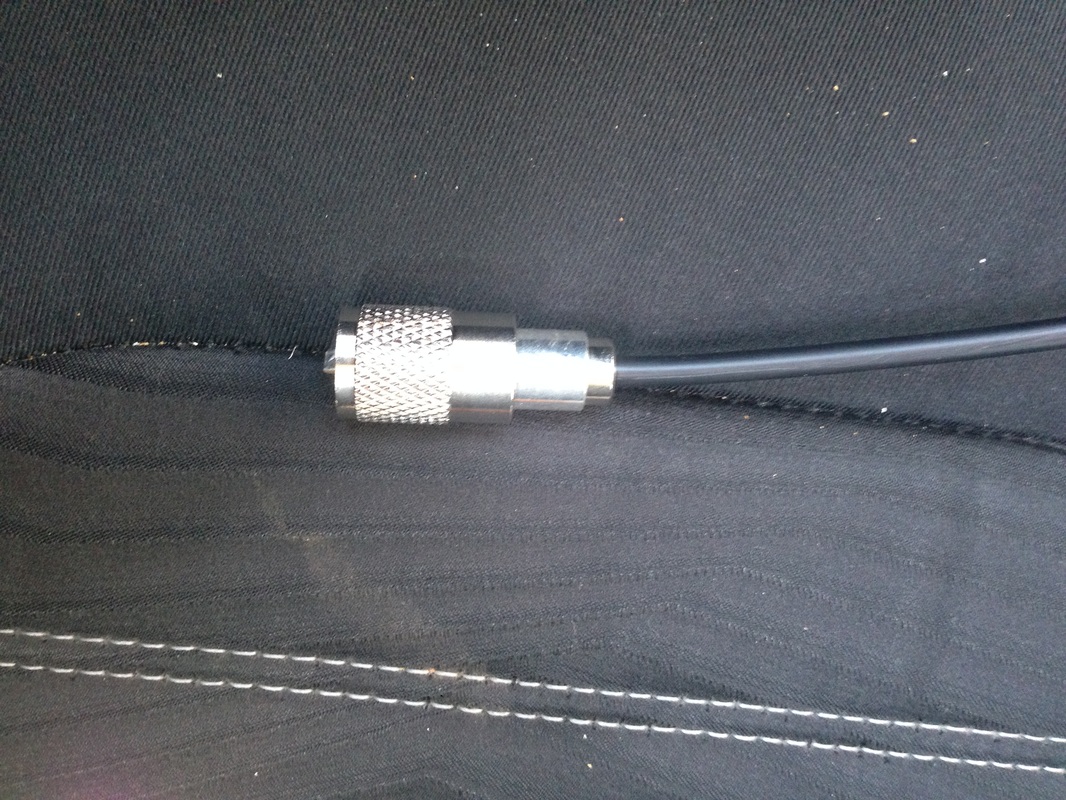
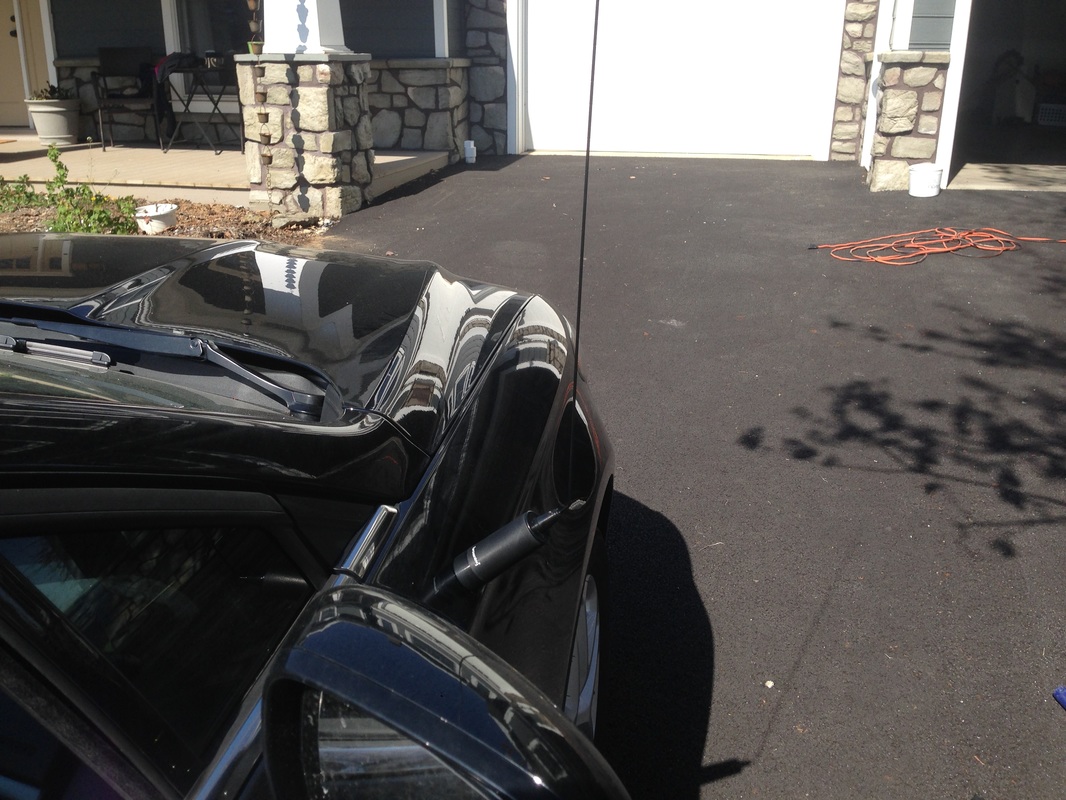
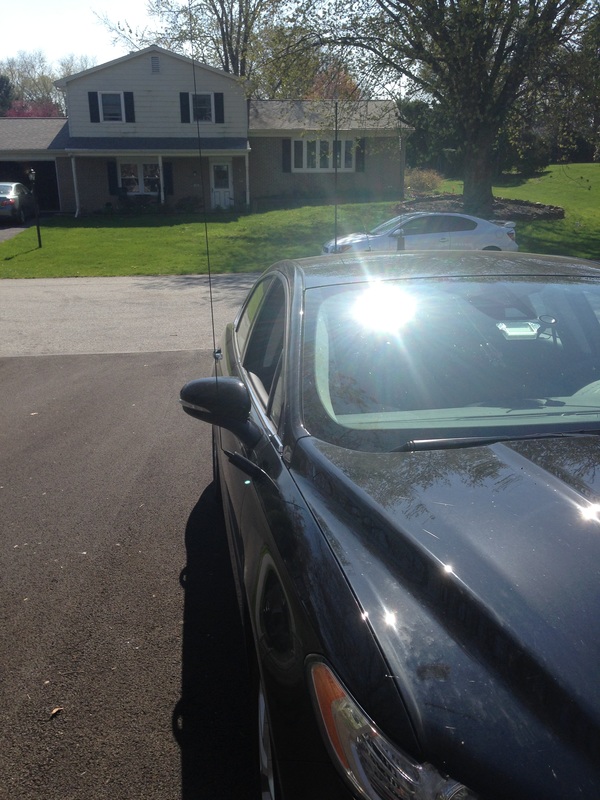
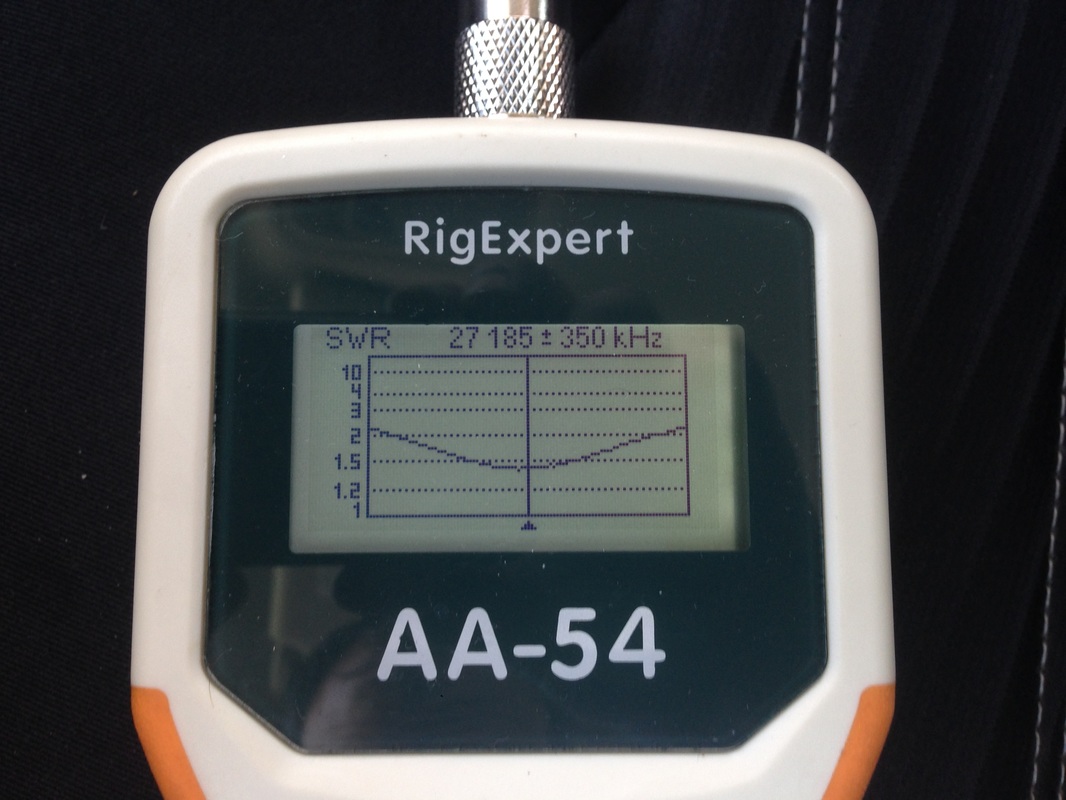
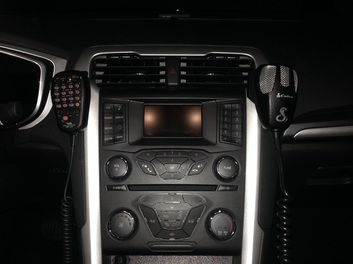
     These activations will all be from my mobile, because that is the only way to hit this timeline.  It is also quite likely that all the activations will be on one band - either 20m or 40m (but probably 40m again) depending on propagation.   At the end of NPOTAthon 2.0 I'll be sending out QSL cards, the same way I did last time, and I'll also publish the list of "Most Contacted" so that everyone can see who got me at the most parks on the day of the event - will there be some new leaders, or will it be familiar callsigns?  That's up to you!

     Also, just like last time, if anyone wishes to contribute to the event, I am asking for no monetary support.  All I need is your best wishes, prayers for safety on my travels, and for you to be there on the other end of the radio waves when I call:
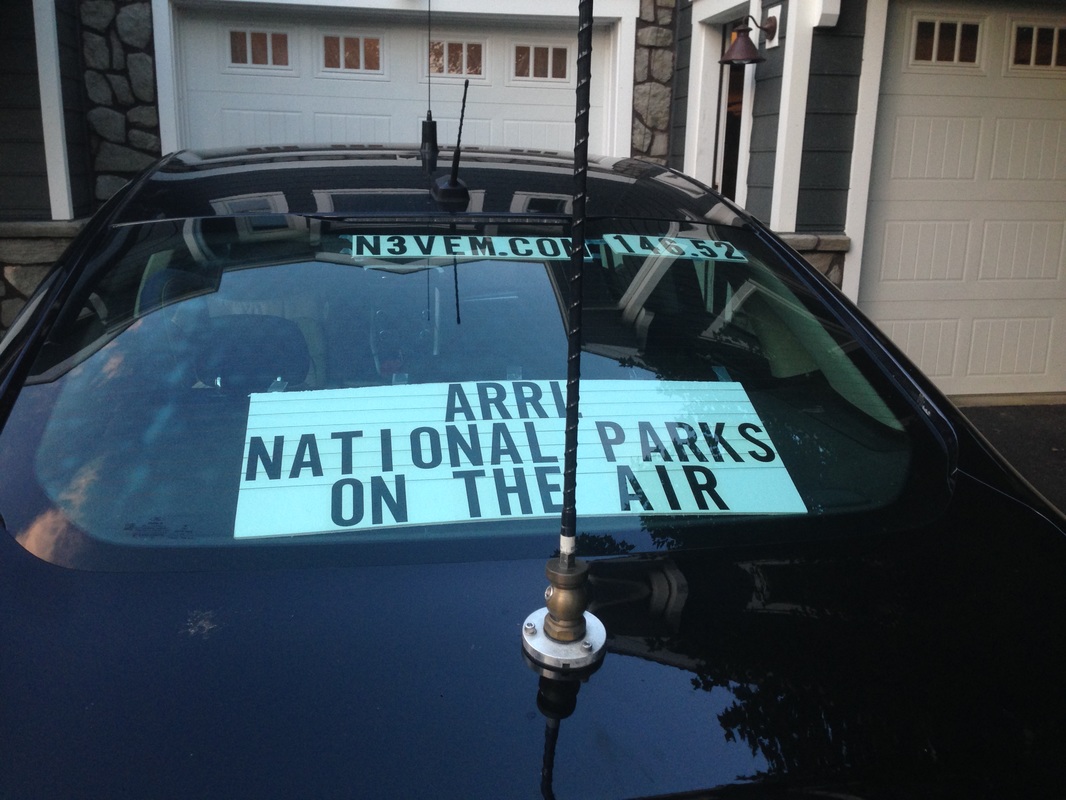
​CQ CQ CQ November 3 Victor Echo Mike for Parks on the Air

Some pictures from NPOTAthon 1

0 Comments

flying ham

9/21/2016

3 Comments

 
post contains affiliate links
Picture
     Okay okay....not that kind of flying ham.  I meant this guy (*N3VEM points both thumbs at himself*)  
     So, I quite regularly see folks asking questions about traveling with Ham Radio equipment on commercial flights.  Short answer - it's easy!  As much as we think people will get excited about our radio equipment, at the end of the day, TSA sees much weirder stuff than our radios and they don't get paid enough to care about our specific brand of geekiness (is that a word?) In fact, ham radios are so non-exciting to TSA that they specifically give them the greenlight for either checked baggage or carry-on.  They just give you the generic warning about being careful how you pack electronics so things don't get damaged.  Like any other large electronics you just have to take your radio out and send it through the x-ray machine on its own if you carry-on (from experience, the 857d is considered large, but the MFJ 30 amp switching power supplies and LDG tuners are not.)
     With that bit of information out of the way, I figured the easiest way to show how I generally travel with my gear, would be to do a photo-journal.  Depending on the trip, I can sometimes get everything I need into just my carry-on/personal item (see Packing the Bags that I wrote before a trip to southwestern Ohio) but often times for work, I'm taking other equipment, so I have to take a checked bag anyway.  I would imagine that when most people travel they are doing the standard 1 checked bag, 1 carry-on, 1 personal item arrangement.  Without further ado, here's how I fit my ham radio gear into that situation for a week-long trip (I am willing to re-wear things like pants, but I insist on clean socks and underwear....):
I start with this.  I use this because it's provided by my work, to move some of our equipment around in, but it's within the size limits of checked baggage, so you can do the same thing in any large suitcase:
Picture
  • Pelican Storm Case
     Next I put a layer of pick and pluck foam in the bottom of the case, followed by the first layer of my stuff:
Picture
  •   Rig Expert AA-54 HF+ 6m Antenna Analyzer
  • MFJ Battery Booster (I'd go straight to the manufacturer for this)
  • Buddipole (Again, straight to the manufacturer is the best bet here)
  • Times Technology VHF/UHF Antenna Analyzer (the model I have is no longer available, but you should be able to find the replacement models with a Google search)
  • Underwear (I honestly recommend these...they're awesome)
Next Layer:
Picture
  • My Coax came from one of the common ham suppliers
  • My shirts came from wherever my YL bought them (probably Target :-)
 And then.......
Picture

Get ready for it.....
Picture
  • The cell booster is a good solution if you have cell signal outside your house, but it's weak down inside your basement shack.
  • ​No top secret wire supply house here - just whatever I can get my hands on
But wait, there's more:
Picture
  • Power poles and don't forget the crimper
  • Battery clamps
There's still room in the box...
Picture
  • Pants are my old company provided uniform pants - standard service tech Khaki
Is he done yet?  Nope....
Picture

Will you just close the lid already?  Okay, but this was only the checked bag - I still have my carry-on and personal item!
Picture
  
So, there's the checked bag.  You might have noticed that there was no radio in there....that's because I prefer to carry that on so that I can keep my eye on it.  I use an old, hard, laptop case as my "personal item."  The specific one I use isn't available anymore (I bought it with a laptop about 100 years ago...) but there are similar models out there.  This is another case where I put the stuff in, and then just pad as needed with foam.
Picture
  • Yeasu 857d
  • LDG YT100 Tuner
  • MFJ 30 Amp Power Supply
  • Signalink USB (make sure you get the one that matches your radio)
Finally, done packing.  Here's the goods, ready to roll out the door:
Picture

     But wait, you say, you didn't tell us what was in the backpack, or where you got that awesome backpack with your callsign on it (L.L. Bean.  It was an anniversary gift from the YL, and I love it!)  
     I didn't show you the inside of that, because the backpack is whatever other random stuff I happen to take along.  It usually includes my toothbrush, toothpaste, deodorant, comb (I rely on the hotel to provide any other needed toiletries), an issue or 2 of QST, whatever book I happen to be reading at the time, my Samsung Tablet, my Laptop, and an HT and it's charger.  Sometimes even a spare set of clothes or extra pair of shoes.  
     The last recommendation I have is the headphones you see hanging through the bag.  I love them, because they communicate wirelessly (bluetooth) with my cell phone and tablet for making calls, watching videos on the plane, etc.  but they also have a wire that you can plug in and use in an analog fashion, so I use the same set of headphones to plug into my radio if I don't want to rely on the built in speaker in the 857d (I still use the hand mic for transmit audio.)  They are the Skullcandy Hesh 2 headphones - I don't go anywhere without them because it's one set that will do it all!
     Now that you've seen how I pack, and you've gotten some of my recommendations for the gear I use, do you have any questions?  Are you ready to grab your gear and zip across the country?  Are you confident that all those folks who talk about the scary TSA people and all the weird things they will do to you and your radio probably aren't speaking from personal experience, now that you've seen what someone who actually flies multiple times a month takes with them?  I took all these pictures while packing for last weeks trip to LA, when I activated the Santa Monica Mountains for NPOTA, so check out my post called Pop Culture Central to see how I set this stuff all up on the other end.   
N3VEM out.
3 Comments

mobile logging

7/4/2016

0 Comments

 
     I've never really read a lot about how people handle mobile logging when they work HF mobile, so I figured I'd share what I do!  I read this tip a while back, in a home magazine, because a reader said they used it to make notes so they wouldn't forget things when they got a phone call while driving.  I heard it and went, "hey!  I can use that to keep track of my contacts while mobile!"
     Basically, I write down my contacts, and then type them into an app on my phone when I get home or when I get to my destination.  The method I use to write them down is the unique part...a good old dry erase marker!  This way I can write on the windshield while still looking through it, so I can scribble notes without taking my eyes off the road.  After I'm parked and punch them into my phone, I just grab the eraser and wipe the slate clean!
     I had a bunch of contacts on my recent drive home from Boston, partly because the 13 Colonies event was starting...here's what my windshield looked like by the time I got home...
Catch you down the log!
0 Comments

the other radio - final

4/23/2016

0 Comments

 
post contains affiliate links
     I'm sure the purists are tired of hearing about my CB install at this point, so this will be my last post on it, but that's mainly because it's finally done!  (Is any radio project every really done?)
     I spent about an hour and a half between the last couple of evenings finishing up the install of a CB radio into the center console of my car.  To come up to speed, you may want to check out part 1 and part 2 of this project.  Okay - now that you're up to speed, all I really had left to do was to make the permanent mounting panel to replace the temporary wooden template that served for test-fitting purposes.
     At this point, the process was fairly straight-forward.  First, I put some tape onto the piece of HDPE that I had gotten from Tap Plastics to both protect it, but also so that I had something to mark on.  I then traced the plywood template onto this, and started cutting.  Here's a shot of what things looked like, part of the way through that process:
Picture
     Once all my cutting was done, I screwed the mounting bracket to this new panel.  The way that worked was actually to screw 2 small L brackets to the panel, and then I screwed the CB mounting bracket to the L brackets.  This was needed because of the angle at which the CB was mounted.
     With the part cut, and the radio in it, it was time for a quick test fit:
Picture
     If you checked out parts 1 and 2 of this project you'll know that I had installed brackets for this panel to sit on.  At this point I used my trusty tap set and drilled through the plastic, into the metal.  I then used a slightly bigger bit to drill the holes the in the plastic out just a little larger, and then I used the tap to add the threads to the holes in the brackets.
Picture
     All that was left to do was to screw the panel in place!  I also used a very thin bead of black caulk around the radio, where it passes through the opening, just to hide my not-perfectly-straight cut a little bit - I don't have a very good jig saw so cuts that I can't do on my table saw or mitre saw can give me a hard time.
Picture
     Done!  Now I've got my working CB in place, and when the center console lid is closed, it's neatly tucked away.  You may notice that there is a lot of empty space behind the radio in this panel.  With a bit of luck, and some spare $$ I hope to eventually put a screwdriver controller there for the Tarheel Antenna that I don't own yet.  One can dream, right?

     On to the next project!  Leave a comment and guess what it might be (if you read some of my other posts, you might be able to figure it out!)

     Lastly - I've been pretty please with this little CB radio - you can get them fairly cheaply through the jungle, so please check it out:
0 Comments

the "other" radio - Part 2

4/21/2016

0 Comments

 
     A while back I did a post on the initial steps that I took when installing the CB radio in my car.  I know some hams have a beef (hi hi) with CB radio, but I like having one because of the amount of highway time I have in my job.  If you want a refresher on where I was prior to this post check out my part 1 post here.  I finally had some time to continue work on this project.  It's still not done, but I made some progress on it.  The goal with Part 2 of this project was to start where I had left off, but finish up the wiring so that I could use the radio for a little bit, in it's current configuration, before cutting the final part that will make the "pretty" mounting place for the radio.
     The first part of this was to install a UHF male connector on the end of the coax in the center console.  There are about a million different theories on what the "correct" method is, what the "best" method is, and about what method Uncle Fred has been using ever since he installed his first antenna on the dinosaur that he rode to work every day.  For some silly reason, I usually just follow the directions that come from the manufacturer (they should know, right?)  For this connector the directions are to strip to the appropriate measurements, fold the shield over the reducer, screw the body on, solder the tip, solder through the holes, screw on the barrel, and call it a day.  I don't do a ton of soldering anymore, but it turned out just peachy, and I didn't get any weird readings when checking things out with my analyzer after it was done.
Picture
Picture
     I then installed Anderson Power Poles on the power lead that was waiting to be used, and on the power leads from the radio.  No pictures of that...sorry.
     With the connectors on, I turned to the antenna.  Because the NMO mount was installed on the front fender of the car, I had to bend the antenna element to make it vertical.  Basically, without doing any trimming, I measured the SWR with the antenna sticking straight out, and then I measured the SWR again after bending it to vertical to see how much bending the antenna element changed it.  I was then able to cut the bent part off, and slowly trim to length with the antenna sticking out, and then when I hit the magic spot where bending it up to vertical would make the SWR land where I wanted it, I made the bend, and presto - CB antenna!
     I also added another mic hanger, so that my ham mic and CB mic would kind of "balance" each other as they hang on the dash.
Picture

     Lastly, during a recent work trip, I got to test out the radio and it's location, so I've decided that I'm please with the mounting location, etc.  I actually got to test it out, because I heard one trucker say to another - "I wonder if that guy in the Black Fusion could get any more antenna's on his car?" to which I had to reply - "I can put as many antenna's on here as you'd like me too"  :-)  We then had a nice chat about radio's, ham radio, and what all my antenna's were for, which was great, because the HF ham bands were pretty much dead, and this way I still got to have a QSO (I just won't tell that truckers that's what we call it...)
     Since I'm pleased with it, the only thing left to do is to take out the temporary wood mounting piece, trace it onto the piece of HDPE that is waiting in my garage, and do the final "screwing down" of everything.  For now though, I'll leave you with 2 questions...
     1) How do you solder your connectors?
     2) Do you talk on CB radio? (you can call it 11 meters if it makes you feel better...)

Leave a comment and let me know!
0 Comments
<<Previous
Forward>>

    Categories

    All
    Antenna
    Cw
    Digital-modes
    Flying-with-gear
    Home QTH
    Miscellaneous
    Mobile
    Operating Events
    Portable
    POTA
    Shack Build
    Technical


    - N3VEM -

         Welcome to my Ham Radio Blog!  This blog was started primarily to share my two concurrent shack builds - my mobile station and my home station.  Over time, this has grown to include sharing about my operations, and general radio-related thoughts that I have as a newer operator.  
         
    ​Enjoy!

    RSS Feed


    Picture
    POTA!

    Picture
    Proving that hams do indeed still build stuff!

    Picture
    100 Watts and Wire is an awesome community, based around an excellent podcast. 

    Archives

    September 2020
    July 2020
    January 2020
    September 2019
    August 2019
    July 2019
    June 2019
    May 2019
    March 2019
    January 2019
    December 2018
    November 2018
    October 2018
    September 2018
    August 2018
    July 2018
    June 2018
    May 2018
    April 2018
    March 2018
    February 2018
    January 2018
    December 2017
    November 2017
    October 2017
    September 2017
    August 2017
    July 2017
    June 2017
    May 2017
    April 2017
    March 2017
    February 2017
    January 2017
    December 2016
    November 2016
    October 2016
    September 2016
    August 2016
    July 2016
    June 2016
    May 2016
    April 2016
    March 2016
    February 2016
    January 2016
    December 2015
    November 2015


Picture
Copyright © 2015
 Vance Martin is a participant in the Amazon Services LLC Associates Program, an affiliate advertising program designed to provide a means for sites to earn advertising fees by advertising and linking to amazon.com.