NOVEMBER 3 VICTOR ECHO MIKE
  • Blog
  • Events and Activations
  • Diversions
  • About
  • Gallery
  • Contact
  • Links
  • Subscribe
  • Search
  • Blog
  • Events and Activations
  • Diversions
  • About
  • Gallery
  • Contact
  • Links
  • Subscribe
  • Search
NOVEMBER 3 VICTOR ECHO MIKE

ham radio Projects and musings from a (Relatively) new operator

Warm and fuzzy (scratchy and itchy?)

1/24/2018

0 Comments

 
Post Contains Affiliate Links   
I have another shack update to share!
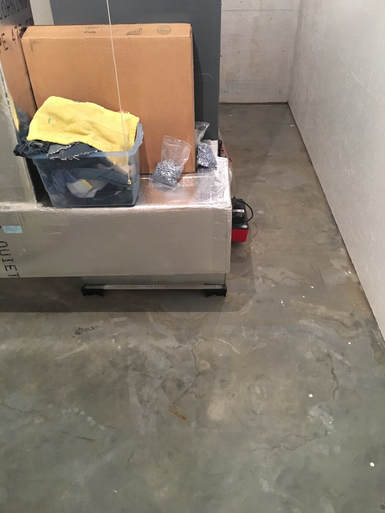
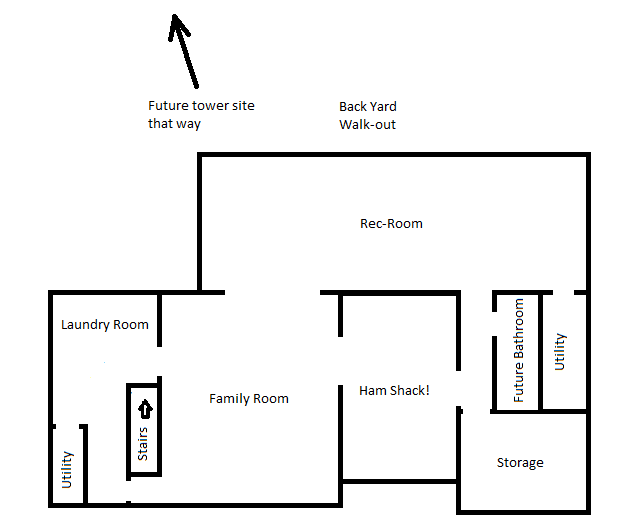
​With the utility room finished up (I just wrote about that recently), the cat boxes are moved, and I was able to do my final prep before I start to hang drywall in the shack and rec room.
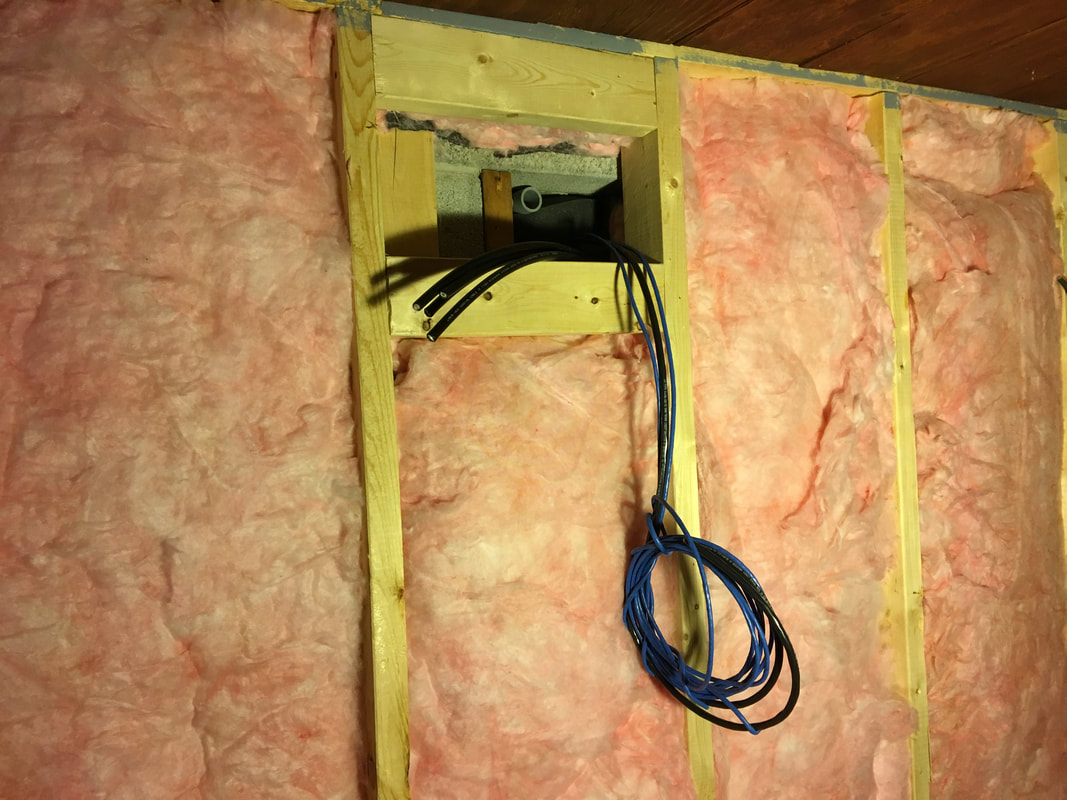
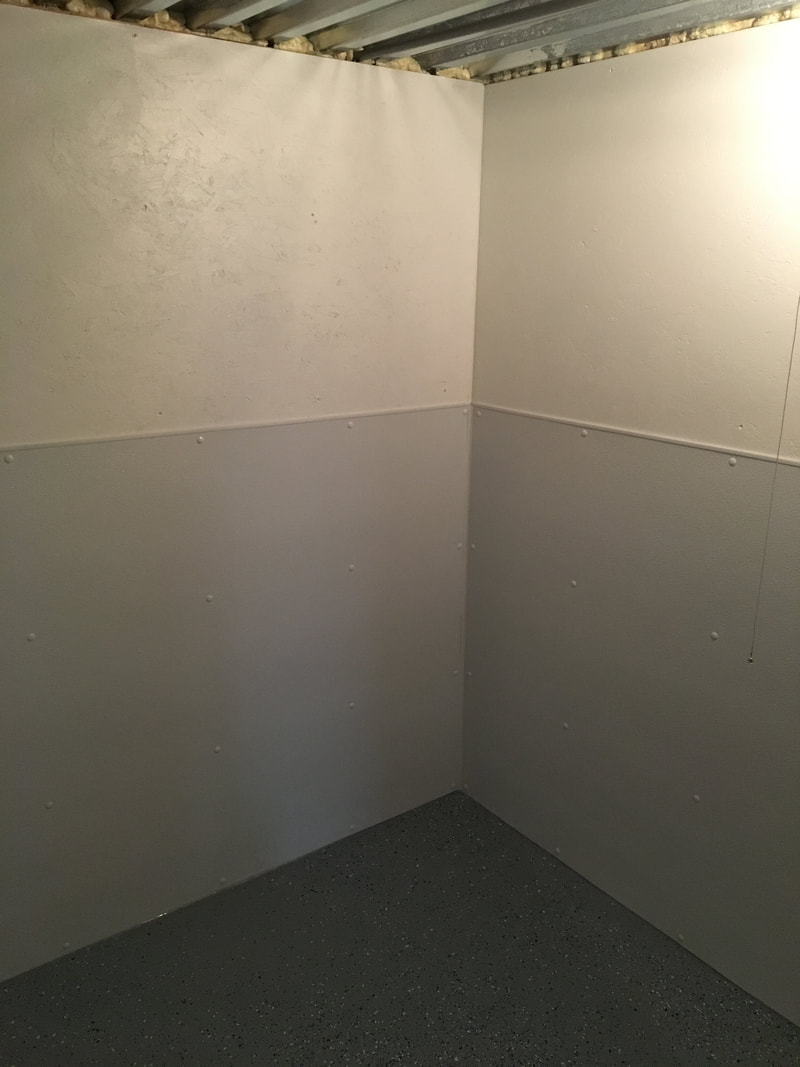
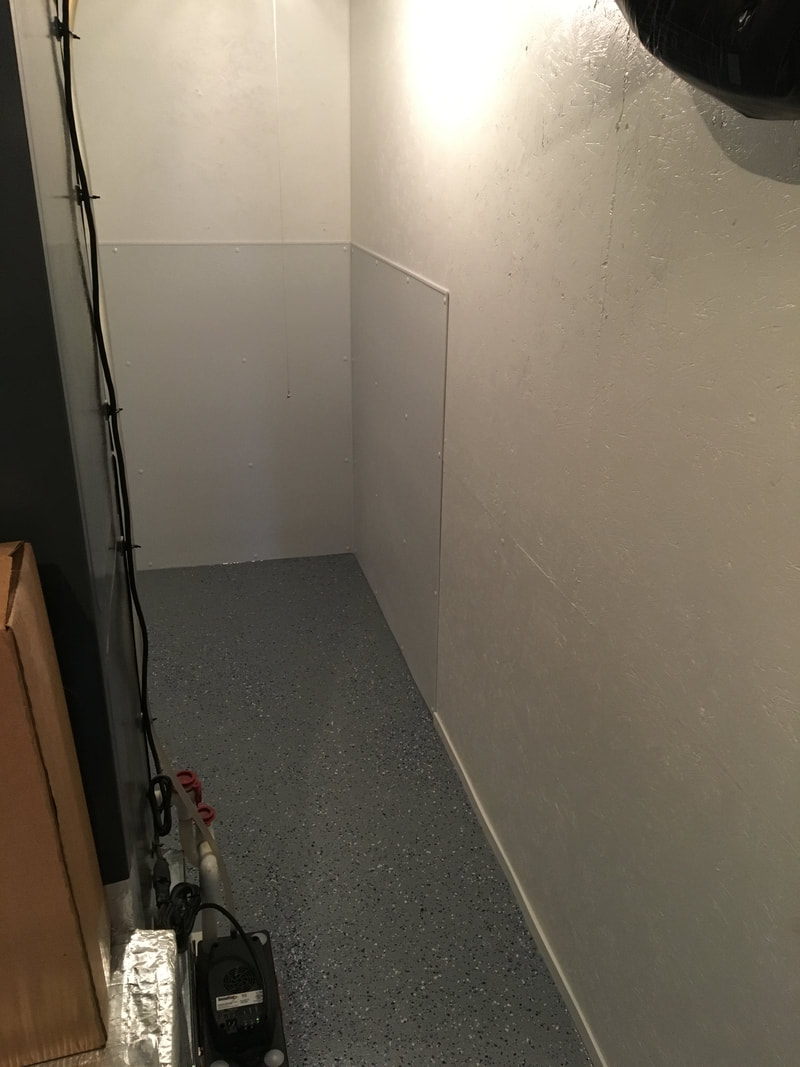
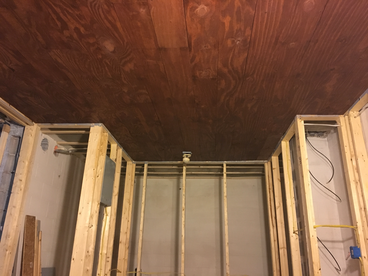
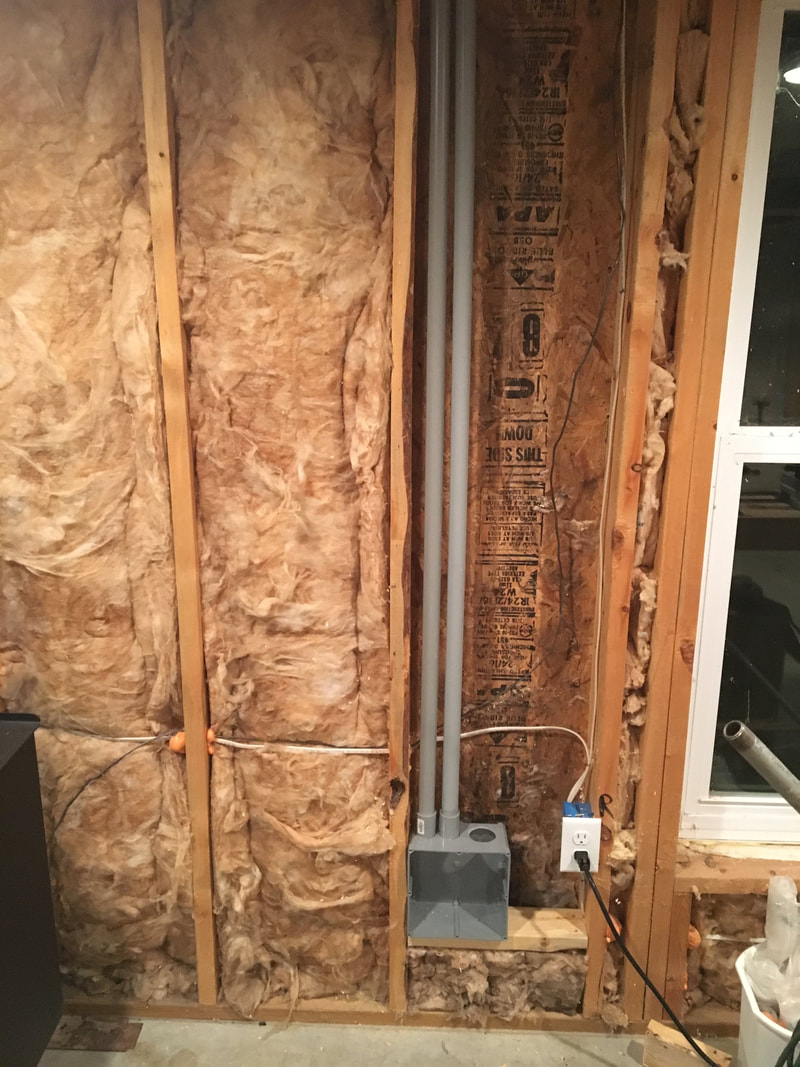
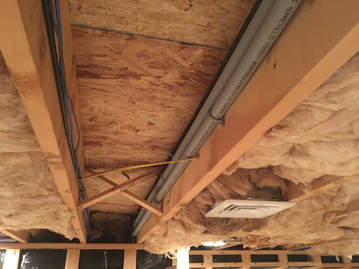
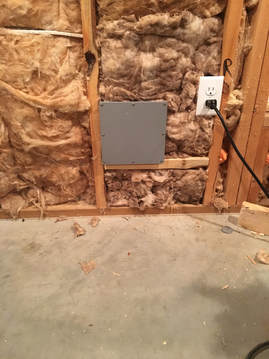
For me, there were 2 things left that I wanted to do before hanging the drywall.  The first was to add insulation to the stud bays.  In the process of doing that I also boxed out the location where I will be attaching a metal panel that will serve 2 purposes:
  1. It will give me access to the end of the conduit I put across the rec room
  2. It will serve as a bulkhead of sorts.  The coax I pulled across the rec room will terminate in bulkhead connectors here, and then as I finish the operating position, I'll make my connections here to get signal to the outdoors.
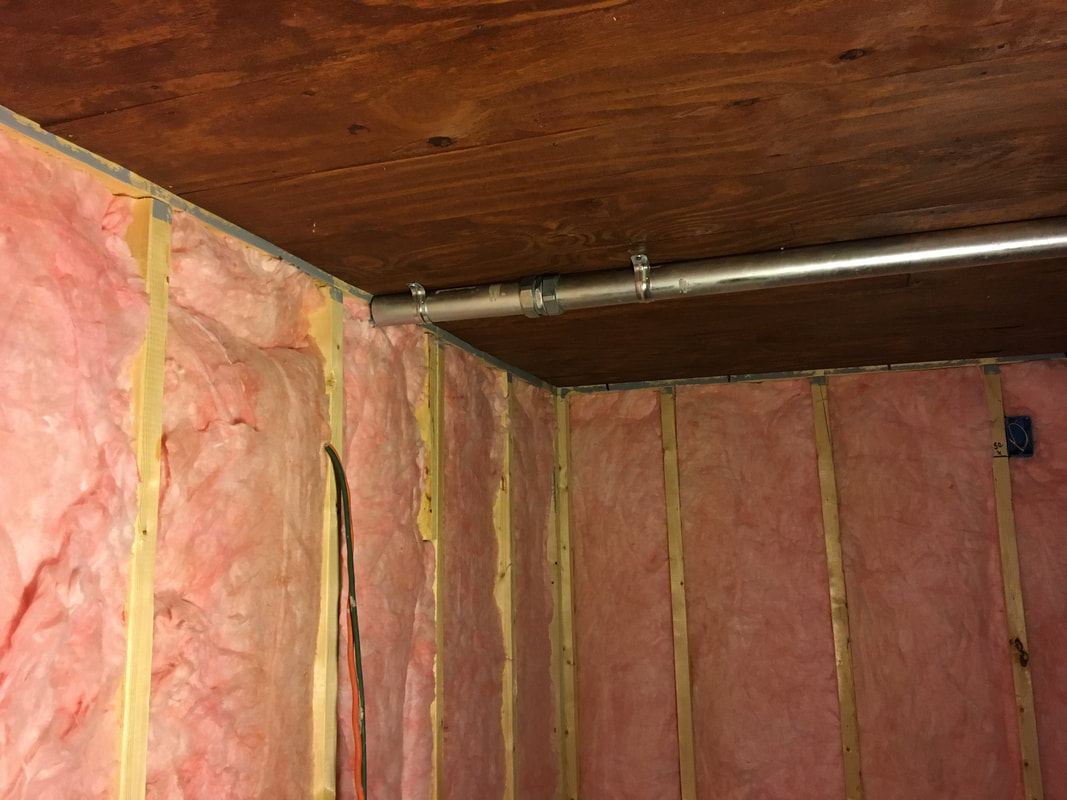
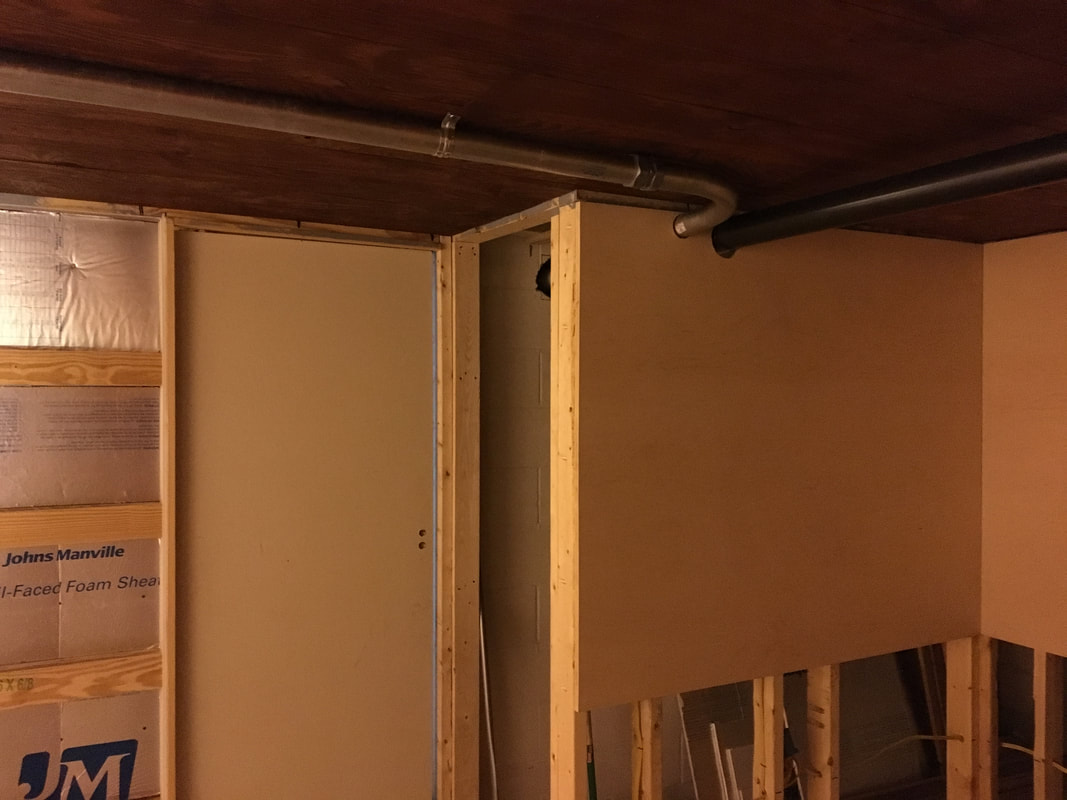
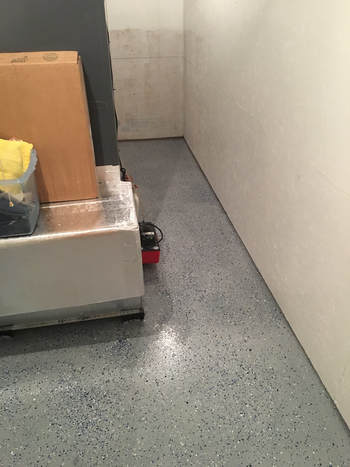
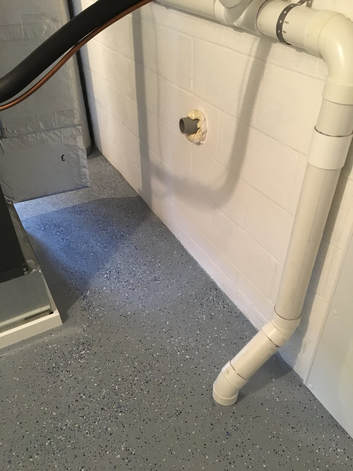
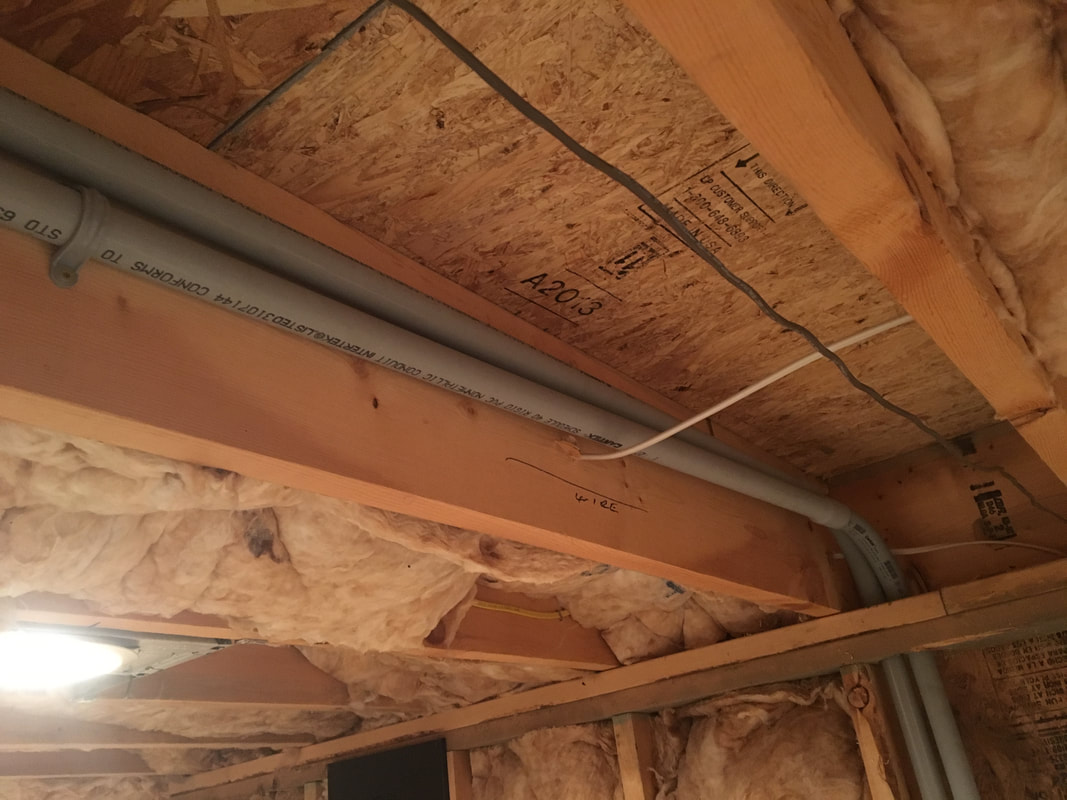
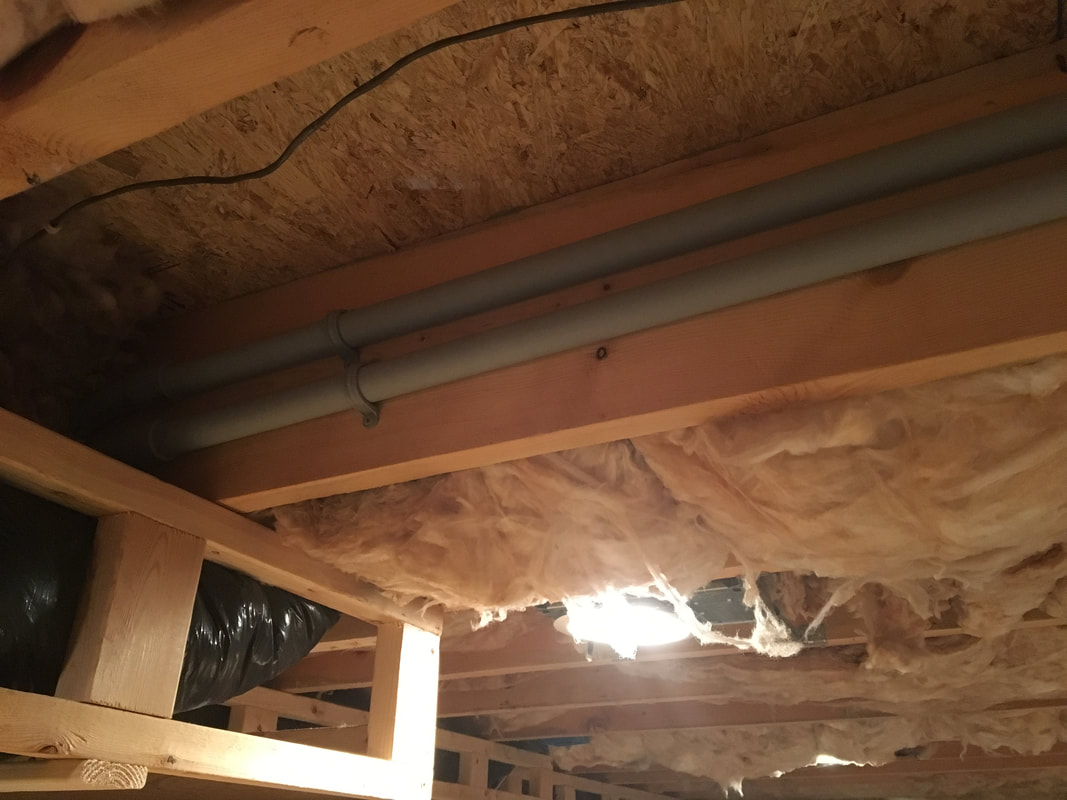
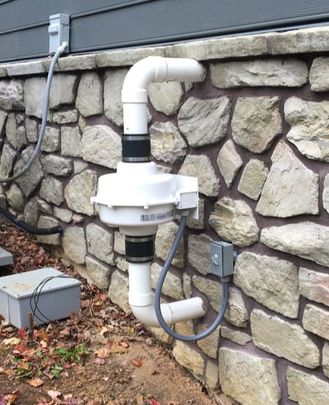
The second thing on my list was to get the main power feed sheathed in conduit where it would be exposed, and connected to the new sub-panel in the shack.  With that done, I was able to connect a temporary circuit to have a couple lights and a receptacle.  Now I can see while I work, without needing to drag extension cords across the other parts of the basement!
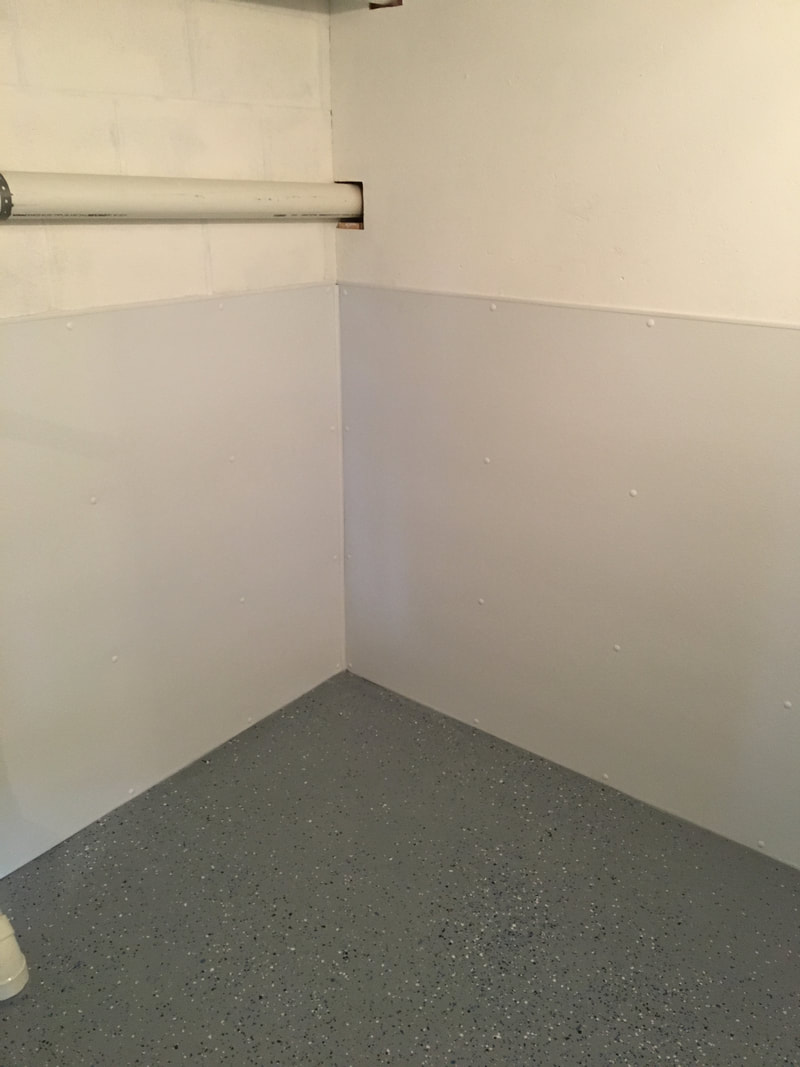
Why the insulation you ask?  It's actually a pretty basic answer - sound dampening.  Now, there is a difference between sound-proofing, and sound dampening, and I think sometimes people get confused about what types of products do what function.  Any porous material, like insulation, or those foam egg crate panels you can hang on walls (which I plan on doing in some areas!), the corner bass traps that you can find online, will do a fine job of sound dampening.  That basically means they can help improve the acoustics of a room by helping to prevent reflections, echos, etc.  They WONT sound-proof your room.  Outright sound-proofing is a different beast, that as hams, we probably don't need to worry about. The best way to really get sound-proofing is mass - i.e. thick concrete walls.
For me, sound-proofing is already about as good as I can expect it because my room happens to be a concrete cube- I just wanted to fill the hollow, framed, walls with something so that my small room doesn't have weird echos as I talk on the radio, and do my conference and video calls for work!
What do you think?
Previous: Shack Build
Next Shack Build
Back to Part 1
0 Comments

A clean place to...well...you know...

1/17/2018

0 Comments

 
More progress on the home shack!  

Well, kind of...first, let me tell you what I was working on, and then I'll roll into the ham radio / shack progress connection.
We currently share our home with 3 furry friends (or maybe, they share their home with us?)  Anyway, their litter boxes have been residing in the end of the unfinished part of the basement that will eventually be the rec room. (If you'll recall, from all the way back here, the room that's becoming my shack used to be the "cat room.")  We wanted to transition their box area to the back of the new utility space, but a couple of them are older cats, which means they sometimes have questionable aim...

Anybody who has ever tried to get the smell of cat pee out of anything knows what a chore that can turn into.  Rather than have our utility room end up smelling like (well, you know....) we decided to make it a very easily cleanable space.  With that goal in mind, I hung plywood on the walls and painted it, to seal it up.  There was still that floor to deal with though...
Picture

So, after some scrubbing, some etching, and some more scrubbing, I epoxy coated the floor to accomplish 2 things - to keep any "accidents" from soaking in and become a permanent part of the milieu, and to make any needed cleanups simple...
Picture

With the floor sealed, and easily wipe-able, It was time to finish up the other things.  I added some trim (PVC trim, for obvious reasons), some silicone to seal around the trim, and some of those beautiful truck-stop-bathroom wall panels.  The final effect makes for a tidy utility room, but also a place to put the cat boxes that will be easy to clean.

So what is the ham radio and shack progress connection?  There's really 2 parts to that:
  • I had to get this done in order to move the cat boxes, so that I could continue hanging drywall.  This means that during the next several days I'll be doing some odds and ends to prep, and by the weekend I'll be hanging the walls in my future shack!
  • With the layout of the house, this room is part of one of my "exit routes" to get coax out of the basement in the future.  By routing through the storage space with exposed conduit/cable, I can get wires and coax into this room, and out of this little handy spot that goes to a 12" x 12" plastic junction box right at ground level outside the house.
Picture
This is one of the entrance points I left myself for future coax / cable needs.
Picture
Remember when I put the radon fan in? The thing I didn't explain at that time was the big gray box with the ground rod right next to it....that's where the conduit in the utility room goes. When we finish grading for the flower garden on this side of the house, the ground level will come up to just below the top of this box.

I'm excited to have another thing done (even if it is just the fancy restroom for the cats), especially when its one that moves me closer to having my ham shack done!
Previous: Shack Build
Next: Shack Build
Back to Part 1
0 Comments

Dusty Progress

12/6/2017

0 Comments

 
     It was a busy week!  I was out of town last week doing one of my multi-city sprints for work, where I spend long days working, and then my nights driving between cities.  I did get to make a couple of HF contacts, and have a couple chats on repeaters around Long Island, New York City, and the Hudson Valley, but that was really it for my on-air activities.
     The radio related thing that I really did last week, was starting to hang drywall.  That's the reason I got to spend so much time wearing these things, and practicing my Darth Vader voice:
Picture


     In the interest of brevity though, I'm not going to bore you with all the details, because I haven't actually started the drywall in the shack yet.  My shack project is part of a larger project of finishing the basement in our addition, and refinishing part of the space in the original house.  The drywall I was hanging was for the ceiling, but If you'll recall from earlier posts, the ceiling in the shack is actually already done, and it looks like this:
Picture

     The ceiling I was working on was actually the ceiling in the rec-room, which is the room that just last week, I ran some cable through.  This means that while the drywall I hung wasn't in the shack, it means I'm now committed to what I ran into the shack.  The good news however, is that I left provisions for future growth, and I always have the "long way around" option if my shack growth exceeds what I can fit through the area that I gave myself access to.
     This also means that while I finish up the drywall, I won't have a ton of updates on the home shack other than more drywall and paint.  When that's done however, the real fun beings - starting to put together the operating area!
Previous: Shack Build
Next: Shack Build
Back to Part 1
0 Comments

Ready to Close 'em Up

11/29/2017

2 Comments

 
     The walls that is....
     The Thanksgiving break was a productive one for me.  I've been zeroing in on getting my shack project to the point where I'm ready to start closing up the walls with drywall.  This project is actually combined with finishing the part of the basement under our addition, so there were a few things that I wanted to run across the space that will become the rec-room before I closed things up.  To give a little perspective on the space I'm working in, so that you can picture it a little easier, here's a rough drawing of our basement.  The scale is a little out of wack, but you'll get the idea:
Picture

     In my last post I mentioned several things I was planning, and these were precisely the things I ended up getting done.  The first thing I put in was some empty conduit, because even though I am pulling stuff through now, it's hard to anticipate future needs.  In one section the fit was tight, so 1" conduit was the widest I could put in without a lot of concrete busting.  Because of that I made 2 runs side by side, from the back wall of the shack, to an access box that I installed in the back wall of the walk-out basement.

     Next up was the coax.  I ordered enough Times Microwave LMR-400 from DX Engineering to pull 4 runs across the space.  As a side note here, DX Engineering means business with their shipping! My order was big enough to get the free shipping, and it was almost 24 hours on the nose from the time I ordered it till the time it was sitting on porch - impressive!  I ordered the coax in bulk, so I rolled it out lengthwise down the long stretch of the rec-room to cut it into 4 sections.
Picture

In addition to the coax, I also ordered enough for a single run of control cable, anticipating a rotor at some point in my future.  Finally, I knew I wanted some network cable running from the shack to the tower for potential future uses, so (at the suggestion of a couple different folks) I cut 2 lengths of that as well.  With all these cables cut to length, I tacked up the coax right above the conduit runs, and the control cable and network cables to the other side of the joist bay.
Picture

     In a separate area I also pulled a run of 12-2 Romex from the sub panel in the shack, to a location that I can get to from the outside.  My thought here is that if I end up needing power at the tower, I have a line ready for it, powered from the same source as everything else in the shack.
     As hard as it is to do, the next step was to stuff the insulation back in place, and hide all of my hard work!
Picture

     So with all this stuff done, I'm ready to start closing up the walls.  When I eventually do put up the tower, I'll be able to take the cover off this box, roll the coax and cables out of the way, and drill straight through the back of the box and the exterior wall, to put a conduit to an entrance panel right on the other side of this wall, with runs out to the tower.  easy-peasy!

     Next step, drywall.  I've never hung drywall before, but I decided it was finally time for me to try and tackle it on my own.  I won't be working in the blind though - I have a brother-in-law that hangs and finishes drywall, and a neighbor that used to work for a large drywall distributor, so I'll be leaning on their expertise pretty hard.  If you see anything I missed that you think I should do before I close things up, or if you have any drywall tips, please feel free to leave me a comment - It'll be a few days before I get started, and tips are always welcome!
Previous: Shack Build
Next: Shack Build
Back to Part 1
2 Comments

Blowin' in the Wind

11/22/2017

2 Comments

 
     The last time I gave you an update on my home shack, I was running piping for the radon mitigation system in my basement.  Well, I finally put the (hopefully!) finishing touches on that part of the project!
     All that was left for the radon system was to install the manometer on the inside piping (that's the u-shaped thing with the liquid in it, that tells you if the fan is running), and to order and install the fan on the outside of the house.  A weatherproof single gang box and switch, some conduit, and some liquid-tight, did the trick to polish this off:
Picture

     I still have some grading to do along this side of the house from the addition we did, so don't judge my dirt and leaves too hard :-)  With everything wired up and the final bits and pieces in place, it was time to turn the breaker on, and then throw the switch, so that I could say (to the tune of the well known Bob Dylan Song) "The radon my friend, is blowin' in the wind.  The radon is blowin' in the wind."
     With the fan running, I turned my attention back to the inside of the basement, where me and my trusty caulk gun went all over the basement sealing every crack and expansion joint we could find.  All that's left now is to let the system run for a couple of days, and then conduct another radon test to see if I'm done, or if I still have more work to do.

Some Other Stuff Too

     The radon system isn't the only thing I worked on in the last few days.  I also pulled the service cable from the main breaker panel in the house, to my new shack. After weighing cost, distance, current requirements, etc.  I ended up deciding to use 2-2-2-4 cable, protected with a 90 amp breaker.  This kept the cable from being too obnoxiously large, while giving me more than enough capacity for the demands that will be on the panel in my shack.  The next step for this will be to sheath the run that will be exposed in the shack with EMT.  

     In addition to this real work, I did some "planning" work as well.  Before I close up walls I want to run some coax and wire in the general direction of where the eventual tower will be.  Trying to guess how much wire you'll need in the future is almost always bound to leave you wishing you had done more.  Conduit is a great thing, but in the area were I need to run it, I have some restrictions on sizes of what will fit.  After getting some feedback from the twitter crowd, here's what I think I'm going to shoot for:
  • 4 runs of LMR 400
  • 2 empty conduits.  One inch is all that will fit in the one section, but at least it will be there for whatever comes up in the future.
  • 1 multi-conductor control cable (for rotors etc. in the future)
  • 1 network cable (just in case I want to stick any Ethernet devices up there)
  • A couple of strategically placed access hatches

     Luckily, if I find in the future that I missed something, I will still be able to add to this - it will just require a much longer run around the side of the house.  

     If you have any input or thoughts for me, please feel free to share them!  It will probably take me a couple weeks (or a month...) to round all this stuff up and find the time to get it pulled into place.  Till then, have a good one!
Previous: Shack Build
Next: Shack Build
Back to Part 1
2 Comments
<<Previous
Forward>>

    Categories

    All
    Antenna
    Cw
    Digital-modes
    Flying-with-gear
    Home QTH
    Miscellaneous
    Mobile
    Operating Events
    Portable
    POTA
    Shack Build
    Technical


    - N3VEM -

         Welcome to my Ham Radio Blog!  This blog was started primarily to share my two concurrent shack builds - my mobile station and my home station.  Over time, this has grown to include sharing about my operations, and general radio-related thoughts that I have as a newer operator.  
         
    ​Enjoy!

    RSS Feed


    Picture
    POTA!

    Picture
    Proving that hams do indeed still build stuff!

    Picture
    100 Watts and Wire is an awesome community, based around an excellent podcast. 

    Archives

    September 2020
    July 2020
    January 2020
    September 2019
    August 2019
    July 2019
    June 2019
    May 2019
    March 2019
    January 2019
    December 2018
    November 2018
    October 2018
    September 2018
    August 2018
    July 2018
    June 2018
    May 2018
    April 2018
    March 2018
    February 2018
    January 2018
    December 2017
    November 2017
    October 2017
    September 2017
    August 2017
    July 2017
    June 2017
    May 2017
    April 2017
    March 2017
    February 2017
    January 2017
    December 2016
    November 2016
    October 2016
    September 2016
    August 2016
    July 2016
    June 2016
    May 2016
    April 2016
    March 2016
    February 2016
    January 2016
    December 2015
    November 2015


Picture
Copyright © 2015
 Vance Martin is a participant in the Amazon Services LLC Associates Program, an affiliate advertising program designed to provide a means for sites to earn advertising fees by advertising and linking to amazon.com.